|
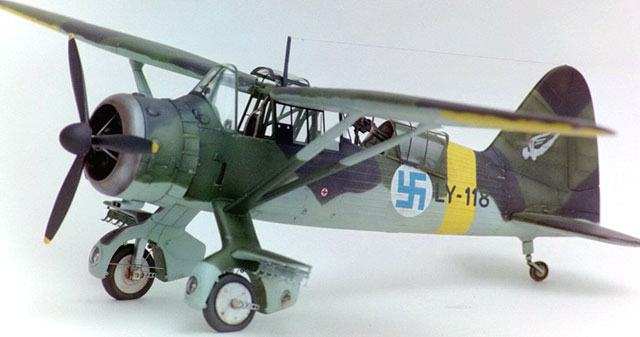
Westland Lysander Mk. III
by Larry Cherniak
|

|
|
Westland Lysander Mk. III
in Finnish markings. |

Gavia's (Eduard's) 1/48 scale Lysander is available
online from Squadron.com
According to a posting on the Finnish Air Force discussion board
(there's a board for everything!), the Finnish government ordered 17
Westland Lysanders from England in August of 1940. In the event, 12
arrived, a combination of Lysander Mk. I and early Mk. III's. They were
given codes LY-114 through LY-125 and used for reconnaissance,
photography, leaflet dropping, and nuisance bombing.
They served initially in their delivery colors of Dark Earth/Dark Green
over aluminum but were later camouflaged in the Finnish standard
black/olive green (FS34096)/ DN blue (this was "Dornier blue", or RLM 65,
after Dornier bombers sold to Finland) with yellow east front ID bands. In
the period of the "Mid Peace" they served with LeLv 12,14,16, and 30.
During the "Continuation War" they were used mainly by LeLv16/second
flight based in Rautavaara, east Finland. Skis of local design were often
retrofitted.
|
Construction and Painting |
 My model represents an early Lysander Mk. III of LeLv16. My model represents an early Lysander Mk. III of LeLv16.
It was built from the recent Gavia 1/48th size kit using kit decals but
with my own code number.
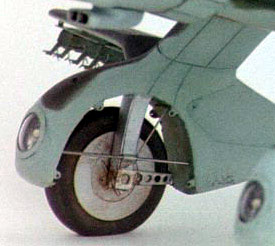
This particular one did later have skis but I
chose to depict it with wheels, but with the wheel covers removed as was
often seen in Lysanders serving in muddy conditions.
Part brand photoetched sets
were used for the details and the canopy (The bombracks alone use around
40 pieces of brass!). The gunsight, landing lights, and wheel wells were
scratchbuilt or highly modified, with some PE additions. I also
Vac-U-Formed the lights and the top parts of the canopy.

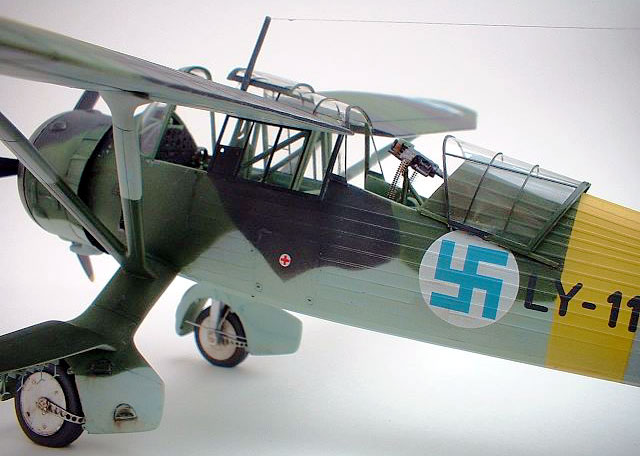
This mark was supposed to have a single Vickers/Lewis machine gun but got
the twin Brownings and inaccurate rear deck of the kit- call it a
retrofit. I moved a couple of triangles of glass from the rear sliding
part to the center part. Modelmaster enamels were used throughout.
I was generally pleased with the kit and am happy with the way this one
came out but am also very glad it is over!

If you'd like to see the full
story of the build, please visit the review section at Rollmodels.com.
Click the thumbnail to view
the larger image on this page:
Text, Images and Model Copyright © 2001 by
Larry
Cherniak
Page Created 05 September, 2002
Last Updated
04 June, 2007
Back to HyperScale Main Page
Back to Features Index |
Home
| What's New |
Features |
Gallery |
Reviews |
Reference |
Forum |
Search