|
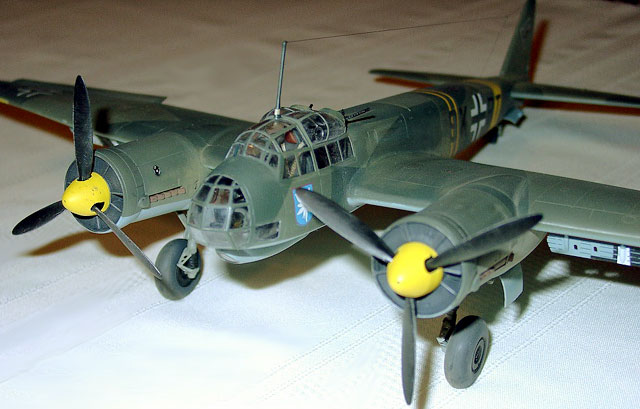
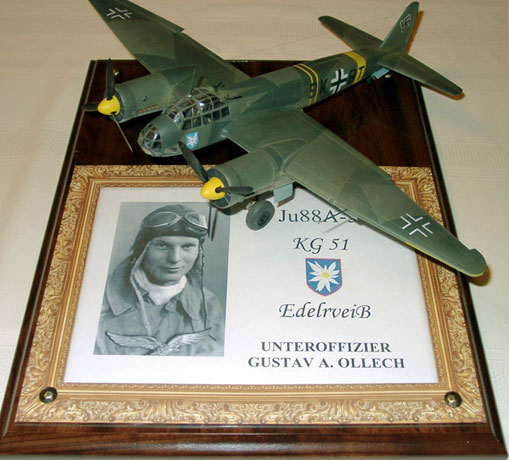
Junkers Ju 88A-5
by William Dedig
 |
|
Junkers Ju 88A-5 |

The 1/48 scale
Junkers Ju 88A-4 Val-U-Pak is available online from Squadron.com
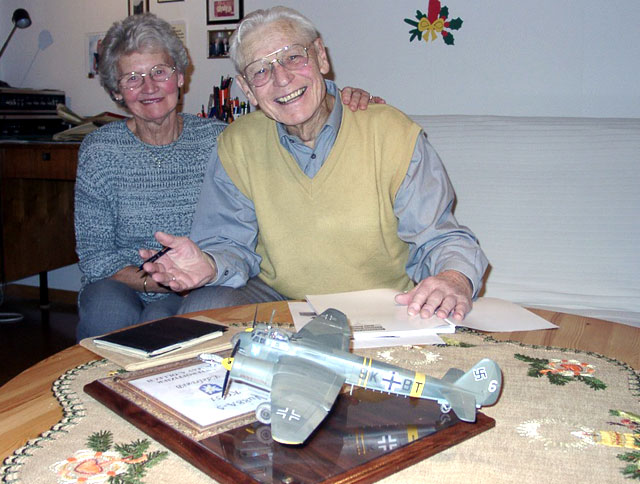
I constructed this model as a gift for a gentleman who flew this type of
aircraft on the eastern front during 1943. I presented it to him in December.
I used the Monogram/Revell Promodeler Ju 88A-4 kit and the A-5 resin conversion
from Model Design Construction.
The interior was constructed straight out of the box with the addition of
seatbelts. The cockpit is nicely detail straight from the box. However most of
this cannot be seen through the greenhouse canopy.
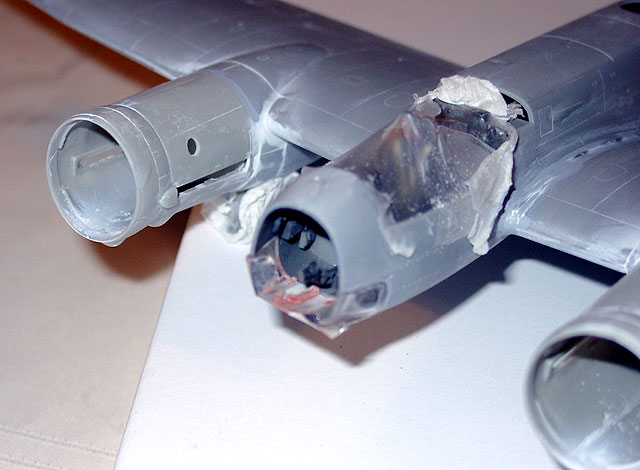
The fit of most components was pretty good with the exception of the engine
nacelle mounts. I used Squadron putty and white-out correction fluid as the
filler.
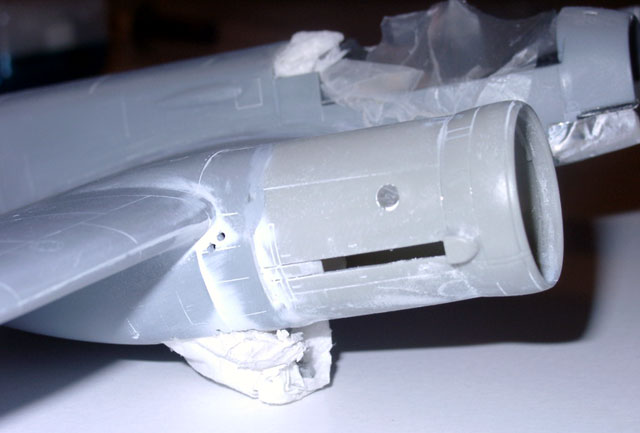
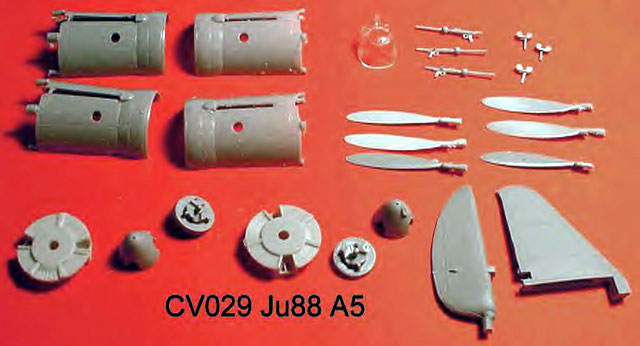
The resin engine components fit very well to the mounts. Speaking of resin, I
constructed the propellers and spinner at this time and had to spend a few
moments removing the warp from the propellers. Not a major task ,just one I had
never done before. I followed the instructions that came with the resin parts
and had no problems.
I used crazy glue to secure the wings and as filler on these parts. Glue, Zap,
and sand simple enough. Rescribing the lost detail was minimal. I installed the
cockpit windscreen with very few fit problems. I used Mr. Surfacer for filling
in this area.
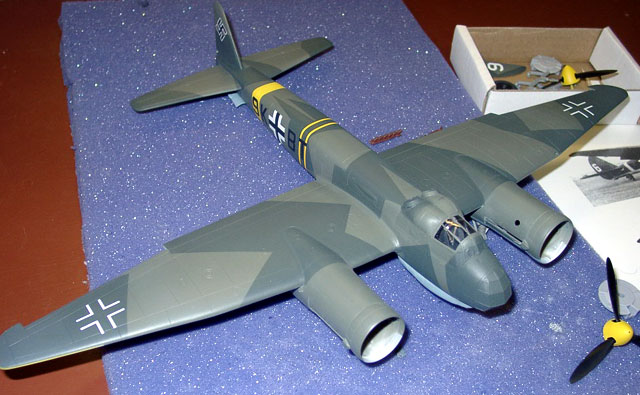
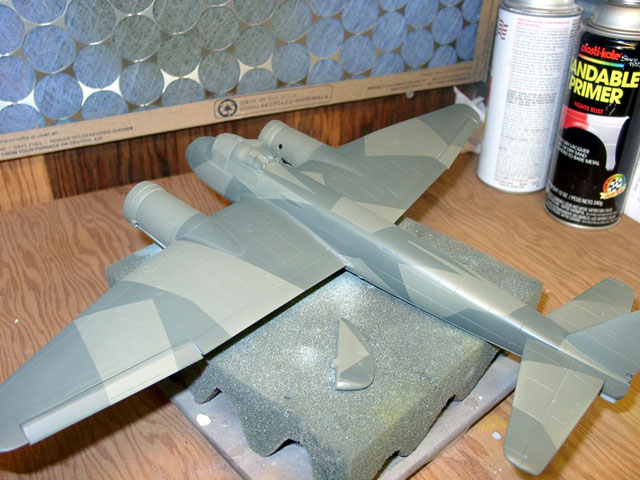
Paint
The model was finished using Testor's acrylics for the upper surface and Mr.
Color for the undersurface. I primed the aircraft with automotive lacquer primer
sprayed from a can into my airbrush cup. Weathering was accomplished with
pastels, color pencils and ground graphite.
I masked off the separate window panels using Bare Metal Foil.
I used a Badger 200 for my lacquers and a Testors Aztec for my acrylics.
Don’t ask why, I just have better results with the Aztec and acrylics!
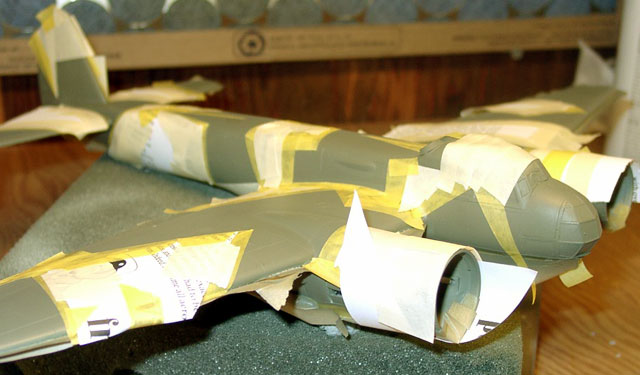
Lots on Tamyia tape was used for masking both the underside and the upper
demarcation areas.
I allowed at least one day for each color to dry before masking over the color.
I left off the engine fronts and exhausts to allow for separate painting and
weathering. Future was used to gloss the areas for decals.
Decals and Finishing
I used the kit decals and they were very good.
Micro Sol/Set were used and the results were no silvering . The aircraft was
given a coat of Testors acrylic flat and the Future areas disappeared. The
exhausts and the engine covers were added at this time. I used Parafilm to mask
around the engine nacelles to avoid possible damage to the paint and decals. I
painted the engine covers a mixture of black and dark gray and highlighted with
drybrushing.
As this aircraft was used operationally, I used pastels to weather it. I used
a silver prism pencil sparingly for some paint chipping. Heavy exhausts stains,
overall dirtying of the surfaces.
Final touches were antenna and I used "smoke" colored invisible mending
thread for the radio wire.
Many Thanks to Terry Marriot for mailing references from England, Barry
Numerick for German aircraft expertise and Lynn Ritger for Email responses to my
HyperScale query.
Click
the thumbnails below to view larger images:
Model, Images and
Article Copyright © 2003 by William
Dedig
Page Created 09 January 2003
Last updated 04 June 2007
Back to HyperScale Main Page
Back to Features Page |
 Home
| What's New |
Features |
Gallery |
Reviews |
Reference |
Forum |
Search
Home
| What's New |
Features |
Gallery |
Reviews |
Reference |
Forum |
Search