|
Heinkel He 70
by
Mike Grant
|
|
|
Heinkel He 70 |

HyperScale is proudly supported
by Squadron
When I bought this 1/72 scale Matchbox Heinkel He
70 second-hand I didn't know that the kit had been started, and the
undercarriage doors had been glued securely in the closed position.
However, a collector in the U.S. expressed an interest in buying the
built-up kit as a desktop display model so I commenced work on it.
This Matchbox kit must be one of their later ones -
although moulded in 3-colours I didn't need my anti-radiation goggles to
look at the bare plastic. Instead it came in two shades of grey and
silver. The surface detail was also of the fine raised type, much easier
to deal with than the deep engraved sort. The first job was to sand off
all the raised lines and re-scribe them, though I left several off.
Construction was straightforward, I added very little to the interior
except for a pilot figure and instrument decals to the panel. The
fuselage windows had to be glued in before the halves were joined
together. This is always risky as no matter how well I glue them I
always seem to end up pushing them out (or in) during construction. This
model was no exception...
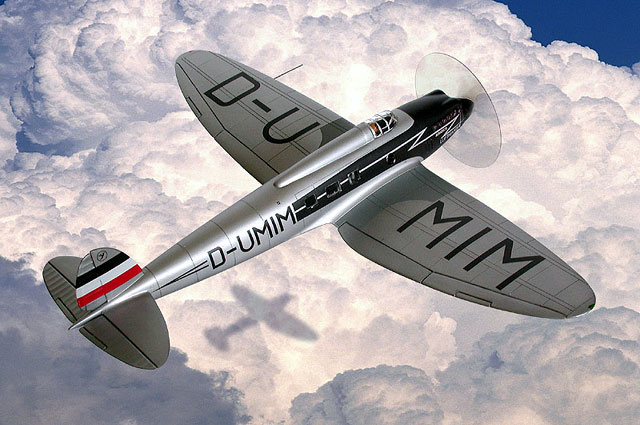
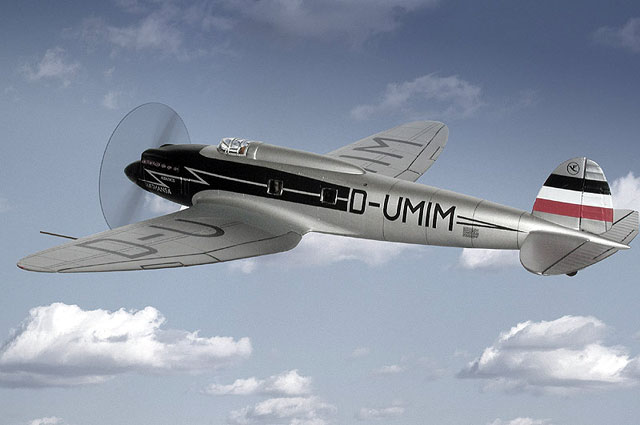
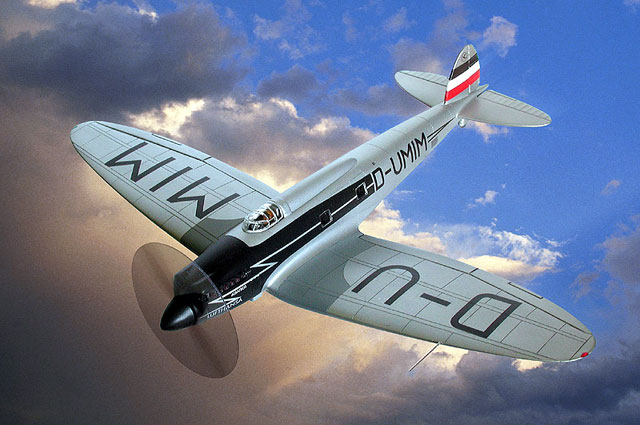
I wanted to finish the model as a 1935 Lufthansa
example. I used SNJ for the finish after polishing the plastic for
several hours. The kit-supplied decals were thick, yellowed and curled,
and I had no option but to re-create them using the ALPS.
After a final varnish I had to re-insert the cabin windows. These were
of course designed to be glued inside, so had a flange of plastic which
had to be shaved off. I then added a masking tape 'handle' to each pane
and painstakingly glued each one into place, removing the tape later
when the glue had dried. The fit isn't as tight as I'd have liked,
though.
The last task was the spinning prop disk which I
cut from a piece of acetate using a pair of dividers; I airbrushed a
simulation of the spinning prop blades and glued it behind the spinner.
I'm in two minds as to whether it's effective or not but I think it
looks better on a 'flying' model than the stationery prop blades.
I photographed the model balanced on a drinking
glass in natural light, against a grey paper backdrop using a Nikon
Coolpix 990 digital camera. The images were then cropped in Photoshop
and copyright-free sky images composited behind them.
Model, Images and Text Copyright © 2002 by
Mike Grant
Page Created 13 November, 2002
Last Updated 04 June, 2007
Back to HyperScale
Main Page
Back to Features Index
|
 Home
| What's New |
Features |
Gallery |
Reviews |
Reference |
Forum |
Search
Home
| What's New |
Features |
Gallery |
Reviews |
Reference |
Forum |
Search