|
Gotha G.III
by Mike Robinson
|
|
|
Gotha G.III |

HyperScale is proudly supported by Squadron.com
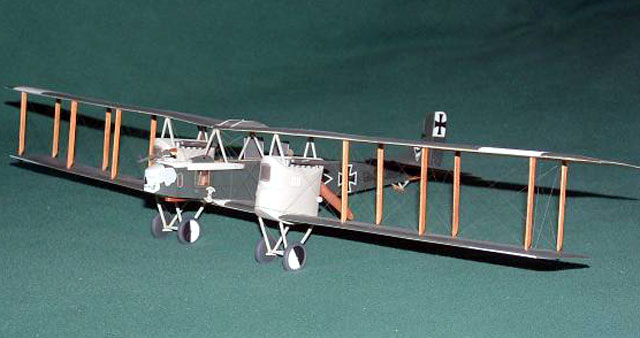
This is Copper State Models Resin Gotha G.III kit in
1/48 scale. It is currently the only Gotha kit available until Hi-Tech
releases theirs later this year or early next.
Having struggled with trying to correct an old Aurora
Gotha (a mishmash of G.III, G.IV and G.V components), I decided to bite
the bullet and pay the bucks for CSM’s offering. I was not disappointed.
Copper State Models' Gotha G.III is beautifully engineered.
The resin is superb and
well cast, with the exception of my stabilizer and rudder. I am sure if
I wrote to Eric and asked for new pieces he would have obliged, but
being simple in shape and profile, I found it easier to make new ones
out of .030 plastic and re-scribe the rib tapes.
The only downfall, if you can call it that, is the use
of white metal for many of the kit components. I am not a big fan of
white metal to begin with. I realize it’s cheap to make, and if a part
is messed up during casting, you simply toss it back in the pot and
re-melt it, which is not an option with a badly cast resin part. But the
fidelity of detail cannot be captured in white metal as it can with
resin, and my take is that this kit is expensive to begin with, a few
extra dollars for resin pieces instead of white metal would be
justified.
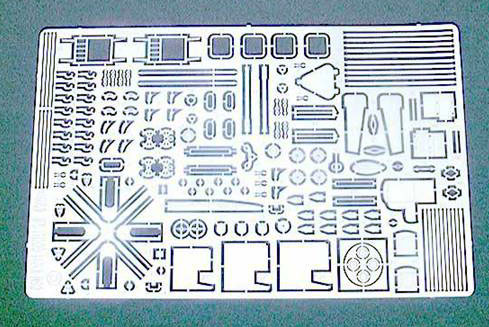
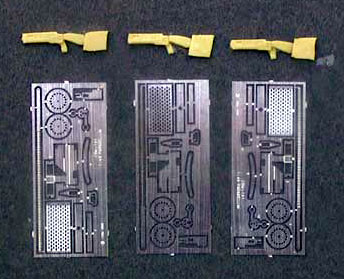
The photo etch is world class - some of the best I have
seen - and gives you all the little detail bits and pieces to keep the
most nit picky detail freak happy.
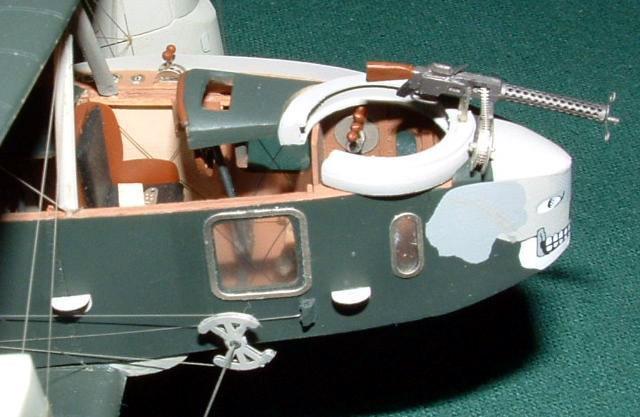
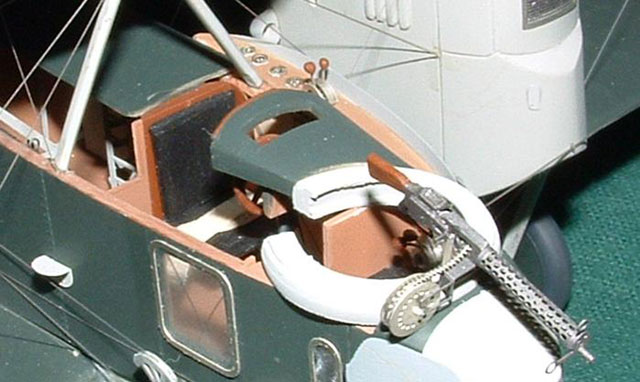
Included in the kit are a German Gauge set, a gorgeous
set that really makes the cockpit come alive, 3 Parabellum Machine Gun
kits which are really models in their own right, a German Bomb set, and
Decals for 3 machines, printed by Micro Scale.
Rather than attempt to make this a full blown review, I
included builder's notes I took as I constructed the model. I have a
total of about 300 hours in it, a lot of that spent making new parts to
replace the white metal parts I didn’t use. I recommend this kit highly
for advanced builders that have a few resin biplane kits under their
belt.
Click the thumbnails below
to view larger images:
|
|
|
|
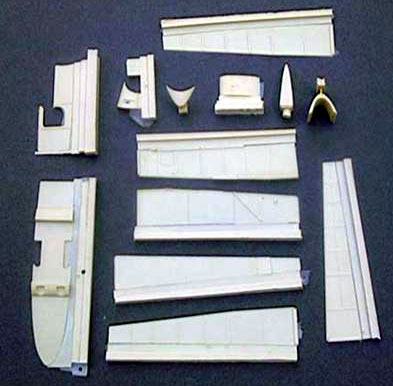
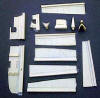
Resin fuselage parts - very nicely molded
|
|
|
|
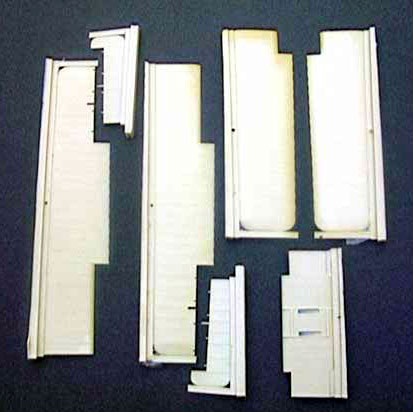
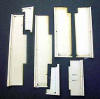
Resin Wings. These are BIG. If I was to do it over again I would figure out some kind of spar arrangement to help hold things in alignment.
|
|
|
|
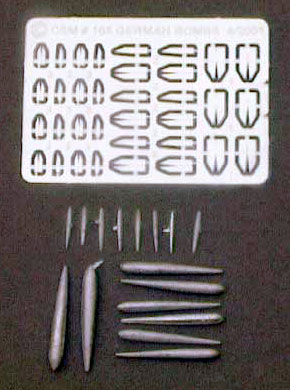
Bomb set in white metal with PE fins
|
|
|
|
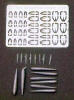
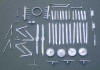
More multi-media - white metal castings. I used very few of these
|
|
|
|
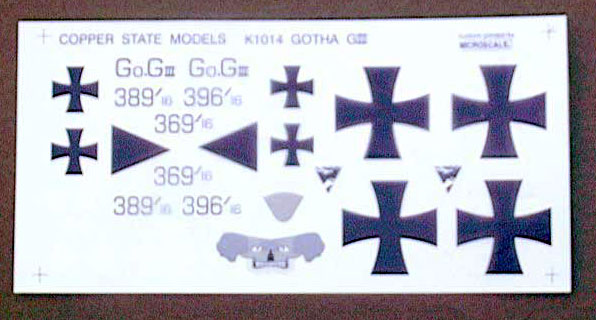
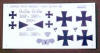
Decals printed by Microscale
|
|
|
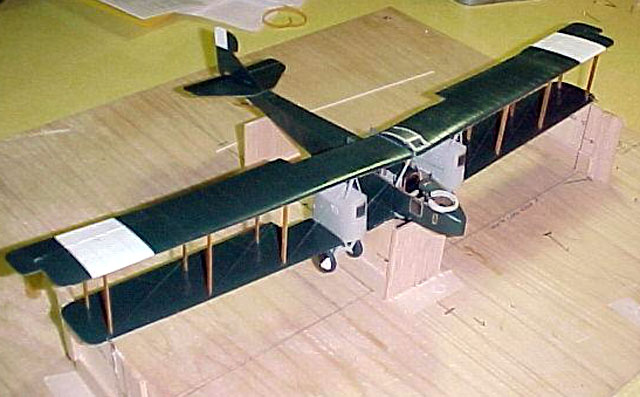
The jig I built to hold everything in alignment as I built it.
It’s getting there.
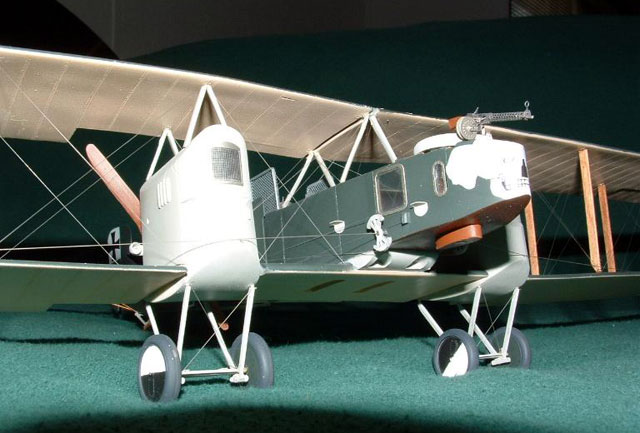
Same view after model is finished.
Photo-etched Fuselage Interior bulkheads were replaced with .020 plastic
for strength. Additional bulkheads were added to try to help keep the
fuselage sides in alignment.
Stabilizer and Elevator were replaced with scratchbuilt items as the
parts that came with mine were thicker on one end than the other..
Rudder was also replaced with a scratchbuilt rudder for the same reason.
All White Metal Wing Struts were replaced with scratchbuilt basswood and
brass wire struts, and reshaped to the correct profile. The quality of
the white metal struts was inconsistent. Some were real good, others
poorly cast and unusable.
All white metal Cabane Struts were replaced with Contrail Strut
material. Wing center Cabane Struts are a combination of Contrail Strut,
and soldered brass center spar. Wing Alignment was a major hassle due to
weight and length of resin wings.
Stabilizer struts made from Basswood.
White metal landing gear wheels were replaced with cast resin from my own
master. Shock cord detail was added that was not included in kit. The
Landing Gear struts are one of the few White Metal pieces I used, along
with the props.
Exhaust Manifolds replaced with new manifolds made from sprue and brass
tube and solder.
All rigging is structural to help hold the heavy wings from drooping at
the tips.
White metal Tail skid replaced with basswood and brass, and thread for
the shock cord.
.004 Nylon thread was used to rig throughout, both for structural
rigging and control lines.
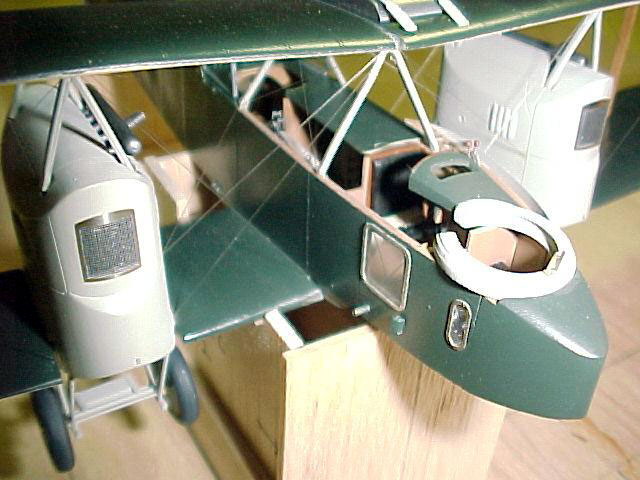
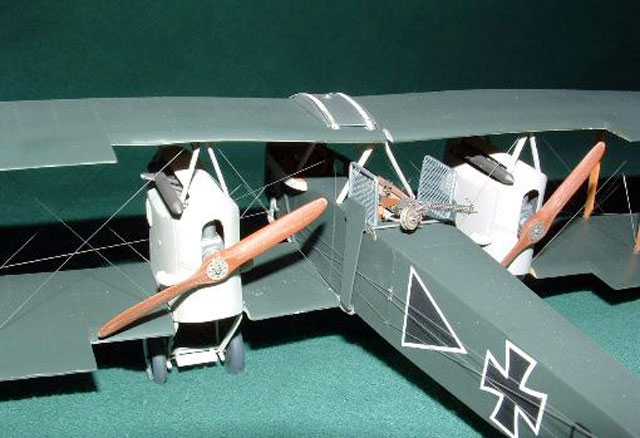
I used Floquil Military colors for the paint. For the Green I used RLM
70 (hey it’s close) and the natural doped linen is my own mix. I
overcoated the entire model with Dulcoat after decaling.

The sharp observer will notice that the lower bomb racks, and the upper
stabilizer struts are not installed yet. I was in a hurry to get this
done for a local regional contest and time simply ran out of time. I
will assemble them and put them on in time for BUFCON next April. For
now, I just want to admire it in my display case.
Photos are a combination of my own, the finished model being my own,
and the unassembled model directly from CSM’s website. I used a Fuji Finepix 3800 digital camera for all photos.
Click the thumbnails below
to view larger images:
Model, Images and Text Copyright © 2002 by
Mike Robinson
Page Created 15 December, 2002
Last Updated 04 June, 2007
Back to HyperScale
Main Page
Back to Features Index
|
 Home
| What's New |
Features |
Gallery |
Reviews |
Reference |
Forum |
Search
Home
| What's New |
Features |
Gallery |
Reviews |
Reference |
Forum |
Search