|
Focke-Wulf Fw 189A
by
Patrick Chung
|
 |
|
Focke-Wulf Fw 189A
Lothar Mothes, V1+7H |

MPM's 1/48 scale Fw 189A is available online from Squadron.com
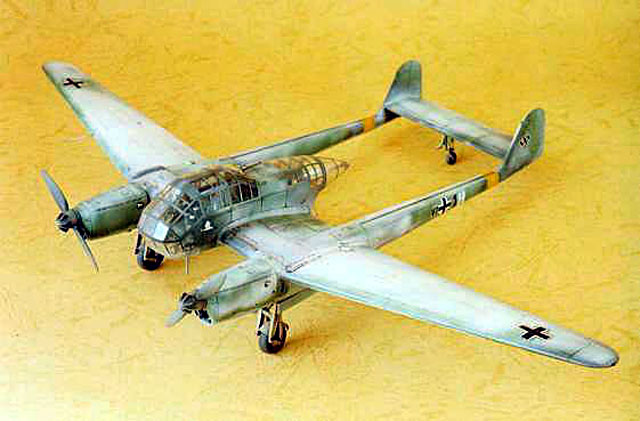
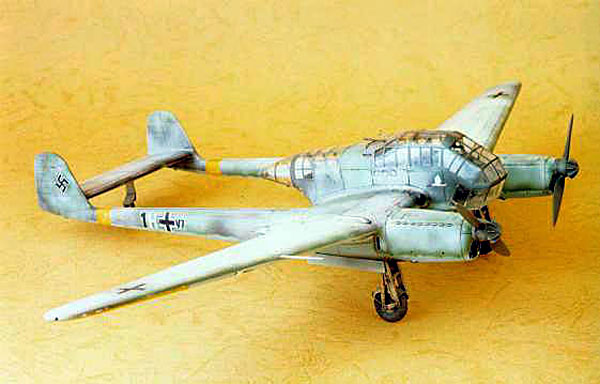
This is MPM's 1/48 scale Focke-Wulf Fw 189A.
The model I built was Fw 189A V1+7H (Werk Nr.2100). This machine
was attached to 1.(H)32 based in Finland in 1943. It is the sole
surviving sample of the type. Lufftwaffe pilot Uffz Lothar Mothes'
survived the crash of this aircraft when his plane was shot down by
Soviet Hurricanes near Soviet-Finland border on May 4, 1943.
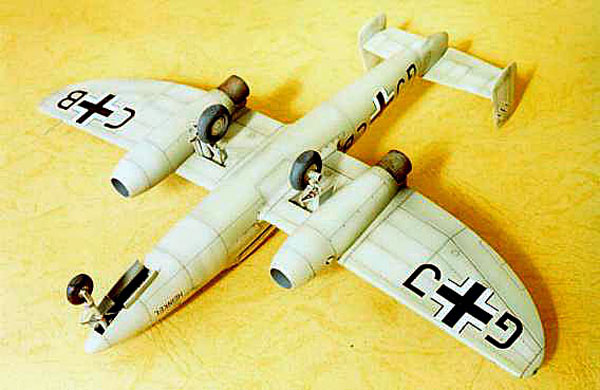
The wreckage of V1+7H was found by the Soviets in 1991. The
wreckage was then bought by a British private collector who raised a
fund for restoration. In 1996, after more than half a century,
Lothar Mothes was invited to Biggin Hill Airshow to be reunited with
his original Fw 189.
I bought this kit few years ago when MPM first released it.
At first glance I was seriously unimpressed by the poor
appearance of the kit parts. The non-metal moldings used by MPM at
that time apparently had a fairly short production life. The plastic
displayed very heavy flash and, due to inappropriate packing, many
smaller parts were broken, including the major clear (injected)
canopy parts.
Fortunately the people at MPM were kind enough to send
replacement parts free of charge. I then purchased a superb book
about the Fw 189 from Czech publisher MBI, which made it possible to
superdetail the kit.
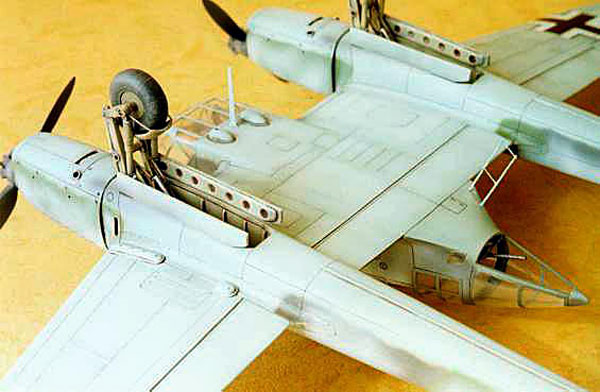
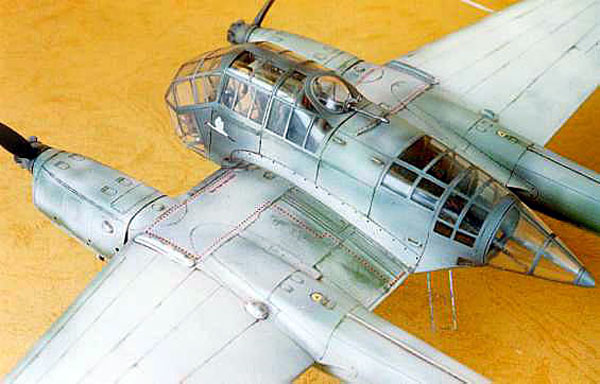
Construction of the kit stretched over two years. I
scratch-built hundreds of tiny parts for the interior including
resin cast duplicates of the ammunition magazine of the machine
guns. These parts were not supplied with the Fw 189, so the master
was borrowed from MPM's Ar-196.
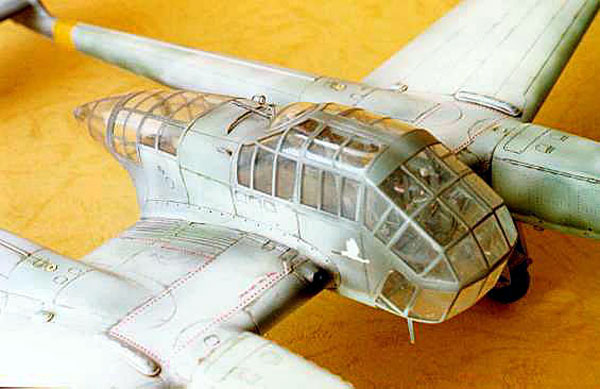
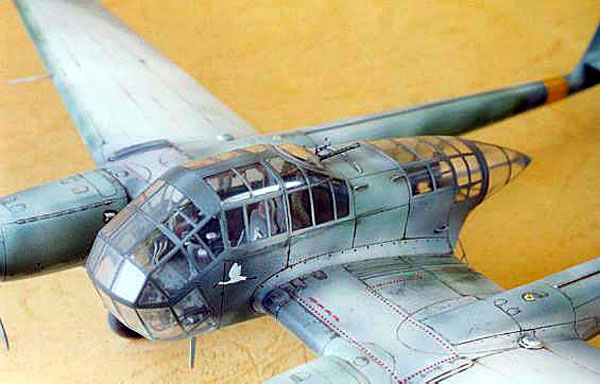
The fit of major parts was relatively poor, especially the
cockpit to wing center section and clear canopy to cockpit. For the
latter I used Cyanoacrylic (super) glue to fill the seams and then
sanded all over the area. The clear portion then wet sanded with
progressively finer paper, back to 2000 grit, and then polished
using Gunze rubbing compound, Tamiya wax and finally motor tool.
Click the thumbnails
below to view larger images:
Review and Images Copyright © 2002 by
Patrick Chung
Page
Created 15 April, 2002
Last updated
04 June, 2007
Back to HyperScale Main
Page
Back to Reviews
Page
|  Home
| What's New |
Features |
Gallery |
Reviews |
Reference |
Forum |
Search
Home
| What's New |
Features |
Gallery |
Reviews |
Reference |
Forum |
Search