|
F-86D Sabre Dog
by Aleksandar Mladenovic
|
|
|
North American F-86D Sabre
Dog |

Revell's
1/48 scale F-86D Sabre Dog is available online from
Squadron.com
Until the middle of the 1960's, the Yugoslav AF was
equipped only with jets of western origin including the T-33, F-84G,
F-86E (actually Canadir CL 13 Mk.IV) .
N.A. F-86 D 'Sabre Dogs' were the last western jets introduced into
Yugoslav service during early 1960s and probably the last to be
withdrawn in first years of 1970s after being flown for a few years
alongside MiG 21s !
Even though a good quality kit like Revell’s 1/48
scale Sabre Dog may be inspiring for the modeler, the lack of
interesting available decals can have the opposite effect. Fortunately
this kit was just irresistible, and I finally decided I should make my
own decals.
There are more than a few reviews regarding this kit , but there is one
common opinion ... this is a great kit ! Fit is exceptional, special
attention was necessary only for nose part and wind screen fitting on my
model, new seat belts were added and medical needle in place of pitot
tube forward part. Vertical fins for drop fuel tanks was made from
styrene sheet.
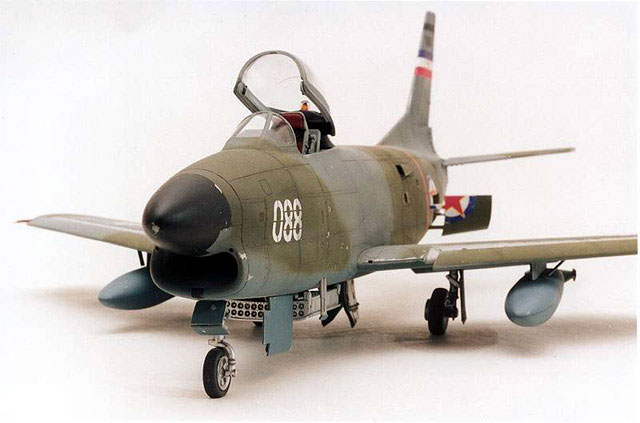
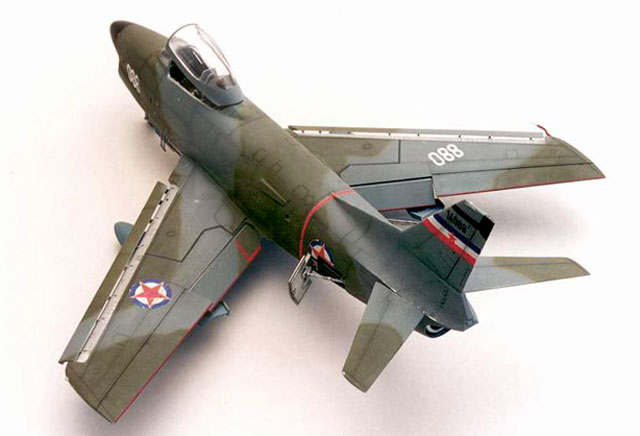
During it's service F-86Ds had all metal finish
when later some of them were painted in standard grey ( FS 36152 ) and
green ( FS 34102 ) upper and PRU Blue ( FS 35164 ) lower surface. I'v
decided to model my kit in this manner due to challenging look of
weathered camouflage.
A metallic primer was first applied, then I commenced camouflage
painting with Testors enamel PRU Blue. This was exceptional.
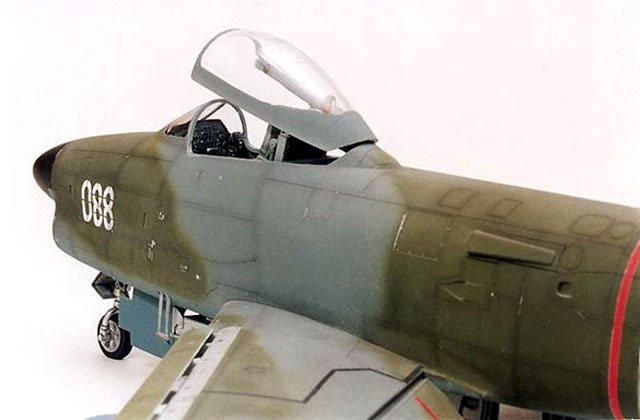
Next came grey/green upper surfaces using Humbrol enamels. This was not
at all a pleasant experience, however I was very satisfied with ABC
Modelfarbs (from Poland) acrylics in darker shade of grey and green
which I used to overshade panel lines.
After one, light coat of clear gloss, my kit was ready for decaling.
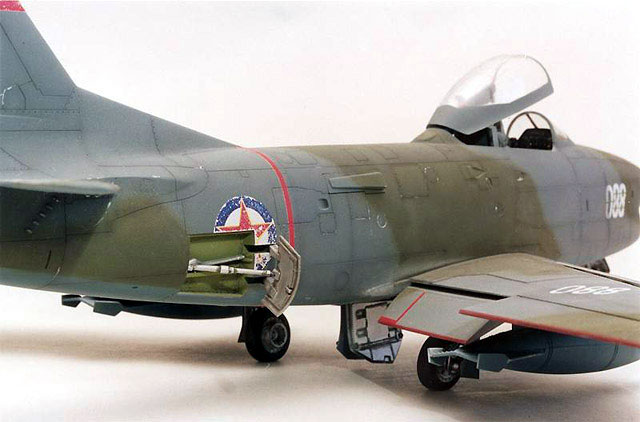
I was able to find exact measurements of roundels,
flags, serials and codes in modeling magazines. I used Corel 9 for the
decal artwork. With a little help of my friend I had free access to
color laser printer.
Tango Papa's clear decal paper is great for this kind of printing, I
didn't coat the decals ... weathered camo needed weathered markings too!
This was achieved by rubbing (not too hard, printed layer is very thin
).
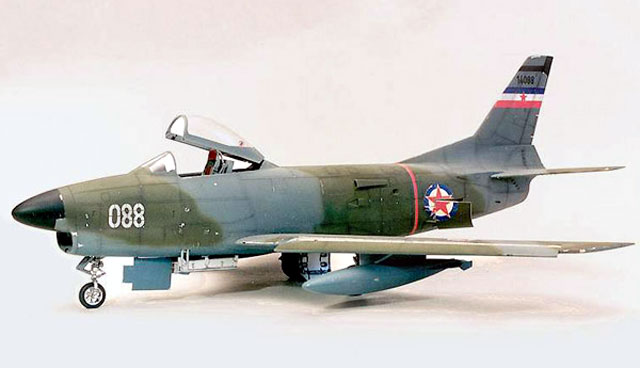
Tango Papa also produces white decal paper. A cutter was used for all
the white marking surfaces and white "088" codes . The white areas were
applied first (with dimensions exactly the same as roundel or a flag)
due to thin printed layer decals are very transparent for example red
star's outline which is yellow over green paint become greenish yellow!
Although there are two decal thicknesses, one over the top of the other,
they are still thinner than original kit decals.
I used no setting solution, as the decal film is very thin and they went
down great. When I was sure that the markings were in the correct
position I dipped a paint brush into alcohol (ethanol 98 ) with a single
pass over panels and the decals conformed to the panel lines perfectly.
A sealing coat of clear matt was sprayed on, with a bit more Tamiya's
flat base than usual (for a sun fading effect) on the top side colors,
and the kit was done!
The pleasure of a properly done kit was definitely multiplied with these
home made decals. I can't wait for next modeling project!
Model, Images and Text Copyright © 2002 by
Aleksandar Mladenovic
Page Created 25 September, 2002
Last Updated 04 June, 2007
Back to HyperScale
Main Page
Back to
Features Index
|
 Home
| What's New |
Features |
Gallery |
Reviews |
Reference |
Forum |
Search
Home
| What's New |
Features |
Gallery |
Reviews |
Reference |
Forum |
Search