Home
| What's New |
Features |
Gallery |
Reviews |
Reference |
Forum |
Search
Home
| What's New |
Features |
Gallery |
Reviews |
Reference |
Forum |
Search
|
|
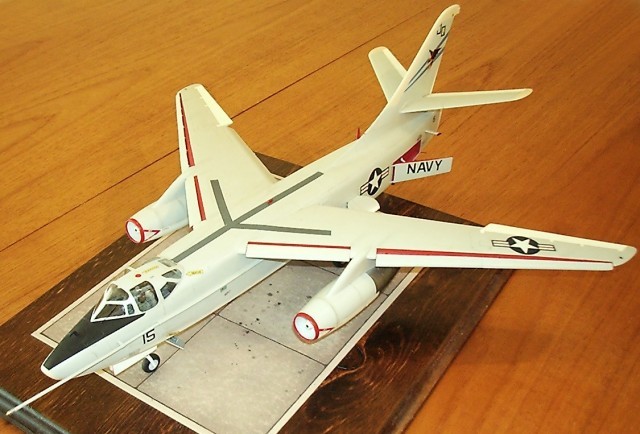
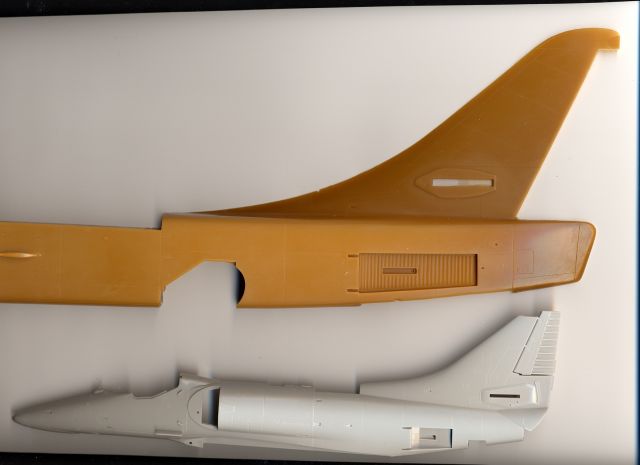
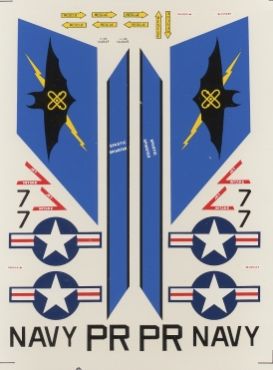
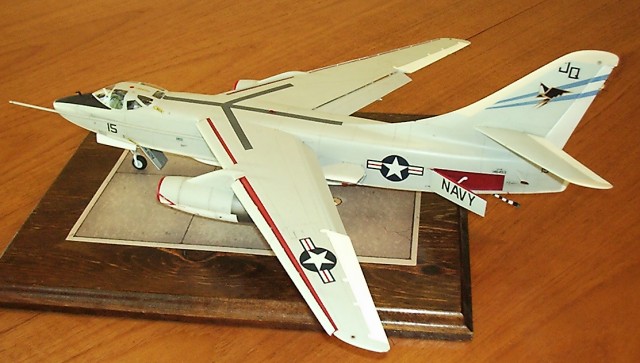
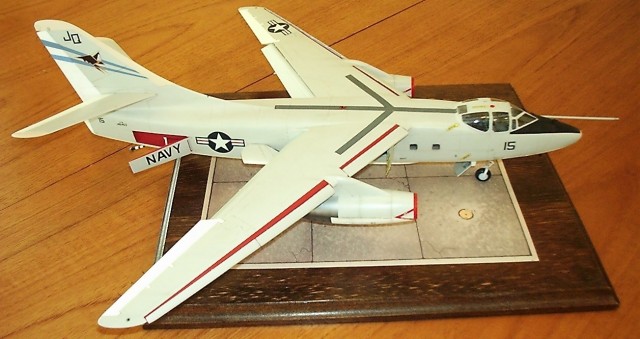
I also included a size comparison with a Hasegawa Skyhawk for fun! The decals included are VQ-1 and very vibrant in color. I wanted to make a VQ-2 EA-3B so I used my printer for the main decals as well as some of the smaller stuff like warnings etc.
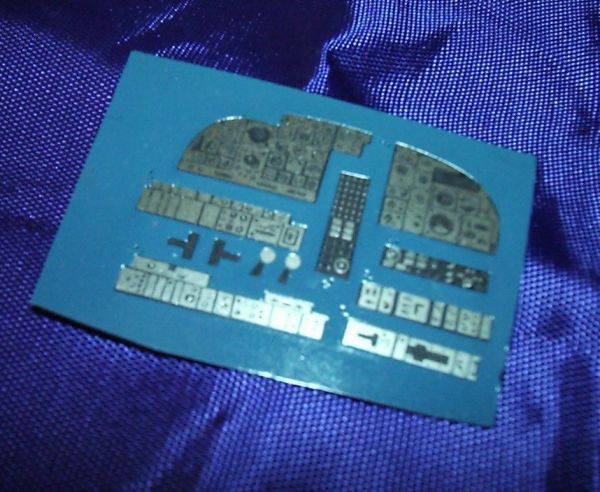
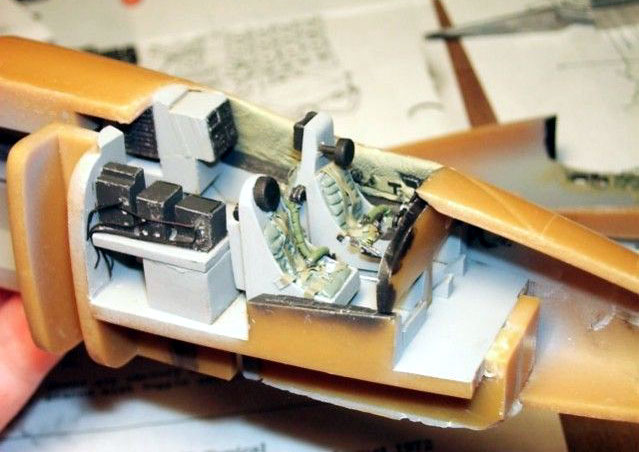
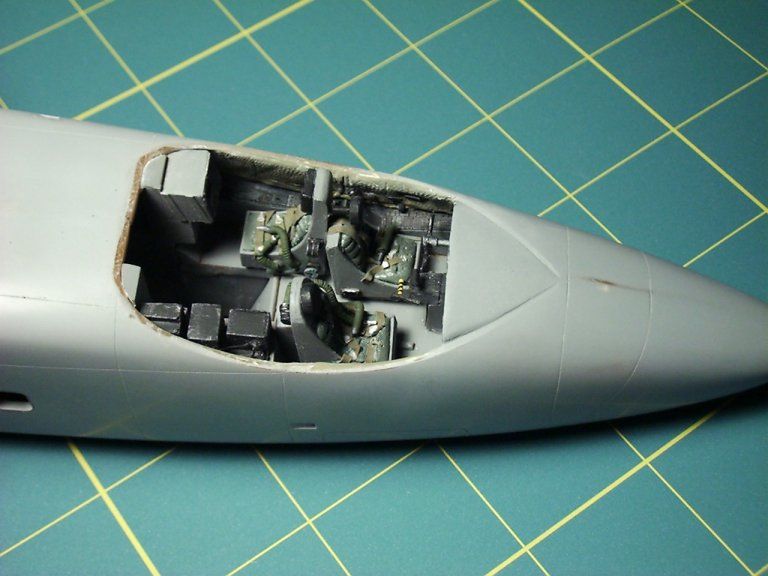
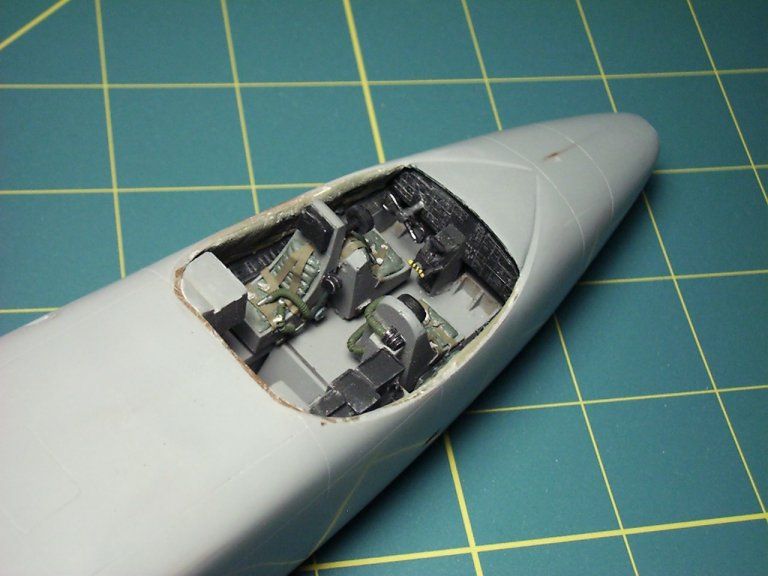
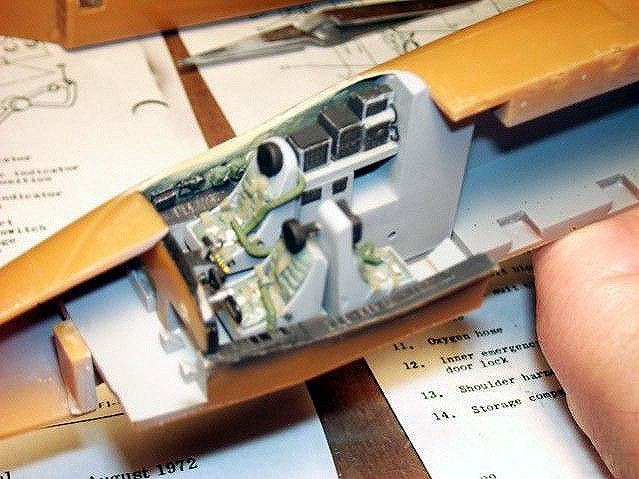
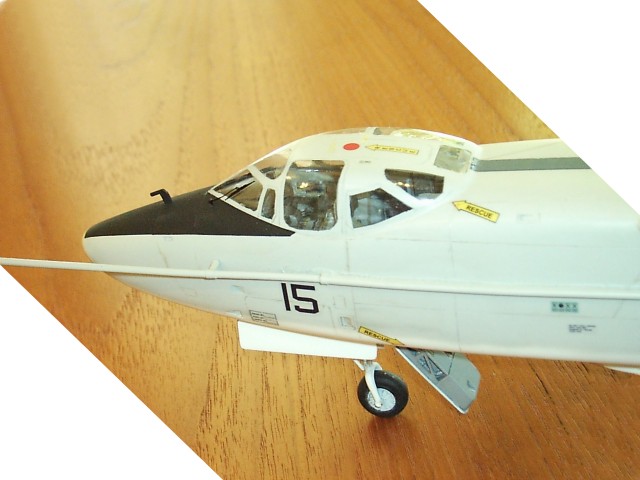
I wanted to add more detail in the cockpit and used the different resources I mentioned above to spruce it up a bit. Here are some in progress pictures of the cockpit. Look at them here because after the plane is done not very much will show!
Click the thumbnails below to view larger images:
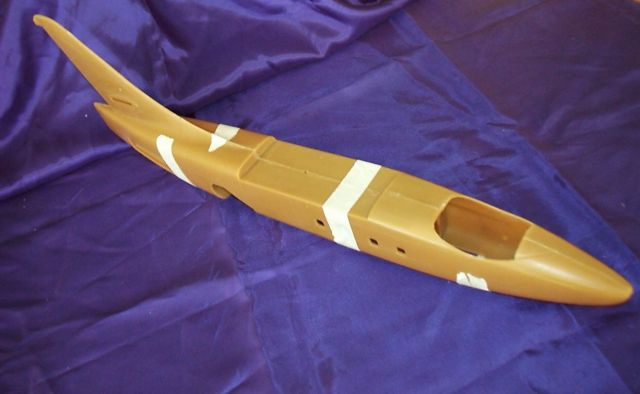
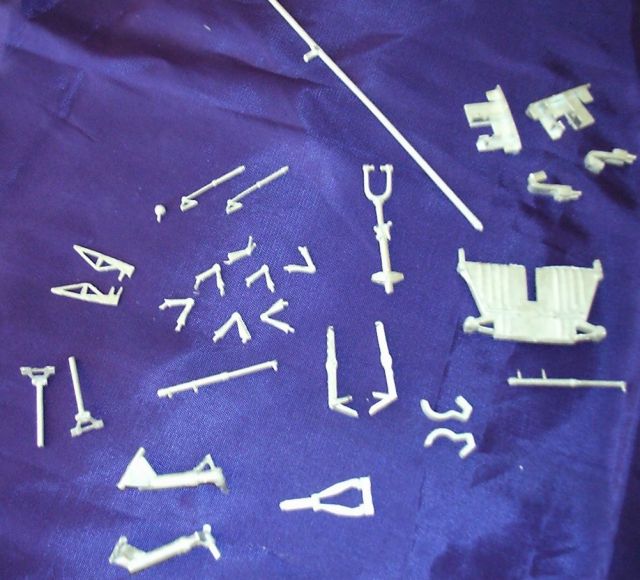
The fuselage has a lot of components that need to be fitted carefully if
it is to close without any trouble.
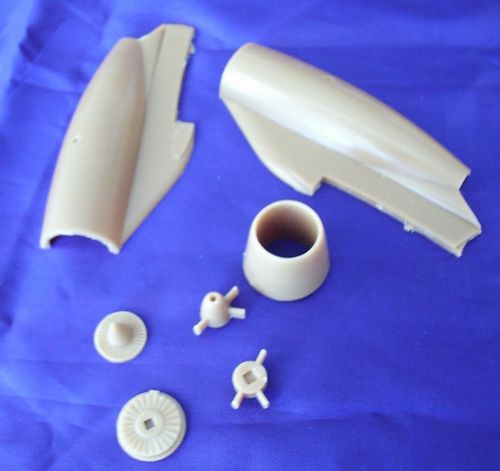
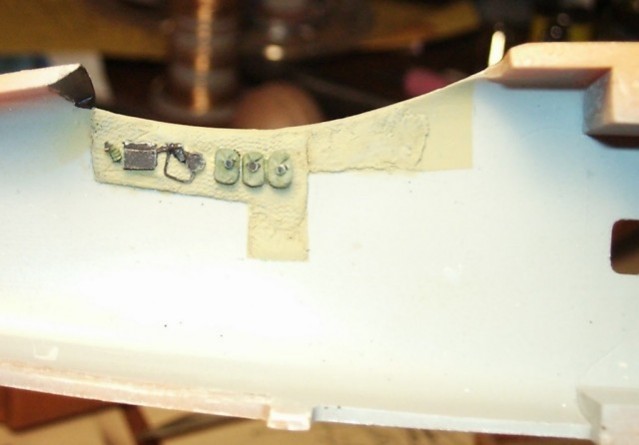
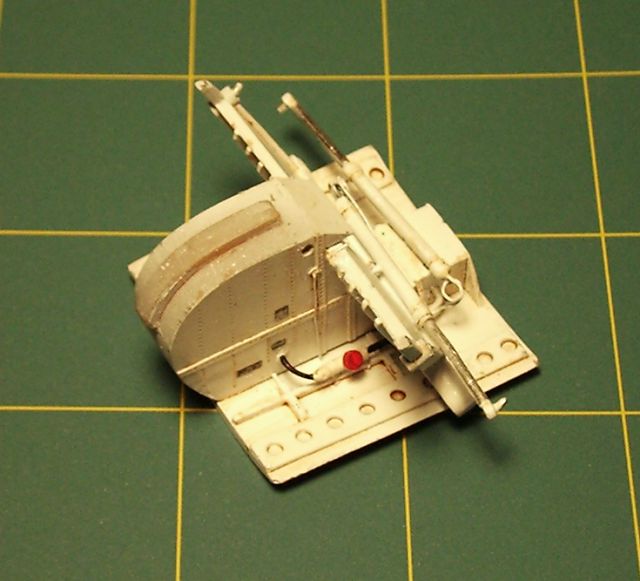
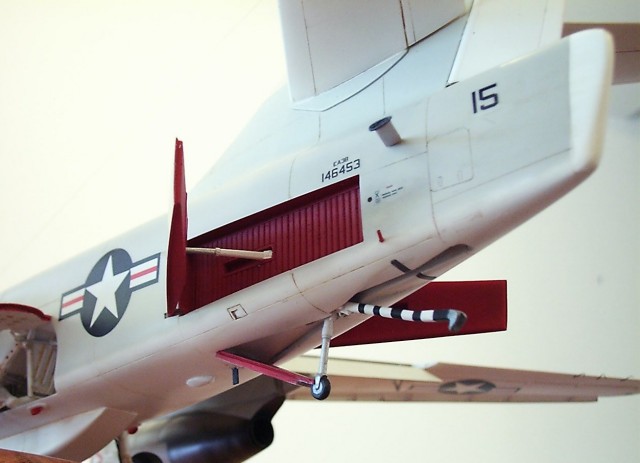
The next area of interest is the wheel well. Collect-Aire's maker chose
the hard way out and added all the necessary detail. The Hasegawa is
lacking in this aspect with no see through areas and less detail (ok for
1:72 though). Here are some shots of this area. I added some wire for
extra effect and a few other details. Do not use the pressurized air
bottle provided in the kit for the left side because this was found on
the prototype and it was used for emergency landing gear kick-down.
Spend a lot of time here. It is very difficult to get all the angles
right for all the actuators. I super-glued nothing on my kit. Everything
was barely keeping together with white glue. I needed all the angles
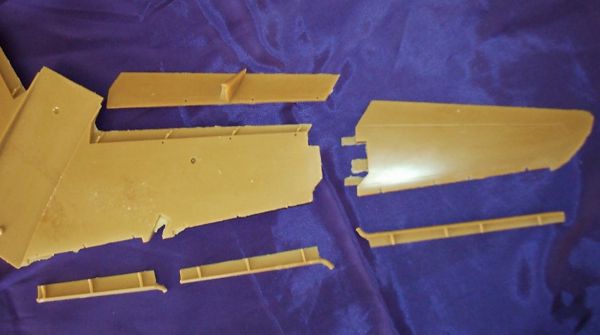
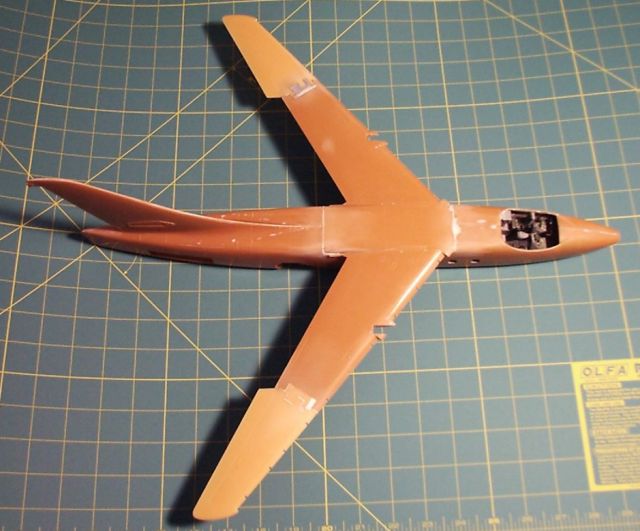
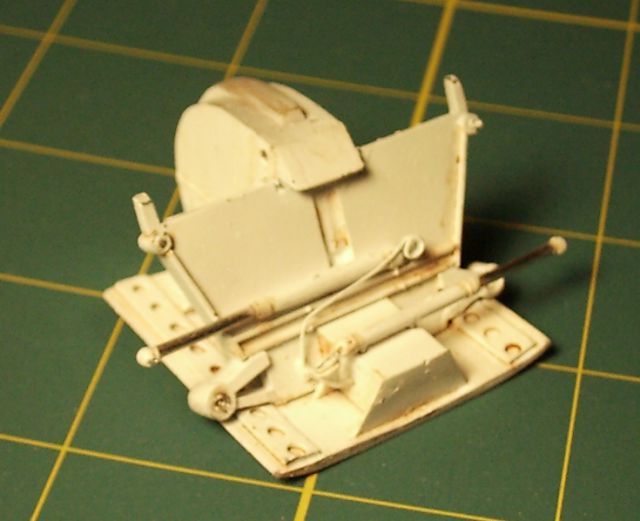
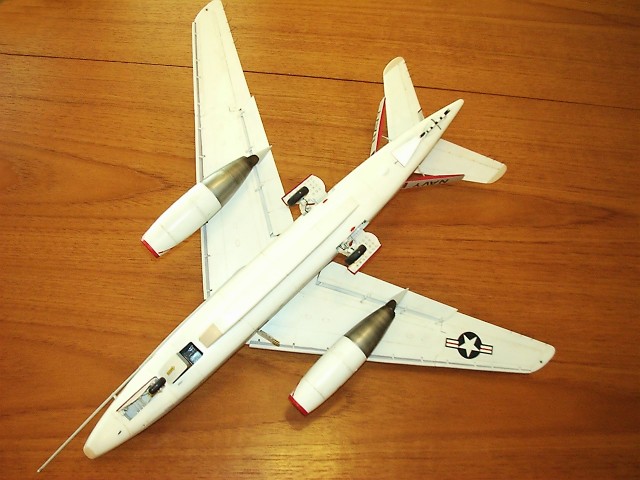
right before committing the to super-glue. The wings come in three main parts. The center section mates with the fuselage and two outer sections can be posed in the folded or deployed position. Metal parts are provided if you want to have the wings folded. I was hoping to make the kit in such a way so that I could have the option to have the wings up or down. It did not work well for me so I chose the wings to be down. You can see in the picture below that one wing has the resin part installed and the other does not. From the white putty you can tell which areas might need attention.
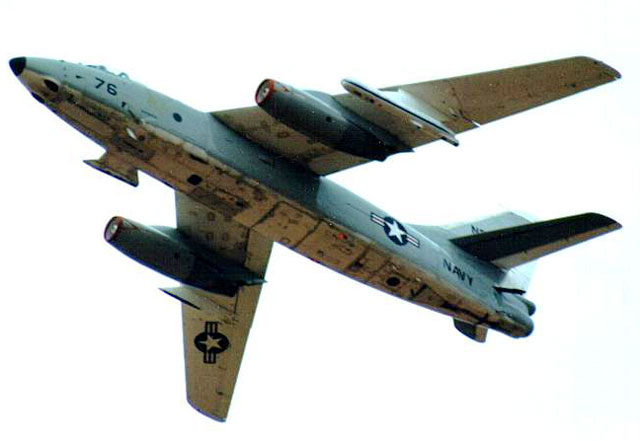
All the slats and flaps are there as well as the actuators. I am most pleased that the maker did not pose them shut. The Skywarrior always had the slats hanging. The inner slats less and the outer slats more. I have never seen a picture of a parked A-3 or a B-66 with the slats up. I think this is because airflow brought them up and when stationary they were always hanging down, much like the F-86, Me-262, etc. Spend time here as well. It is important to get this part right because the front wing area is red and the contrast will show any misplaced slats from left to right. Remember that the early A-3s did not have inboard slats but the later ones did. The inboard slats do not come out much but the outboard slat pair can hang down pretty low. The outer slat pair goes down together so make sure they are at the same exact relation with each other. Click the thumbnails below to view larger images:
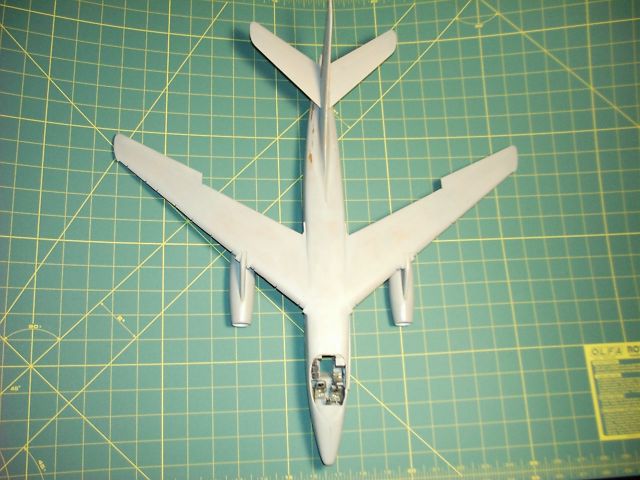
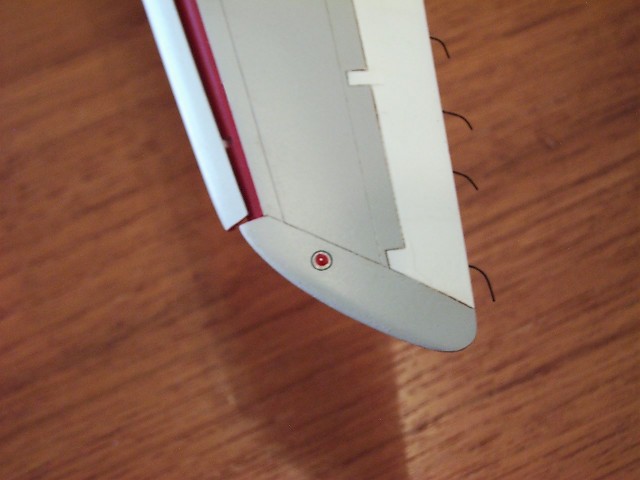
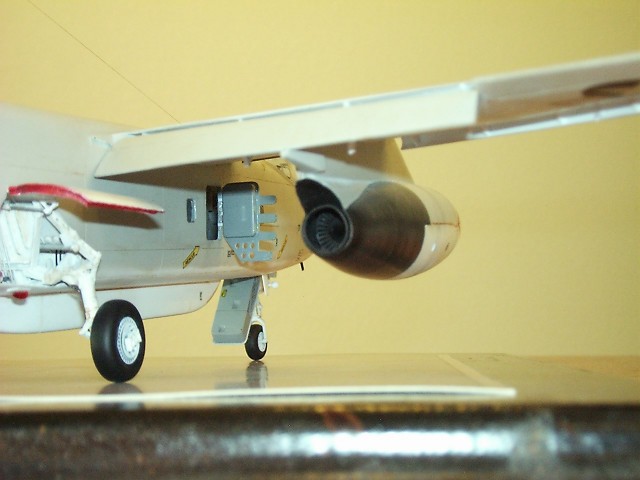
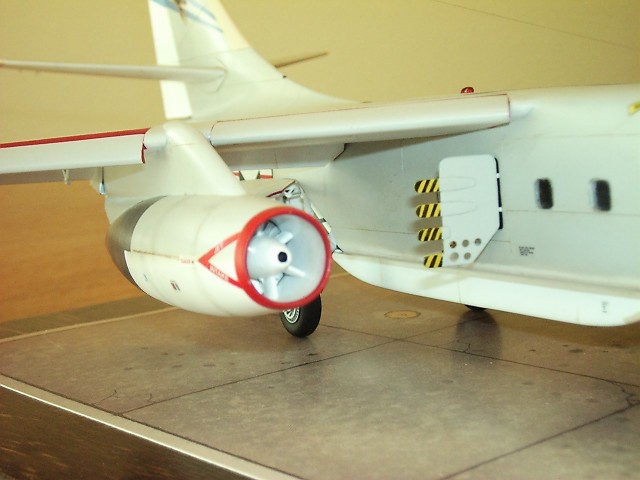
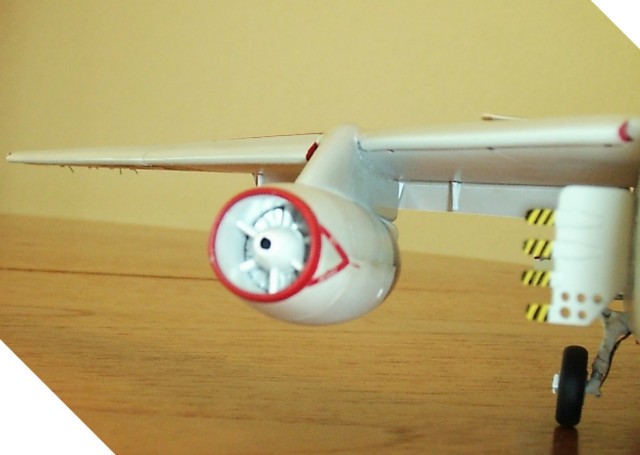
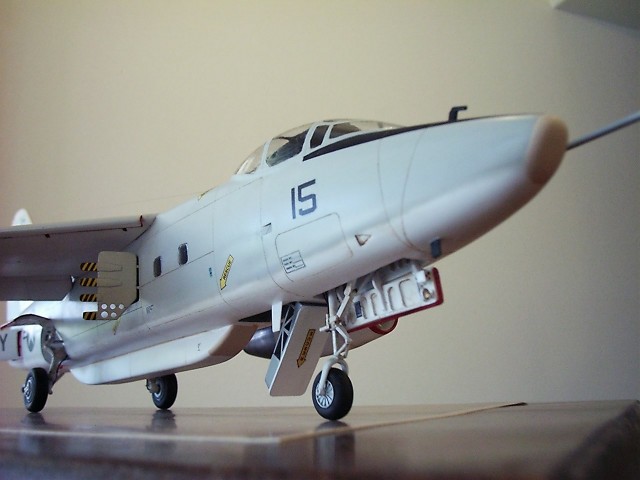
The engines and their nacelles fit very nicely on my example. I have included three pictures to show the intake, the exhaust and the nice fit of the front intake to the main nacelle. What does not show in the pictures is the little extension I added later out of plastic stock to represent the exhaust tube that sticks out a little bit. Small details you might want to add are the red beacon light on the top of the fuselage, the two red beacon lights around the main wheel well area. I made the navigation light on the top and bottom of the wings in the following manner. I took some thin styrene sheet applied some wide yellow Tamiya masking tape and punched a #4 size hole with my Waldron set. I placed it on the wing (masked side down for sealing) and airbrushed silver paint on top of the styrene. When dry I put a blob of Tamiya clear red and clear blue respectively. When that was fully dry, I used Verlinden's aircraft stencil dry transfer set and rubbed on it a circular stencil of slightly larger diameter. It looks cool and it is easy to do. I have provided a photo below of the red Navigation light.
A small vent was added under the main fuel vent and was painted red.
Some wiring is always nice to be added in these types of kits where the
wheel wells are all exposed. My Skywarrior walkaround should provide
some help for doing this. A photoetched windshield wiper was added from
an Eduard fret. The pitot tube was from the spare parts bin. Lastly all
the tiny blade antennas were added from styrene sheet.
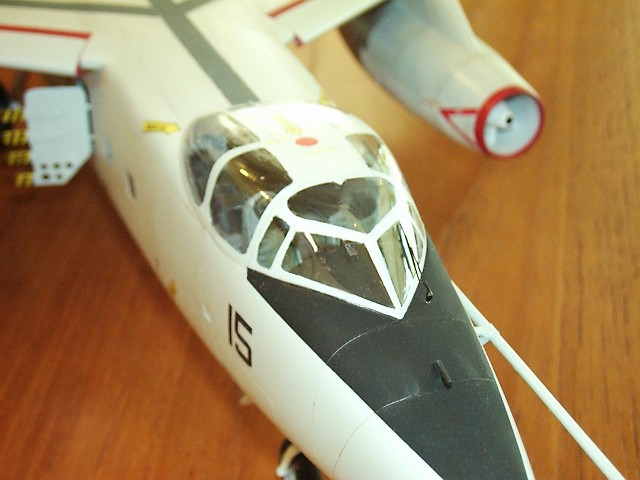
I used Testors Model Master for the main colors and Alclad II for the metal tones. I made the decals with my Hewlett Packard 950C printer. I used BEL Inc's decal paper and Micro-Decal solution. The Black stencils and numbers were done on clear decal paper and the color decals were done on white decal paper. I wasted a lot of decal paper as I was trying to find the balance between too much Microscale decal solution (too thick decals) and too little decal solution (ink brakes through the protective cover). The VQ-1 decals included in the kit are fine if maybe a little too vibrant. You can use them if you want to depict the plane as it just came out the paint depot.
Future was used on the canopy. The canopy master is very finely scribed and through the vac-forming process the detail becomes faint. After a good layer of Future the metal frame almost disappears completely. I used the extra canopy provided and cut on it Tamiya's masking tape. I then used the masking masters and transferred them on the Futured canopy. Any tape residue was later cleaned with lemon scented GooGone (I wish I knew the international equivalent name). A layer of Future was sprayed everywhere except the bare metal areas. Raw amber wash was applied and wiped off. The finished plane was sprayed with semi-gloss Model Master coating. A few pastel shades were added here and there and finally the obligatory hair strand was added to represent the aerial. At the pace I am building these Collect-Aire kits my wife has nothing no fear of running out of hair!
Click on the thumbnails below to view larger images:
Model, Images and Text Copyright © 2002 by
Fotios Rouch
| ||||||||||||||||||||||||||||||||||||||||||||||||||||||||||||||||||||||||||||||||||||||||||||||||||||||||||||||||||||||||||||||||||