|
Messerschmitt Bf 109G-6
by Juan E. Benitez
 |
|
Messerschmitt Bf
109G-6 |

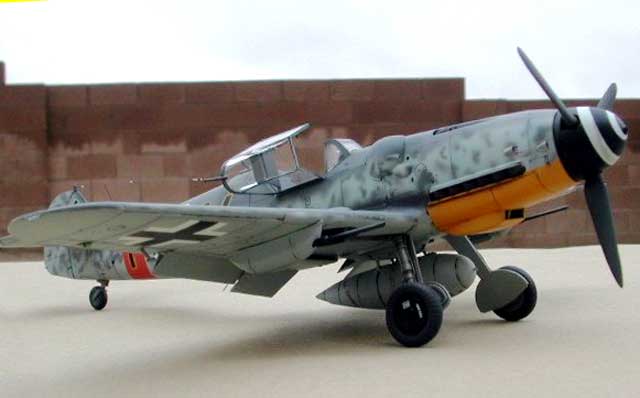
Hasegawa's 1/32 scale Messerschmitt Bf 109G-6 is available
online from Squadron.com
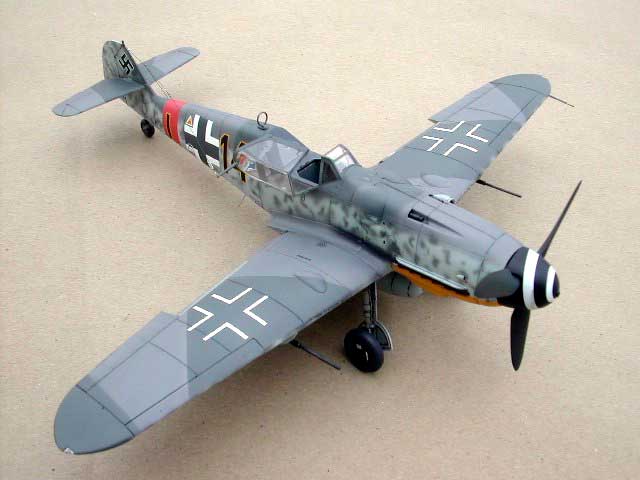
This is Hasegawa’s 1/32 scale Messerschmitt Bf 109G-6 kit.
Volumes have been written about Willy Messerschmitt's marvel, so
I would refer the reader to their favorite references. Much has also
been written about Hasegawa's new Me-109, but I will say that after
having been out of the large scale modelling scene for almost 2
decades, they really came back with a bang! This kit is a dream to
build, very accurate right out of the box, and has the right "look".
I built this kit straight from the box, adding only seatbelts and
swapping the canopy from the G-14 kit in order to make use of
EagleCal's EC#40 decal set, which includes 109's from JG1, JG11 and
Hptm. "Tony" Hackl's <<.
The reason I swapped canopies between the G-6 and G-14 was so
that I could also do a G-6/U2 with the tall tail and standard canopy
(Gelb 9) from the same decal sheet.
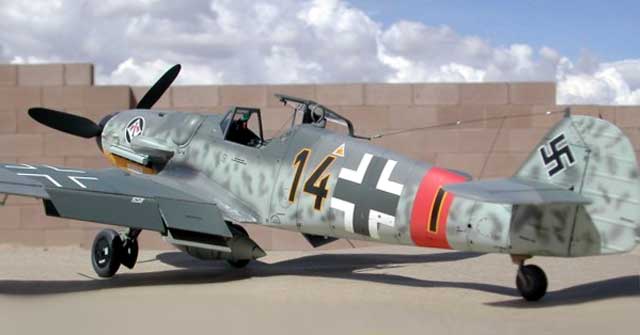
For my first effort, I chose to do a bird that flew with 8./JG1,
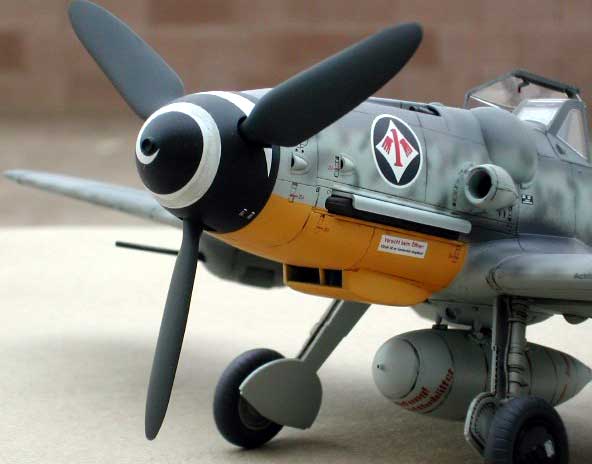
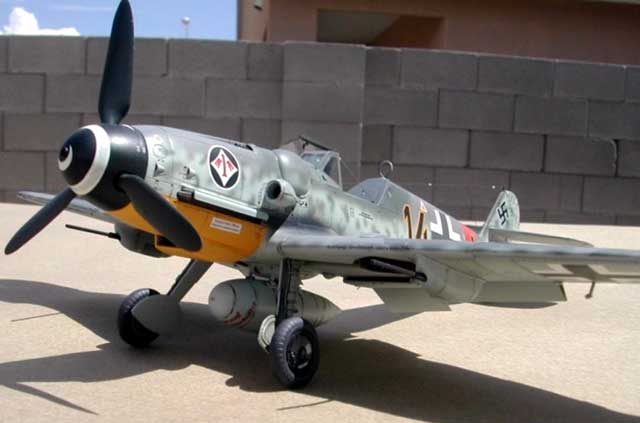
"Black 14", from Detmold, Germany. This colorful bird had the yellow
undernose, spiralschnause, and red Reichsvertidigung band around the
rear fuselage. After basic assembly, the plane was checked for any
blemishes and washed in warm soapy water in preparation for
painting. I used Testor's ModelMaster paint throughout. First I
sprayed the yellow nose, and followed up with the RLM 23 red, which
is almost pink in color. After masking, the RLM 76 was next. The RLM
74 and 75 were sprayed last, and now the kit was starting to look
like a real 109!
Here's where the fun really starts! Instead of preshading as is
normal, I decided to try the "sludge" technique I read about in
Finescale Modeller Magazine. First I coated the plane with Future
(my favorite gloss coat!) and after the plane was dry, I mixed 3
parts Pollyscale acrylic black, 5 parts water and 3 parts
dishwashing liquid and slopped it on all the panel lines. After the
sludge was dry, I used q-tips to wipe away the sludge and was
surprised (and relieved!) to find the sludge worked as advertised!
After all the decals were applied, I gave the bird a flat finish by
mixing Future with Tamiya flat base (1 to 1/2 ratio, too much flat
base and you get a very very flat, almost frosted, effect) and after
adding a brass-wire antenna and the other details were added, I have
the results you see on this page. I will definitely be building more
of the birds in the future!
A few words on EagleCals decals: They are very well printed and
researched but bear, in my opinion, they also seem quite thick and
may require multiple applications of Microset/Microsol to get that
painted-on look. Other than that they look great!
Happy Modelling!
Click the thumbnails below to view
larger images:
Model, Images and Article Copyright © 2002 by
Juan E. Benitez
Page Created 14 November 2002
Last updated
04 June 2007
Back to
HyperScale Main Page |  Home
| What's New |
Features |
Gallery |
Reviews |
Reference |
Forum |
Search
Home
| What's New |
Features |
Gallery |
Reviews |
Reference |
Forum |
Search