|
Messerschmitt Bf
109C
by Thomas Bautch
|
|
|
Messerschmitt Bf 109C |

Hobbycraft's 1/48
scale Bf 109C is available online from Squadron.com
I wanted to submit this just to see if I am making any progress in my
modeling skills.
The last time I built a plastic model was about 35 years ago at the
age of about 14. I gave up the hobby because of other interests that
naturally occur in the teen years. The modeling bug hit me again at
around age 40 when I stopped at hobby shop on the way home from work one
day. I ended up buying a complete RC starting set, plane, engine and
radio gear. I’ve been building and flying RC ever since.
Last summer I started researching for a Grumman F3F that I was going
to scratch build in 1/5 scale and bought a couple of plastic kits to use
for reference, one of which was the Accurate Miniatures version. I
started following links on the internet from the AM site and saw the
amazing detail results from the kits on the market today. I was hooked
again!
In the past three months I have managed to accumulate 75 kits, two
airbrushes, and about 50 bottles of model paints, as well as the tools
and other regalia needed to produce a reasonably acceptable model.
Construction,
Painting and Weathering
|
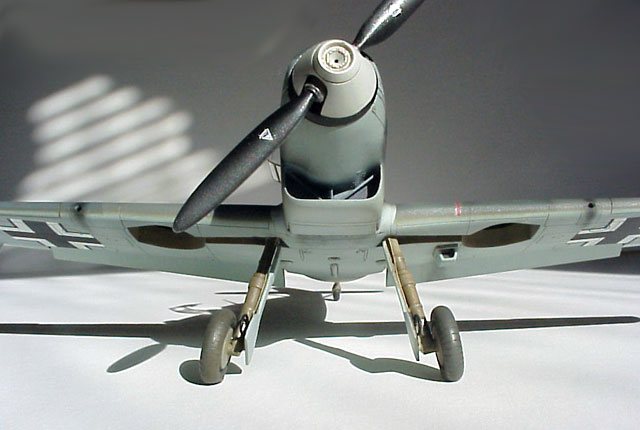
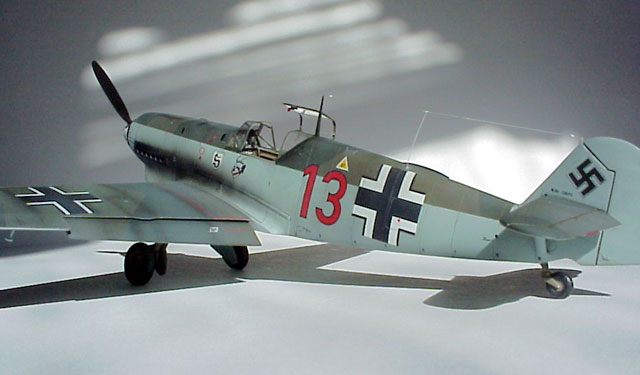
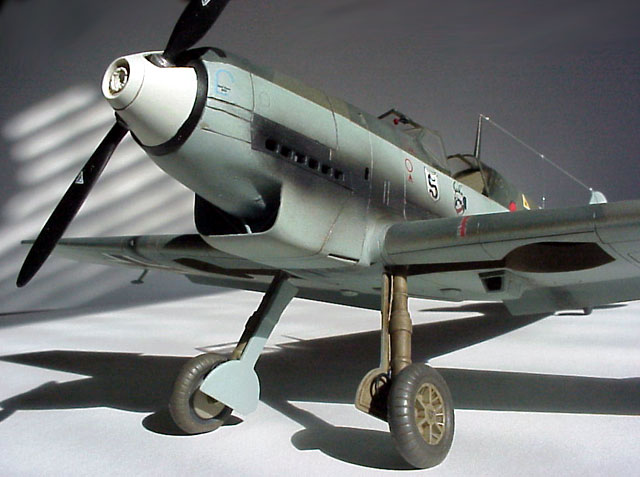
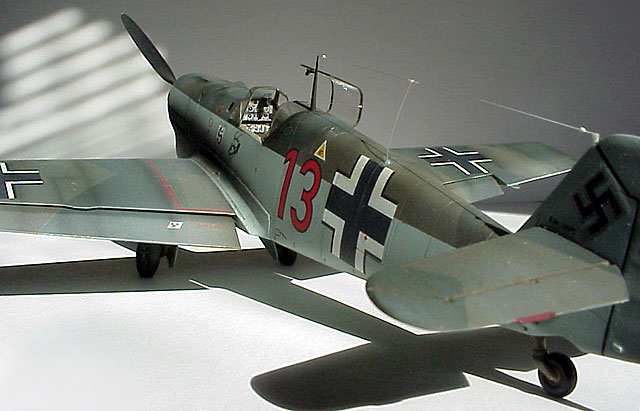
This plane represents the first completion of the kits I have started
(that would be six so far!). It is a Hobbycraft Messerschmitt Bf 109C -
or at least that’s what the box says. After finding more pictures
especially at the Falcon’s Messerschmitt BF109 Hanger site I realized
that in particular the gas filler should be directly below the cockpit.
It wasn’t until the D or E model that the filler was located behind the
cockpit. But the model was virtually complete so I just finished it up.
Maybe it’s a D model that lasted through to 1940.
In building the model this is the first time I:
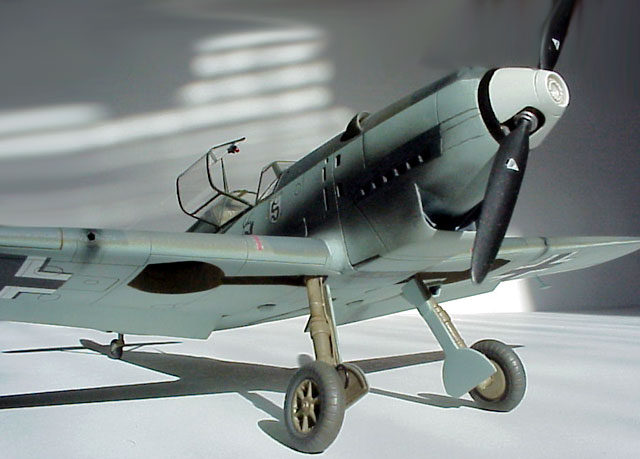
Some additions I made to the kit:
-
Flattened the wheels with an iron
-
Added the canopy release handle made from
stretched sprue
-
Made the antenna wire form invisible
thread with white glue insulators
-
Added brake lines made from some wire I
found at Radio Shack
-
Attached the flaps and landing gear with
copper to prevent easy breakage
-
Added some detail to the radiator
-
Drilled and filed out all the cowl
openings
-
Used a Squadron canopy
-
Added a piece of clear plastic to the
gunsight
-
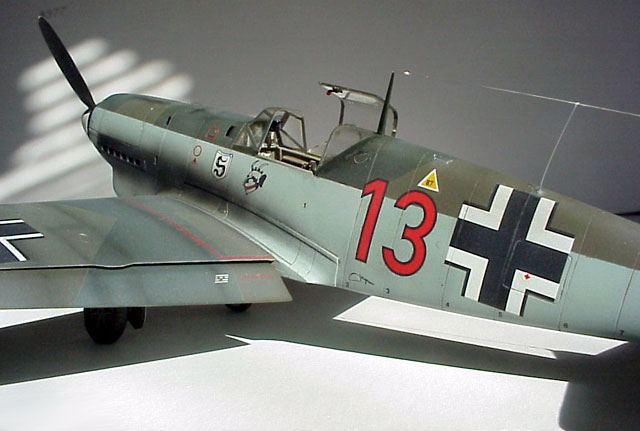
Used Aeromaster decals
As you might see form the photos, I got a little carried away in the
exhaust staining. I was trying out the pastel technique and then ended
up having to cover up some mistakes by adding more shading. Other areas
that I managed to hide in the photos are a very bad canopy join at the
rear of the cockpit, my omission of a backing for the exhaust ports
(I’ve got to find a way to stuff something in there!), a not very clear
canopy in general and some silvering on the decals. Actually the model
photographs better that I think it really looks.
I might gratefully add that almost all the techniques I used I
learned from the Gallery and Forum Articles on HyperScale. My thanks for
a truly great site.
Project Summary
and Additional
Images
|
Click
the thumbnails below to view larger images:
Model, Images and Text Copyright © 2002 by
Thomas Bautch
Page Created 08 June, 2002
Last Updated 04 June, 2007
Back to HyperScale
Main Page
Back to Features Index
|
 Home
| What's New |
Features |
Gallery |
Reviews |
Reference |
Forum |
Search
Home
| What's New |
Features |
Gallery |
Reviews |
Reference |
Forum |
Search