|
Bristol
Beaufighter TF.X
by David Harmer
|
|
|
Bristol Beaufighter TF.X |

Tamiya's 1/48
scale Beaufighter TF Mk. X is
available online from
Squadron.com
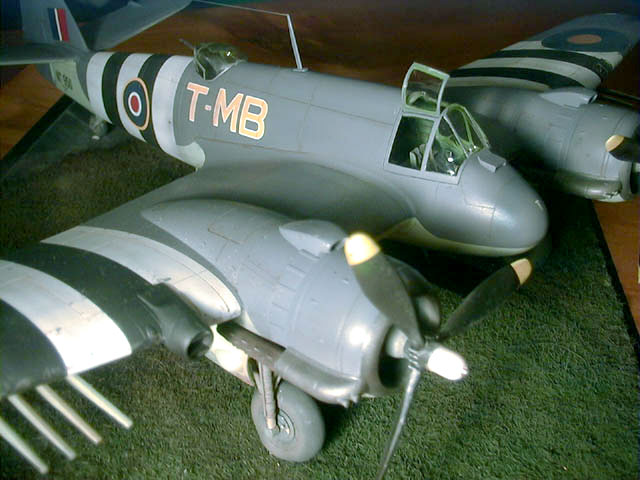
Here is my 1/48 Tamiya Bristol Beaufighter Tf Mk.
X. I was determined to build this model after seeing one built up in my
local hobby store. I often find inspiration in the work of the builder
who is very accomplished.
This is my first submission to HyperScale and, as this kit has been
reviewed a number of times before, I won’t bore you with detail about
fit and accuracy (besides, I didn’t pay as much attention as I should
have to the references I had so I can’t really claim to know what I’m
talking about!).
In my case, the Beaufighter didn’t exactly fall together but I think the
blame for this can be laid squarely at the feet of the builder, rather
than the manufacturer. For the most part, this is an excellent kit.
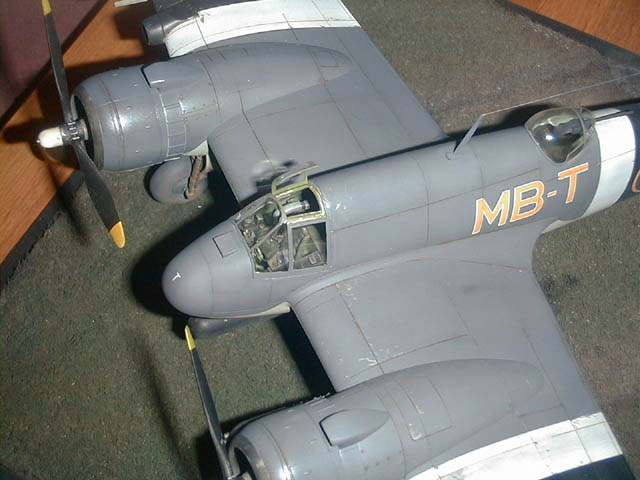
I started with the cockpit, faithfully following
Brett Green’s recipe for painting and shading a cockpit from one of his
articles. I pre-shaded all the interior detail in black, taking care to
hold my airbrush at an angle to ensure a fairly prominent “shadow”
behind the raised detail.

After this, I sprayed interior green, using a
mix of Tamiya enamels recommended to me by Tom Cleaver - who is always
prepared to answer my questions even though we’ve never met. I applied
an oil wash then dry-brushed the surface detail to bring it into relief.
After finishing the interior and completing the rest of the assembly I
moved on to painting and markings, pausing only to remove the
battle-damage plates molded into the wing surface by the manufacturer
and rescribe the panel detail on the upper wing.
Yet another HyperScaler
provided me with instructions in order to be able to do this.
Unfortunately, I have lost his contact details but thank you for this
information whoever you are.
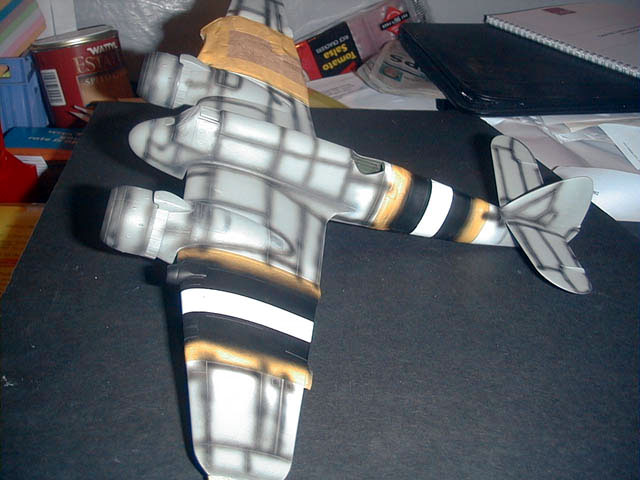
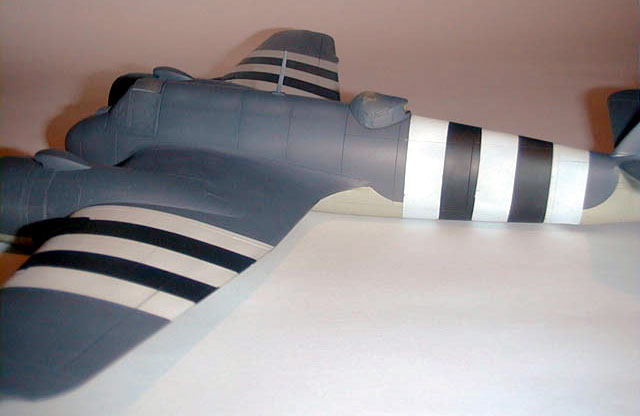
I’ve been keen to finish an aircraft with invasion
stripes for a while now, so decided to go with the kit markings.
Painting was done with Tamiya enamels and went smoothly until I rather
stupidly cracked the leading-edge join on the starboard wing. As
complete misfortune would have it, the crack ran the length of the
invasion stripes and required much sanding, gnashing of teeth, swearing
and re-painting to repair.
Click
the thumbnails below to view larger images:
This in turn, resulted in damage to the roundel
applied to the wing, which meant I had to remove and replace the
starboard-wing decal. Of course, the only after market replacement I
could find was noticeably different in colour to the kit decal, so both
wing roundels ended up being replaced. Lesson: don’t hold a model
aircraft by the wing, towards the wing-tip, unless you are also
supporting the fuselage.
This was a hugely satisfying project, in part
because I finally triumphed over adversity and finished this model, but
mostly because I’m happy enough with the finished product that I’m
prepared to submit these photos. If nothing else, they are a small
tribute to all of the things I’ve learned from other HyperScalers in the
past two-or-so years to improve my level of skill. Still a long way to
go yet… but I’m learning.

Thanks to all the people who contributed to the completion of his model
in ways they don’t know about. The HyperScale forum is an incredibly instructive
place at times.
Model, Images and Text Copyright © 2002 by
David Harmer
Page Created 24 October, 2002
Last Updated 04 June, 2007
Back to HyperScale
Main Page
Back to
Features Index
|
 Home
| What's New |
Features |
Gallery |
Reviews |
Reference |
Forum |
Search
Home
| What's New |
Features |
Gallery |
Reviews |
Reference |
Forum |
Search