Home
| What's New |
Features |
Gallery |
Reviews |
Reference |
Forum |
Search
Home
| What's New |
Features |
Gallery |
Reviews |
Reference |
Forum |
Search
|
|
Heinkel He 111H-8 Glider Tug by Richard Oud
As an enthusiastic glider pilot I also have an interest in the history of gliding. The development of gliding, which almost exclusively took place in Germany in the 1920s and 30s, is a fascinating story in itself. The experience gained during this period was used for the development of assault and transport gliders during the Second World War. One of these gliders, the Gotha Go242, was used extensively in the Russian campaign. A few years ago I build the Italeri Go242. To complete the theme I wanted to build a He111, which was used as a glider tug. According to the available documentation one of the variants used as a glider tug was the He111H-8.
The He111 has been described in many books. Designed as a bomber, it was used for a wide variety of roles in all Luftwaffe theatres. The He111H-8 was originally designed as a bomber (modified from existing H-3 and H-5 airframes), equipped with a balloon cable fender. This large V-shaped cutter, as wide as the wingspan, protruded ahead of the aircraft. The extra weight of 250 kgs, well in front of the aircraft’s centre of gravity, necessitated the same weight as ballast in the tail. This reduced the payload with 500 kgs. The project was eventually cancelled. The aircraft destined for the conversion were instead used as glider tugs, with the designation He111H-8/R2. Only 30 of this version were built.
As a basis for this aircraft I used Italeri’s 1/72 He111H6. I’ve built a few Italeri kits before and I am always pleased with the quality you get for your money. This kit is no exception, a good fit and nice details, though not abundant. The only problem is that Italeri uses raised panel lines, so there is only one thing to do if you don’t like that. As far as I know it’s the only kit available in this scale, so I sanded all panel lines and rescribed them. It’s time consuming, but worth the effort.
A few of the modifications made to the kit are:
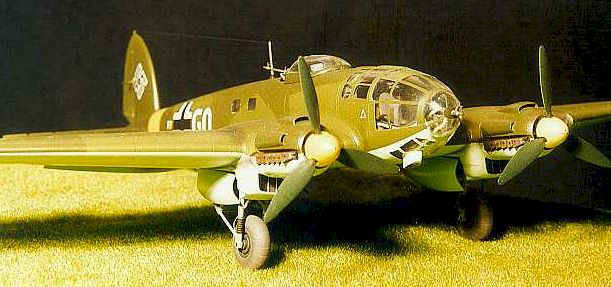
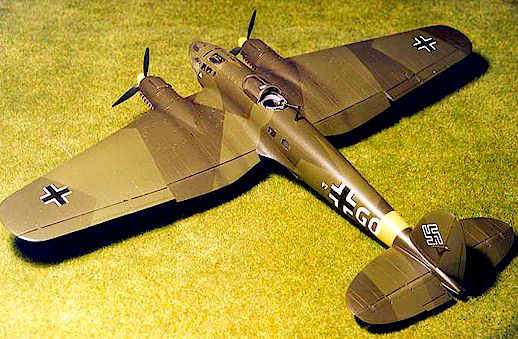
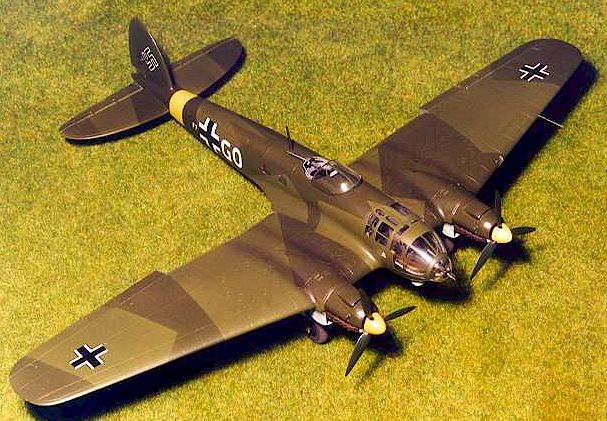
The standard splinter camouflage of RLM 70/71/65 was mixed using Humbrol enamels (I switched to Xtracolor shortly thereafter). The decals are from Super Scale, and the markings represent a glider tug of Schleppgruppe 1, operating in Russia during 1943. A furniture varnish was used as final coat.
Weathering was achieved with a light oil paint wash (dark umbre) to highlight the panel lines. Pastel chalk (brown/black) was used to simulate oil stains, exhaust stains and dirt on the tyres. In retrospect there are a few errors in the final result. The aircraft code letter "G" should be yellow, while on the left hand side the yellow fuselage band is visible through the "O".
As a 1/48 builder I really enjoyed building in this smaller scale. The only disadvantage is that I tried to get quarter scale detail in the cockpit. Although the cockpit is like a greenhouse, the detail is not very visible! Model, Photographs and Article Text Copyright © 1999 by Richard Oud
Back to HyperScale Main Page Back to Features Index |