IA 58 Pucará
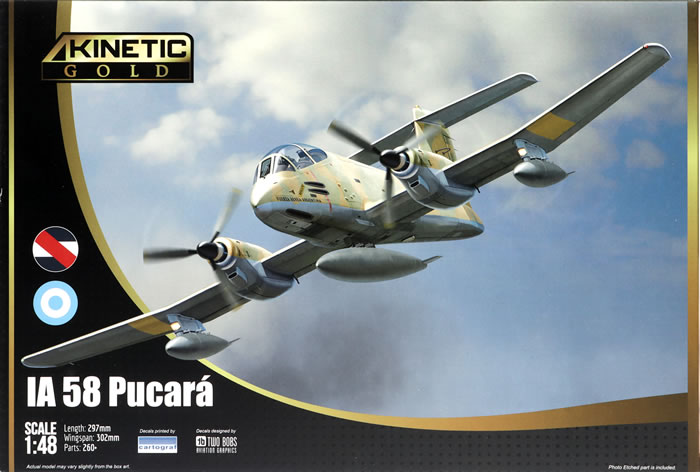
Kinetic, 1/48 scale
S u m m a r y |
| Item No. |
Kinetic Model Kits Item No. K48078 - IA 58 Pucará |
| Contents and Media: |
228 parts in grey plastic and 13 parts in clear; 27 photo-etched parts on one fret; markings for two aircraft. |
| Scale |
1/48 |
| Price: |
USD$39.99 plus shipping available online from Lucky Model |
| Review Type: |
FirstLook |
| Advantages: |
All new kit; high quality moulding; high level of detail; recessed panel lines and rows of rivets; optional position flaps (extended or closed); straightforward parts breakdown; high quality decals designed by Crossdelta and printed by Cartograf. |
| Disadvantages: |
Weapons not included; instructions could be better |
| Recommendation: |
Detail is very good, surface textures are excellent and who would have ever thought that we would have a Pucará as a mainstream injection moulded kit? The parts count is quite reasonable too, suggesting a fast build. I’ve already heard comments online that fit is very good. My only real nitpick is that the instructions could be better – a double-sided A4 colour marking guide would help a lot. |
Reviewed
by Brett Green

The FMA IA 58 Pucará is an Argentine ground-attack and counter-insurgency (COIN) aircraft manufactured by the Fábrica Militar de Aviones.
It is a low-wing twin-turboprop, all-metal monoplane with retractable landing gear, capable of operating from unprepared strips when operationally required.

The type saw action during the Falklands War and the Sri Lankan Civil War.
This is the first time that an IA 58 Pucará has been offered as a mainstream 1:48 scale kit.
Kinetic’s 1:48 scale IA 58 Pucará is packed into a sturdy top opening box with attractive artwork on a satin finish.
The kit comprises 228 parts in light grey coloured plastic, 13 parts in clear plastic, 27 parts on a small photo-etched fret and markings for two aircraft.
The quality of the plastic is excellent, with fine attachment points and crisp surface textures.
Panel lines are finely recessed, there are selective rows of rivets and raised structural features look great too.
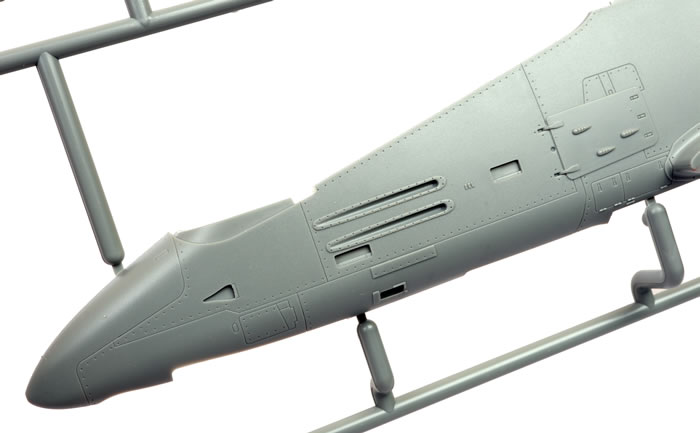
Ailerons, elevators and rudder are all moulded in neutral poses, but I really like the deep hinge lines.
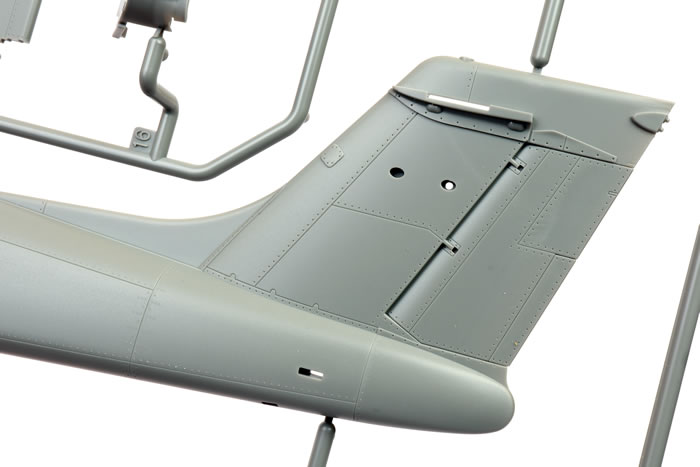
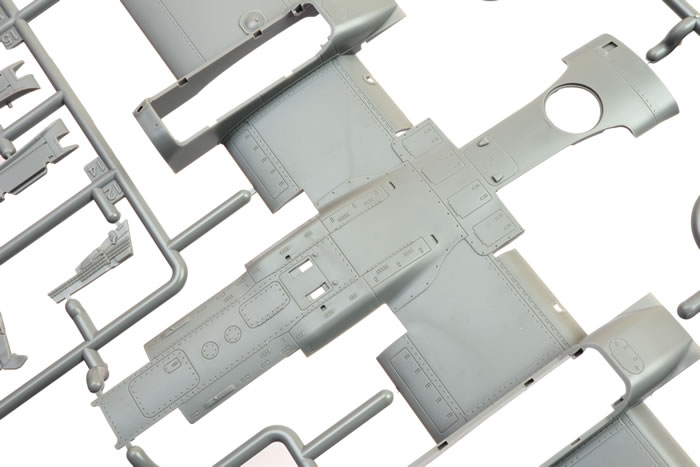
The kit is broken down conventionally with left and right fuselage halves, a full-span lower wind and one upper wing half per side. The detail moulded onto the centre section of the lower wing is especially impressive.
Cockpit detail is good. The cockpit tub is moulded with side consoles, including quadrants, and the rear bulkhead.
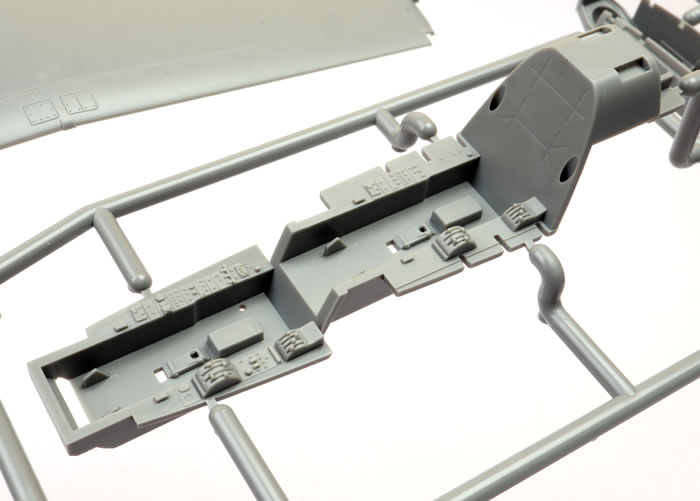
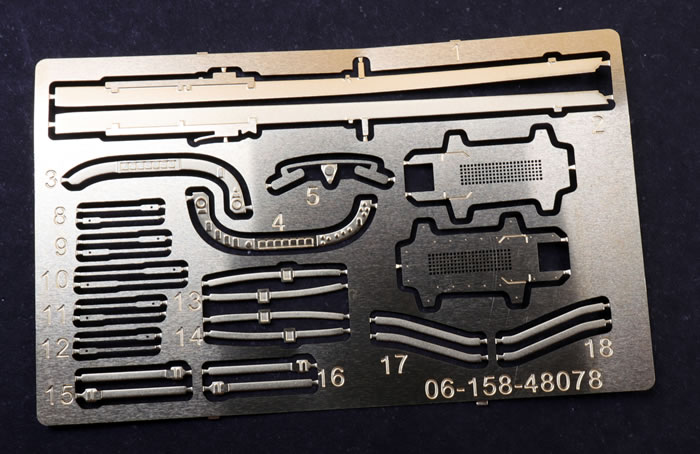
The multi-media Martin-Baker Mk.6 ejector seats are each made up from eight plastic parts and six photo-etched harness straps. Individual rudder pedals and control columns are also included. Rear upper sidewall detail is moulded to the inside of the fuselage with some additional detail parts and as separate parts for the front upper sidewalls.
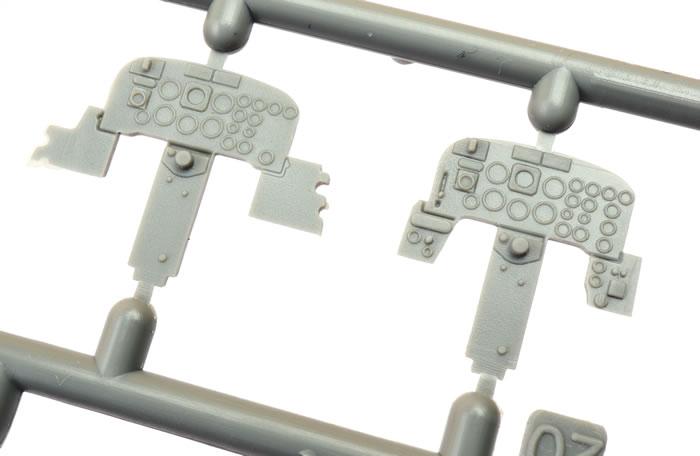
The instrument panels are fairly humble, with simple raised circles representing bezels and some switch detail. To be fair though, the panels will be largely hidden under their deep coaming.
The forward wheel well is designed to be glued to the bottom of the assembled cockpit. The detail moulded inside the front wheel well is very well done. The main gear bays, trapped between the wing halves, look good too.
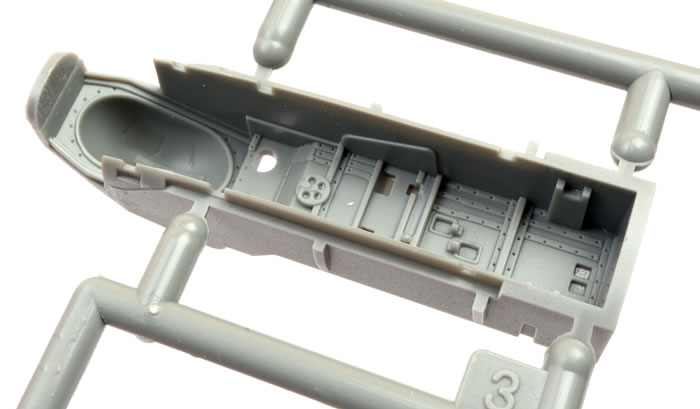
The requirement for nose weight is mentioned quite late, in Step 8, after the fuselage halves and the engine nacelles have already been assembled. Space is pretty tight inside the forward fuselage. Your best bet will be to place some small sinkers below the rear cockpit area and perhaps in the front of the engine nacelles.
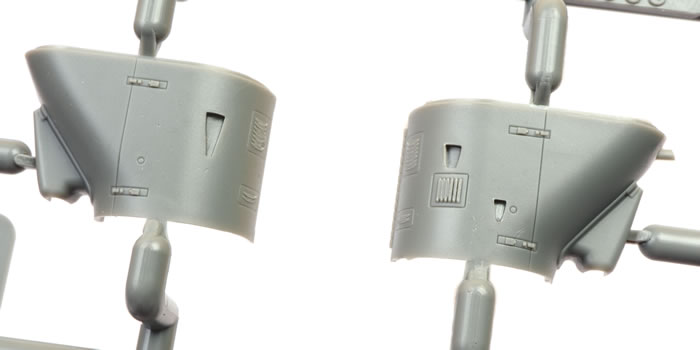
Vent detail moulded onto the engine nacelles looks great.
Flaps are supplied as separate parts. It looks as though you should be able to pose these dropped. Separate flap hinges are supplied. I think that you will probably need to trim these hinges if the flaps are dropped. The instructions don’t specify so it will be trial and error if you are attempting this.
The chunky main landing gear looks very good with their retraction struts and a pair of wheels on either side. Gear doors have dimples moulded on the inside.
Static wicks are supplied as photo-etched parts. I’ll probably replace these with thin stretched sprue.
The triple ejector racks are nicely detailed, being made up from 14 parts each.
Kinetic supplies a large Aero 1D 500 gallon centreline tank and two smaller tanks for the wing racks. It’s not entirely obvious in the instructions, but if you are using the smaller wing tanks, make sure you fit the single outer wing mounts, Parts B 14 through 17, NOT the Triple Ejector Racks.
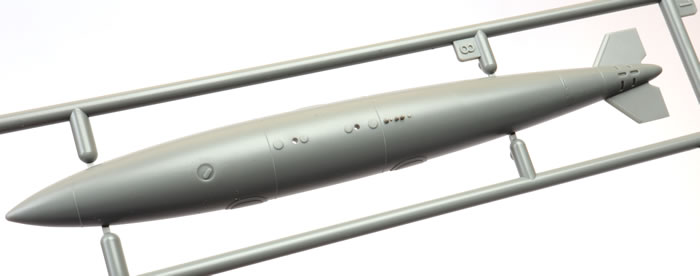
Weapons are not included.
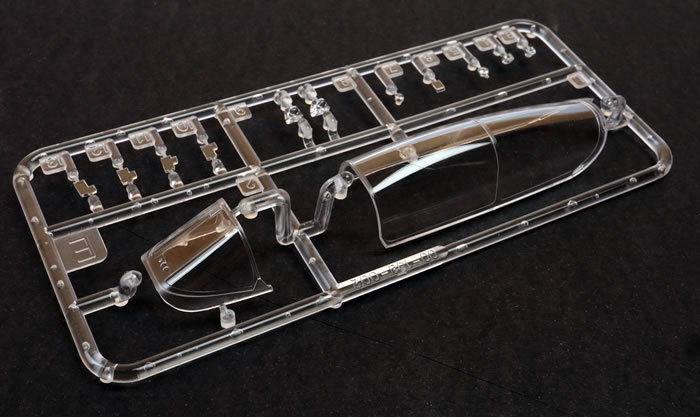
The clear parts are thin and free from distortion. Canopy rails are separate photo-etched parts as are the rear vision mirrors. Canopy struts are plastic parts. Unusually, the gunsight is mounted to the inside top of the windscreen. The windscreen wiper is a separate plastic part too.
Instructions are provided over 16 construction steps in a 20 page black and white booklet.
Markings
Markings are supplied for two schemes – one Argentine and one Uruguayan.
The decals look great. They are designed by Two Bobs and printed by Cartograf.
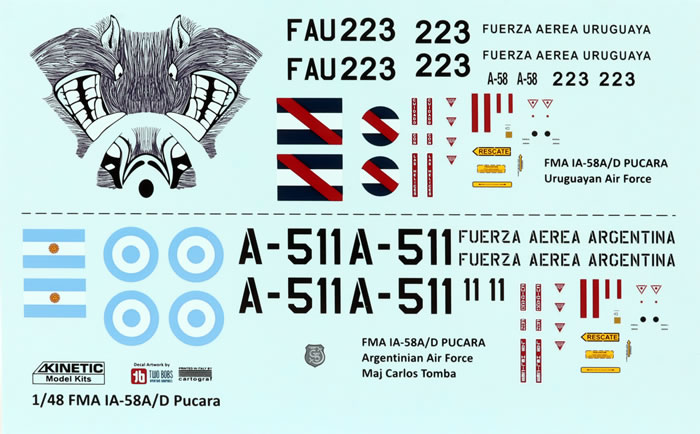
Fundekals has advised that the size and style of the decal "FUERZA AEREA ARGENTINA" titles for the nose are incorrect. The decals are 1:4:6 proportion (USAF style) lettering, which the real thing doesn't. If this bothers you, contact “Roadrunner” for a laser-printed replacement via HyperScale’s Forums here: https://www.tapatalk.com/groups/hyperscale/kinetic-Pucará -details-t521196.html#p2771980
The two marking schemes are covered on one page each. The contrast between the upper surface shades on the Uruguayan marking guide is very low and dark. You might need to find further reference if you are planning to paint this scheme.
l
I am suitably impressed with Kinetic’s new 1:48 scale IA 58 Pucará . Detail is very good, surface textures are excellent and who would have ever thought that we would have a Pucará as a mainstream injection moulded kit?
The parts count is quite reasonable too, suggesting a fast build. I’ve already heard comments online that fit is very good.
My only real nitpick is that the instructions could be better – a double-sided A4 colour marking guide would help a lot.
Congratulations Kinetic. Your Pucará is definitely a winner!
* Historical text summarised from Wikipedia https://en.wikipedia.org/wiki/FMA_IA_58_Pucará
Thanks to Lucky Model for the sample
Review Text and Images Copyright © 2021 by
Brett Green
Page Created 27 January, 2021
Last updated
27 January, 2021
Back to HyperScale Main Page
Back to Reviews Page

|
Home
| What's New |
Features |
Gallery |
Reviews |
Reference |
Forum |
Search