Trumpeter 1/48 scale
Curtiss P-40B
by Mat Mathis

Another month down, another build complete! This time we have the Trumpeter 1/48 P-40B. At a first glance of the sprues, this kit has some great surface details as it relates to panel lines and riveting. Upon further examination of my particular kit, I noticed that the canopy was smashed right down the middle, just barely being held together. I contacted the Trumpeter customer support team to see if a replacement was available, but luck wasn’t with me that day. Undeterred, I pressed on! This build was also a “buddy build” with @scalemodel_canuck on Instagram (He was doing the 1/32 scale version).
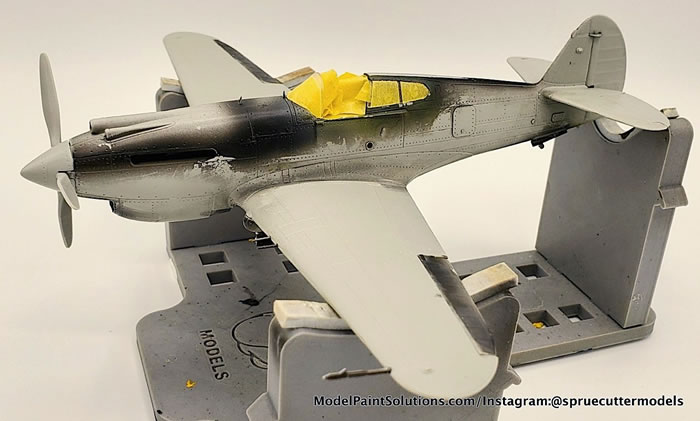
Construction was fairly uneventful, except for a few pieces. The gun cover and the preceding piece where the windscreen sits were certainly an interesting choice of engineering. In order to have the panel lines that ran parallel down the center of the two pieces I had to will them into place. As I was holding them in place I noticed that they were different widths. I can’t believe this made it through the Trumpeter Quality Control checks while the molds were being made. A very clear oversight on their part. I corrected this to the best of my abilities by sanding one of the pieces (the smaller one, obviously) and re-scribing to match the gun cover piece.
Apart from this calamity, the overall fit was decent. Some filler was needed in a couple common spots (e.g. wing roots, underside, etc.). My putty of choice is the Vallejo acrylic putty. TOP TIP: I’ve found that once applied, the excess can be wiped away with a small makeup sponge that is dampened with a bit of water. Much of the time, no sanding is needed!
Once everything was built out, it was time for some paint.
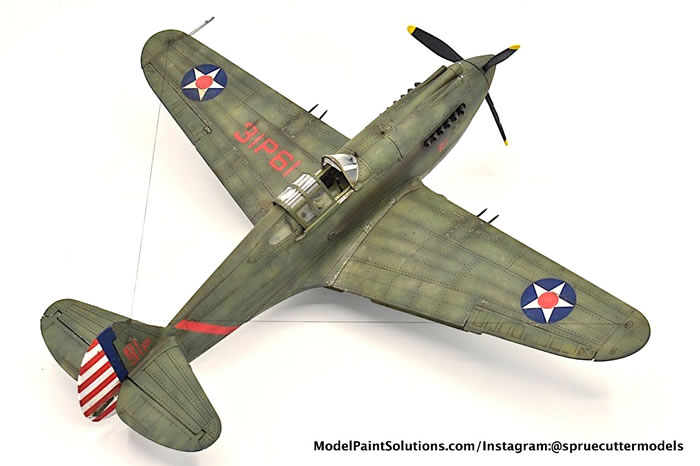
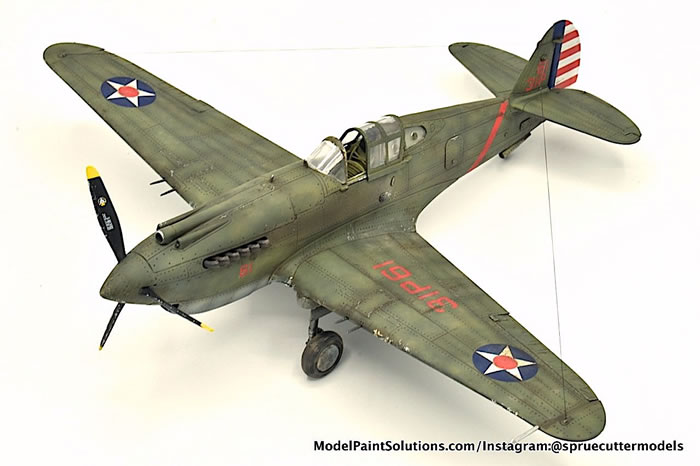
I consider the painting portion my favorite part of the build process. When creating a standard USAAF olive drab paint scheme I like to do a more sun beaten and faded olive drab that has a more yellow-green hue to it. However, for this build, I was replicating a plane that was used very early on in the war (possibly even pre-US entry to the war) and it was likely in Michigan, based on my research of the Fighter Group. Therefore, I presumed that there was not much fading going on. That said, I also didn’t want to do a factory fresh finish.
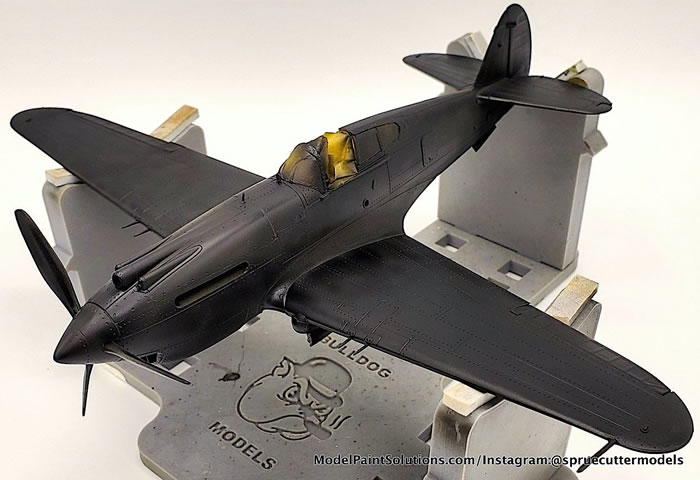
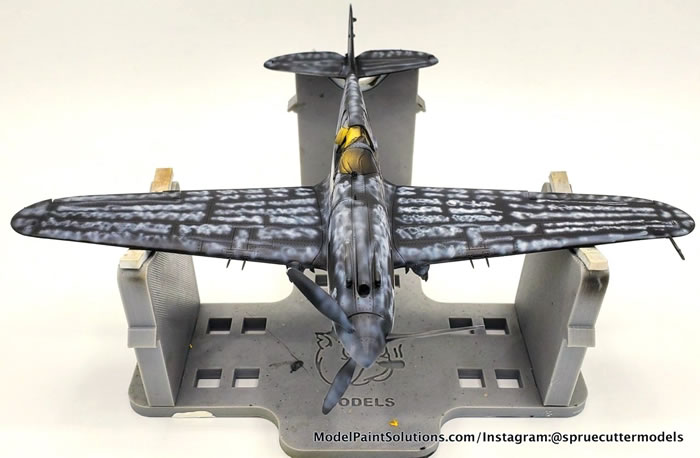

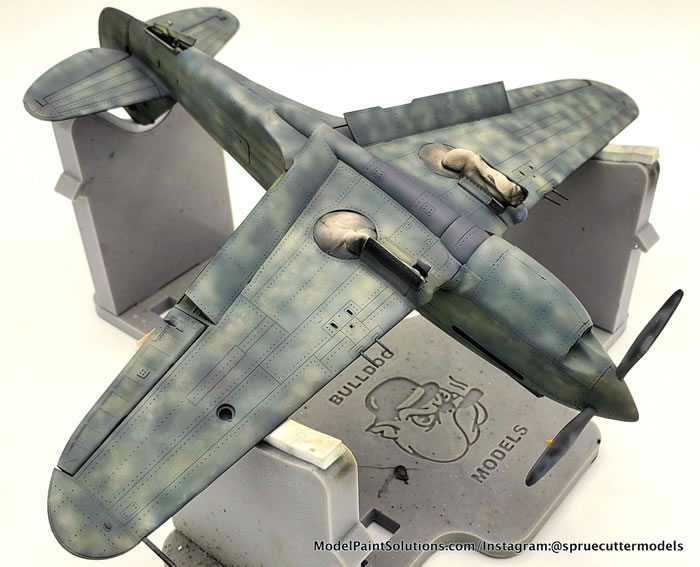
I started my painting with Alclad Black Primer and Microfiller. It’s my go-to for every build. Once that was down, I did a light “sanding” with an 8000 grit sanding sponge just to make sure everything was ultra-smooth. From there, I started building up some varying colors on the top and bottom. Below is a photo of all the colors used. I start with white and then tend to alternate between lighter and darker shades. I have a lot to learn about color theory and how colors can change after going on top of each other, but it seemed to work out well this time!

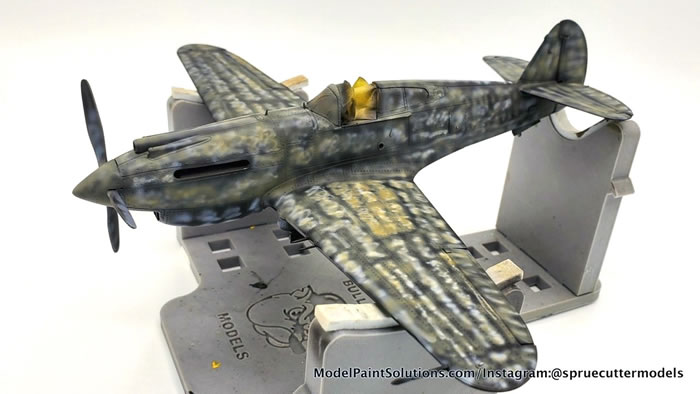
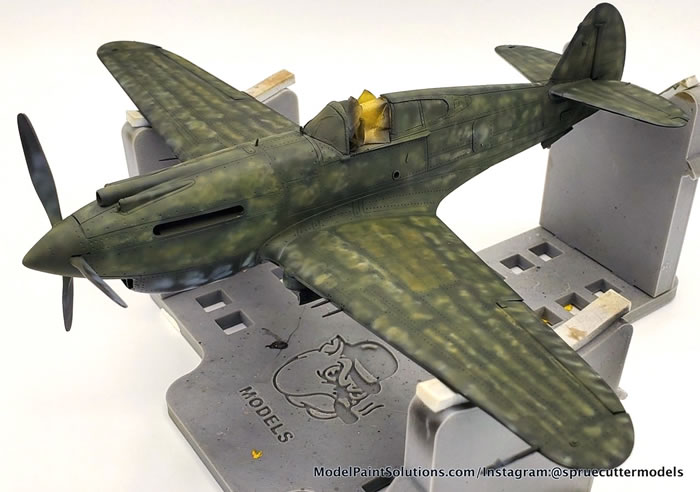
In the end, I brought everything together with Mission Models Faded Olive Drab #2 on the top and their Light Gull Grey on the bottom. Once the main paint was how I liked it I sealed everything in with the VMS Supplies Gloss varnish. I started using this varnish a couple builds ago and I can honestly say I’m in love. I understand there’s a big debate on whether decals need a gloss coat down first. I think on the next build I’ll try it without a gloss and see how it goes!
Decals
There weren’t many decals supplied in the box – just the national insignia, an identification number, a fuselage stripe, bars for the tail, and the prop stencils. This was a pretty uneventful stage. The tail decals gave a little bit of trouble and had to be trimmed, but aside from that, they laid down very nicely after a few rounds of Mirco Sol. I did another varnish of the VMS Gloss to wrap up this stage.
Weathering
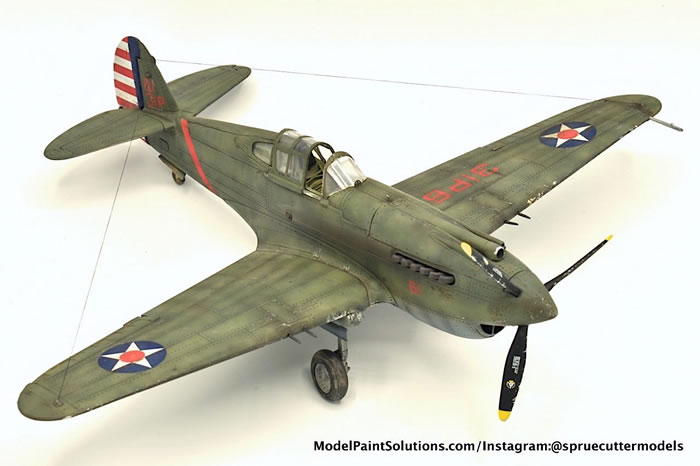
Currently, this is where my builds tend to get a bit rushed. The finish line is in sight and I want to reach it as soon as possible. I also tend to not go outside my comfort zone here because at this point I don’t want to “ruin” the model. For weathering on this build I did a Flory Models Wash (black) to bring out the panel lines and rivet detail, some light chipping with a sponge and AK Interactive weathering pencil, and some very (read as almost non-existent) oil paint rendering – just on the wing roots.
With that, I attached the last few bits and bobs, removed the canopy masks, and placed the rigging wire. All that was left was to get some photos!
All-in-all this was an enjoyable build with just a few issues. It was a relatively simple kit to build due to a low part count. Despite the few issues, I think I would build it again just due to the lovely surface details. I know that it’s not a perfect model (I’m not sure those exist) but it’s one that I’m happy with. With the last few builds that I’ve completed this summer, I’m really starting to define my style of modeling and finishing. Overall, I know what I need to improve upon in the upcoming builds (some construction aspects and certainly taking my time on weathering and not rushing to the finish line) and those things will be my focus for upcoming builds!
If you have any questions, feel free to reach out on Instagram! Thanks for following along and we’ll see you on the next build!
Mat
Instagram:@spruecuttermodels www.instagram.com/spruecuttermodels
For more on this review visit Modelpaintsolutions.com
https://modelpaintsol.com/builds/trumpeter-48-curtis-p-40b
Text and Images Copyright © 2020 by Mat Mathis
Page Created 10 September, 2021
Last updated
10 September, 2021
Back to HyperScale Main Page
Back to Reviews Page

|
 Home
| What's New |
Features |
Gallery |
Reviews |
Reference |
Forum |
Search
Home
| What's New |
Features |
Gallery |
Reviews |
Reference |
Forum |
Search