Gemini Spacecraft with Spacewalker
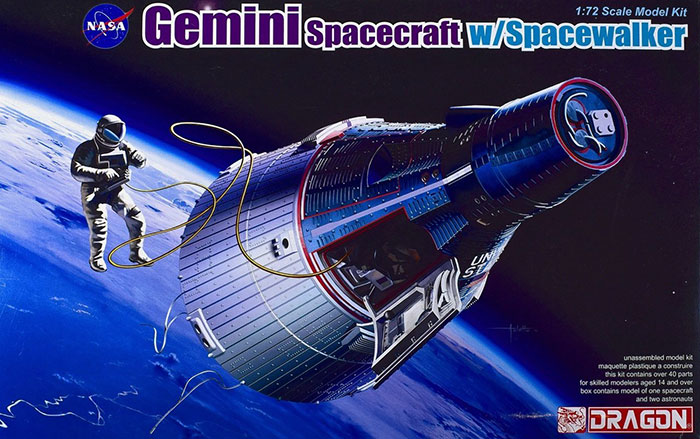
Dragon, 1/72 scale
S
u m m a r y |
| Catalogue Number: |
Dragon Kit No. 11013 - Gemini Spacecraft with Spacewalker |
| Scale: |
1/72 |
| Contents and Media: |
33 parts in grey styrene, one piece of copper wire, and one decal sheet with markings for 1 spacecraft. |
| Price: |
£17.99 EU Price (£14.99 Export Price) plus shipping available online from Hannants
and retailers wordwide. |
| Review Type: |
FirstLook |
| Advantages: |
Crisp surface details, simple engineering, Decals by Cartograf, and a low parts count will make this a quick and easy build. |
| Disadvantages: |
None noted. |
| Recommendation: |
This is a surprisingly small kit that packs a lot of detail. The engineering is simple and straightforward and with the relatively low parts count, assembly should be a quick and easy. |
Reviewed by John Miller and Tim Nelson

Project Gemini was NASA’s second human spaceflight program. Conducted between projects Mercury and Apollo, Gemini started in 1961 and concluded in 1966. The Gemini spacecraft carried a two-astronaut crew. Ten Gemini crews and sixteen individual astronauts flew low earth orbit (LEO) missions between 1965 and 1966.
Gemini's objective was the development of space travel techniques to support the Apollo mission to land astronauts on the moon. In doing so, it allowed the United States to catch up and overcome the lead in human spaceflight capability the Soviet Union had obtained in the early years of the Space Race, by demonstrating: mission endurance up to just under fourteen days, longer than the eight days required for a round trip to the Moon; methods of performing extra-vehicular activity (EVA) without tiring; and the orbital maneuvers necessary to achieve rendezvous and docking with another spacecraft.
This left Apollo free to pursue its prime mission without spending time developing these techniques.
All Gemini flights were launched from Launch Complex 19 (LC-19) at Cape Kennedy Air Force Station in Florida. Their launch vehicle was the Gemini-Titan II, a modified Intercontinental Ballistic Missile (ICBM). Gemini was the first program to use the newly built Mission Control Center at the Houston Manned Spacecraft Center for flight control. The astronaut corps that supported Project Gemini included the “Mercury Seven”, “The New Nine”, and the 1963 astronaut class. During the program, three astronauts died in air crashes during training, including both members of the prime crew for Gemini 9. This mission was flown by the backup crew.
Gemini was robust enough that the United States Air Force planned to use it for the Manned Orbital Laboratory (MOL) program, which was later canceled. Gemini's chief designer, Jim Chamberlin, also made detailed plans for cislunar and lunar landing missions in late 1961. He believed Gemini spacecraft could fly in lunar operations before Project Apollo, and cost less. NASA's administration did not approve those plans. In 1969, McDonnell-Douglas proposed a “Big Gemini” that could have been used to shuttle up to 12 astronauts to the planned space stations in the Apollo Applications Project (AAP). The only AAP project funded was Skylab, which used existing spacecraft and hardware thereby eliminating the need for Big Gemini.
(Edited from Wikipedia)
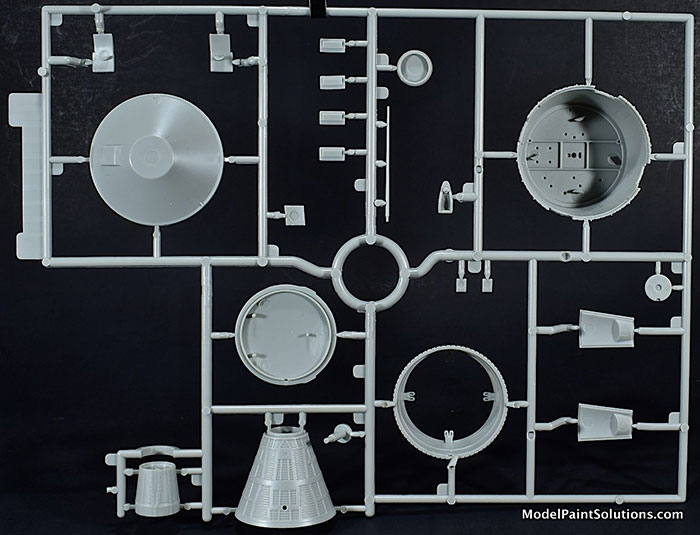
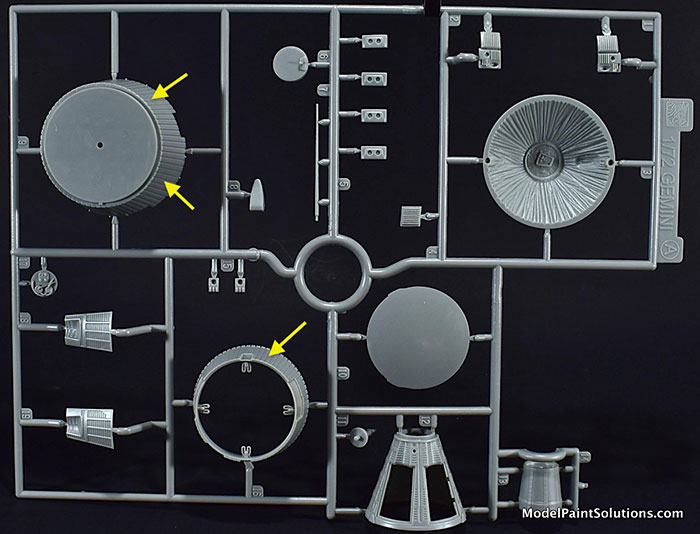
The kit is comprised of three individually bagged, grey sprues, a stand with aluminum arm, a length of copper wire, and one small decal sheet.
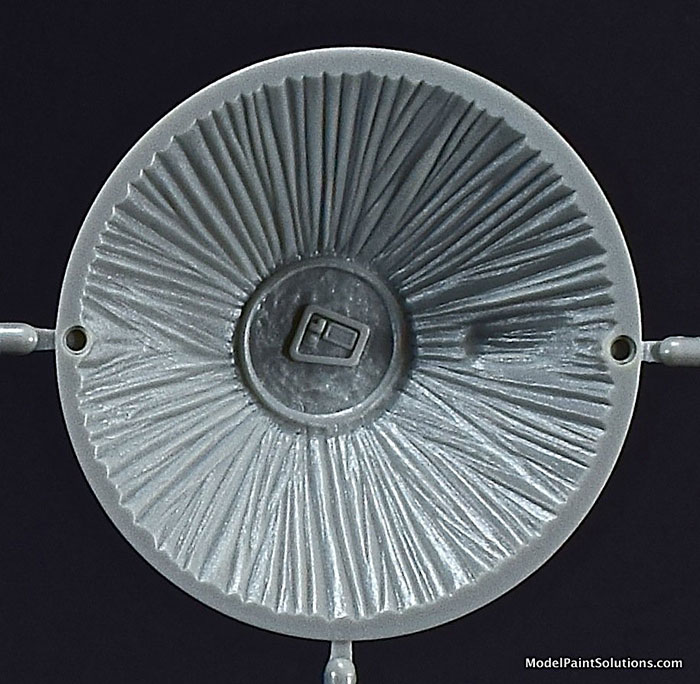
The surface details are typical Dragon/DML; finely inscribed lines that are scale appropriate and crisp. One is struck with how few parts there are in this kit yet how much detail is provided on the parts there are.
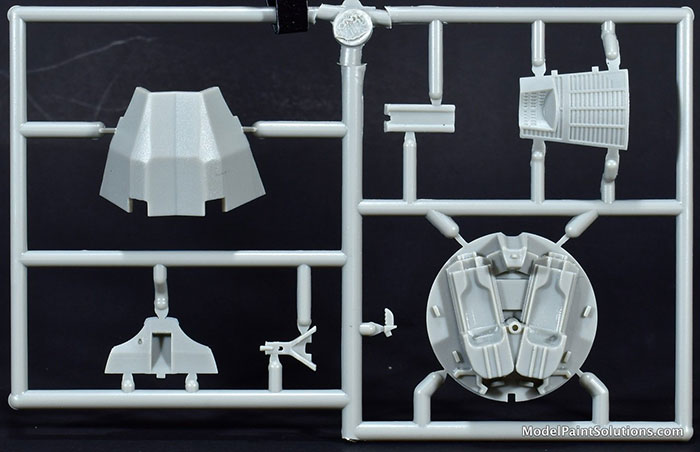
Construction starts with the cockpit complete with instrument panel and side-by-side seats. Once completed the small cockpit slips into the single-piece capsule and with the addition of the 5-piece nose section, the “Return Module” is largely complete.

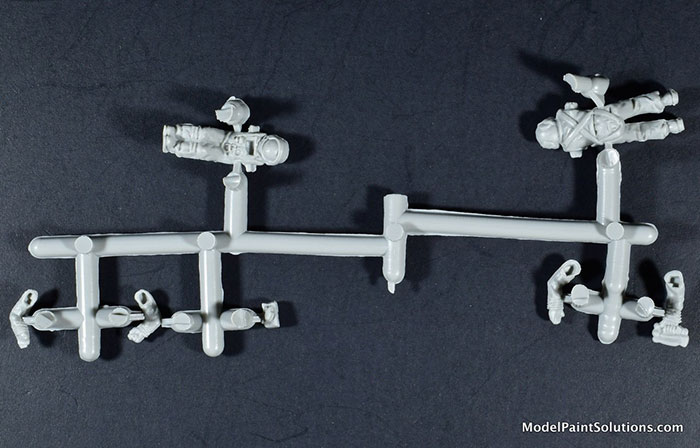
Parts are provided to pose the crew hatches open or closed. Should you choose to open the hatches, two nicely molded astronaut figures are provided. One is seated while the other has a body shape that suggests weightlessness: the spacewalker.
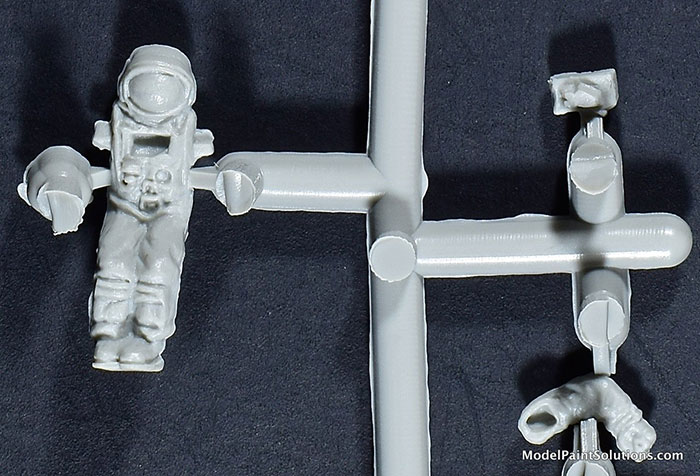
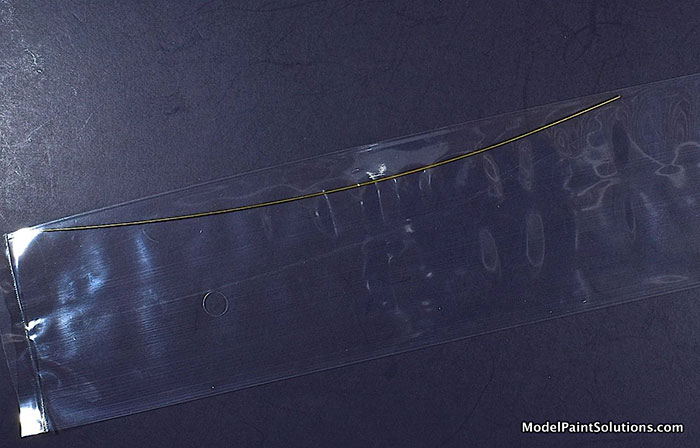
Using the length of copper wire provided in the kit, the spacewalker figure can be posed adjacent to the open capsule to simulate an astronaut during an EVA (extra-vehicular activity).
The section of the spacecraft behind the capsule, referred to as the “Adapter Module,” is next and is comprised of three circular parts.
Final assembly step entails joining the capsule to the Adapter Module then mounting the resulting spacecraft on the stand (provided). To impart some stability to the completed model when displayed, some lead added under the hollow stand would probably be a good idea.
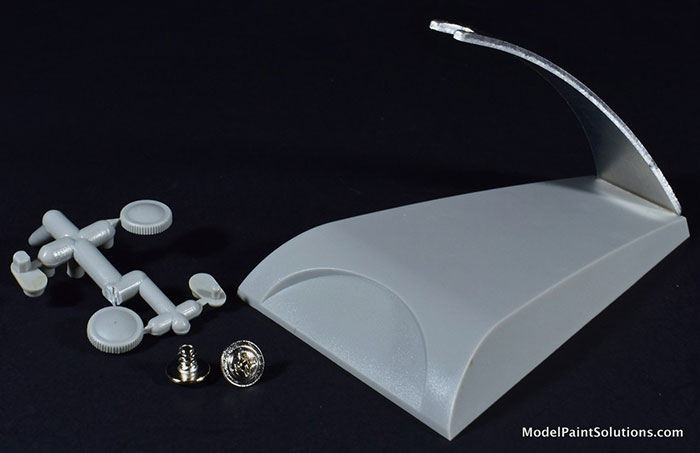
A nice touch is the bare aluminium arm that will contrast nicely with the completed model.
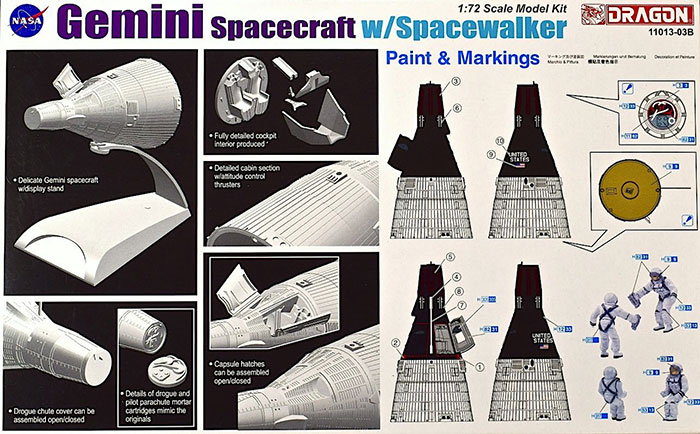
Marking Options
The decals, by Cartograf, are crisply printed with good registration. Painting suggestions for the cockpit and other internal details are provided in the instructions.
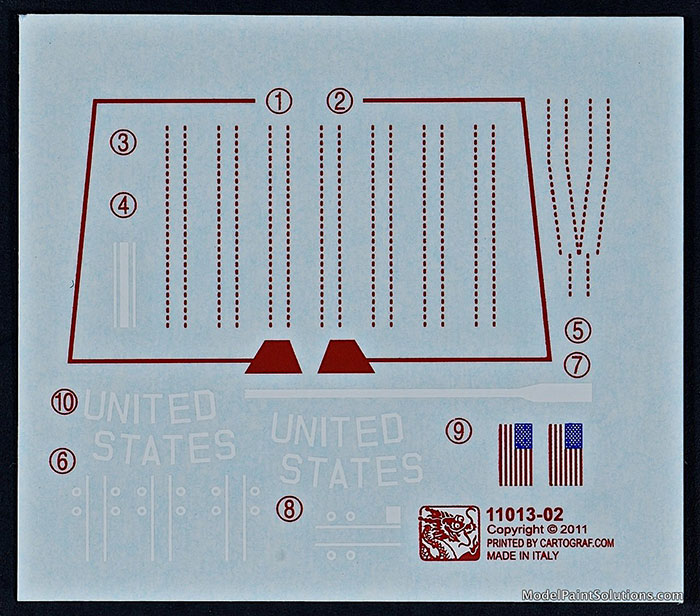
Detailed painting and decaling instructions for the capsule and Adapter Module are provided on the bottom of the box.
Additional Comments by Tim Nelson
The Dragon Gemini (a reissue from about 10 years ago) is the most accurate Gemini kit in any scale and far better than the old Revell 1/24 and 1/48 efforts. The RealSpace 1/72 kit is accurate in shape, but a solid resin model.
A few specific observations of the Dragon Gemini:
- The kit accurately renders the window “scallops” of the flight spacecraft, which extend all the way forward to the cylindrical section. The old Revell kits have shorter, rounded scallops as seen ONLY on a pre-flight mockup.
- Each window is part of the door, and unfortunately molded solid. Many modelers will want to hollow those out and replace them with clear.
- Biggest issue: Dragon has attempted to render the longitudinal strips which are distributed around the “adapter section” (see photo). They’ve chosen to mold deep recessed lines for this effect but photos show that these were very thin, almost tape-like strips, apparently to achieve a desired level of thermal radiation. A nit to some, but space modelers at the Nationals are sticklers. When I get around to building mine, I may try to do a mashup with the Anigrand “Blue Gemini” adapter section (although it has its own set of problems).
- There are many mission-to-mission detail differences among Gemini spacecraft, especially on the nose section, reflecting different missions and design evolution. Gemini VII is best documented, since it was photographed abundantly during the Gemini VI rendezvous. Mike Mackowski’s Space in Miniature volume #2 on Gemini is an excellent detailed reference.
A great companion for this kit (which I have) is the RealSpace 1/72 Agena docking target. The Agena conveniently hides the nose section and avoids many nit-picking configuration issues.
As noted, this is the best Gemini kit out there. Real space subjects are relatively neglected, so thanks again for shining some light on this subject. You’ve moved mine forward in the stash…
Thanks!
Tim
This is a surprisingly small kit that packs a lot of detail. The engineering is simple and straightforward and with the relatively low parts count, assembly should be a quick and easy.
Highly Recommended!
Now I’ve gotta paint something,
--John
Review kit provided by my retirement fund, again.
For more on this review visit Modelpaintsolutions.com
Review kit provided by my retirement fund, again.
Review Text Copyright © 2020 by John Miller and Tim Nelson
Page Created 9 October, 2020
Last updated
11 October, 2020
Back to HyperScale Main Page
Back to Reviews Page |
 Home
| What's New |
Features |
Gallery |
Reviews |
Reference |
Forum |
Home
| What's New |
Features |
Gallery |
Reviews |
Reference |
Forum |