Chinese Dong Feng-1
Ground-to-Ground Missile

Bronco, 1/72 scale
S
u m m a r y : |
Description and Item No.: |
Bronco Kit No. GB7011 - Chinese Dong Feng-1 Ground-to-Ground Missile |
Contents and Media: |
13 parts in light grey plastic; 34 parts in dark green plastic; decals for two marking schemes. |
Price: |
TBA |
Scale: |
1/72 |
Review Type: |
First Look and Quick Build |
Advantages: |
Well detailed; nice surface textures; fast build. |
Disadvantages: |
|
Recommendation: |
This is a relatively simple yet well detailed kit of an unusual - but somehow very familiar looking - subject. It's a fast build too! |
Reviewed by Brett Green

G.W.H.s 1/48 scale T-33A Shooting Star will be available online from Squadron.com
After the signing of the Sino-Soviet Treaty of Friendship, Alliance and Mutual Assistance in 1950, the Soviet Union assisted China's military R&D with training, technical documentation, manufacturing equipment and licensed production of Soviet weapons. In the area of ballistic missiles, the Soviets transferred R-1 (SS-1), R-2 (SS-2) and R-11F technology to China which itself was an improved version of the WWII German V-2 rocket.
The first Chinese ballistic missiles were based on these Soviet designs. Since then, China has made many advances in its ballistic missile and rocket technology. For instance, the space launch Long March rockets have their roots in the Dong Feng missiles.
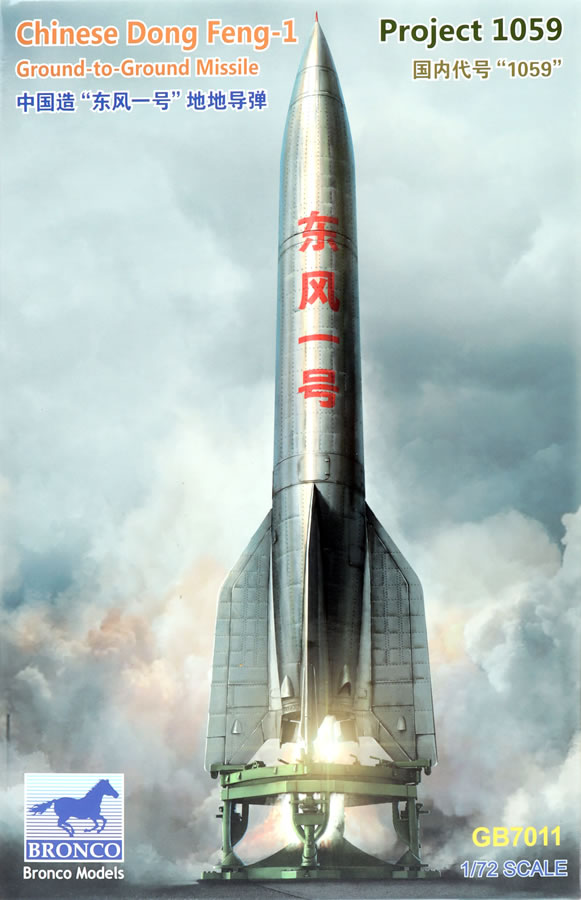
The first of the Dong Feng missiles, the DF-1 (SS-2, initially codenamed '1059', while the 'DF-1' designation was initially assigned to the project which later became DF-3, was a licensed copy of the Soviet R-2 (SS-2 Sibling) short-range ballistic missile (SRBM).
The DF-1 had a single RD-101 rocket engine, and used alcohol for fuel with liquid oxygen (LOX) as an oxidizer. The missile had maximum range of 550 km and a 500 kg payload.
Limited numbers of DF-1 were produced in the 1960s, and have since been retired
Historical text courtesy of Wikipedia
Bronco's 1/35 scale Chinese Dong Feng-1 comprises just 13 parts in light grey plastic, 34 parts in dark green plastic and decals for two marking schemes.
The light grey parts make up the rocket itself and the green parts the launch base.
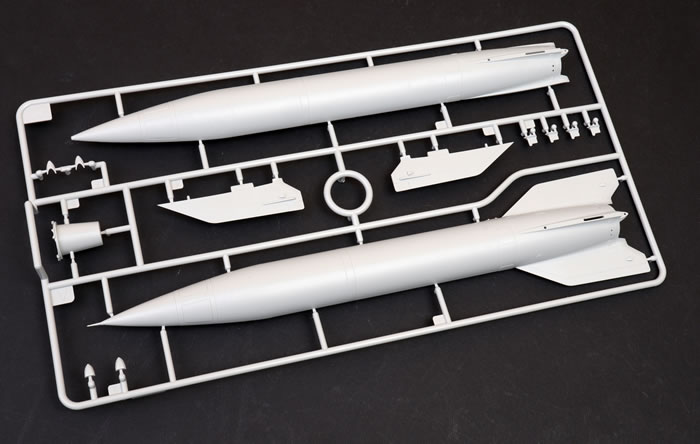
Surface textures on the rocket are very nicely done, with rows of very subtle recessed rivets and raised panels where appropriate.
The side of the box suggests that this is a snap-tite kit with the enthusiastic wording: "No Glue! No Paint! Quick BUILD!", but glue is most certainly required for the launch pad. it will be needed for the small steering vanes at the base of the rocket too.
The decals are supplied on two small decal sheets. They are matt in finish but perform well.
When I received this kit on Wednesday, I photographed the two sprues for an in-box review but I thought it would be a pretty quick build. Less than 4 hours later I can confirm that yes, it is a quick build!
The sprue attachment points on the rocket body halves are moulded to the mating surfaces, as seems to be the current trend. This reduces the risk of scarring the visible surfaces of the plastic parts, but you have to be very careful not to remove too much material, which will result in a gap.
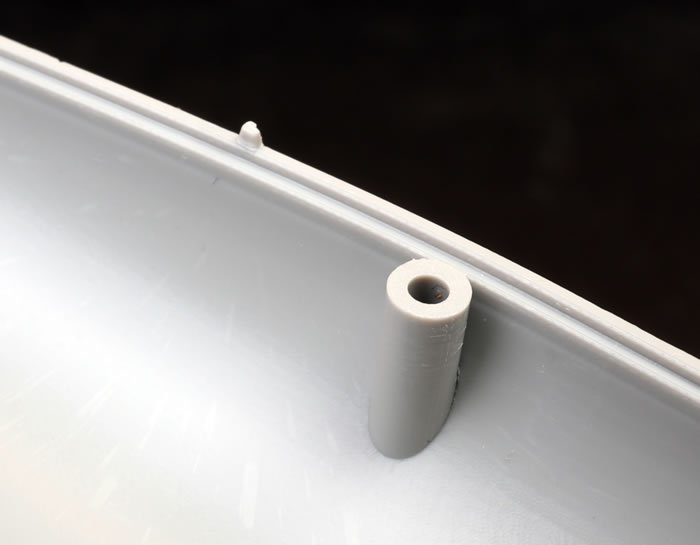
The larger parts of the rocket feature large peg and hole locating points.
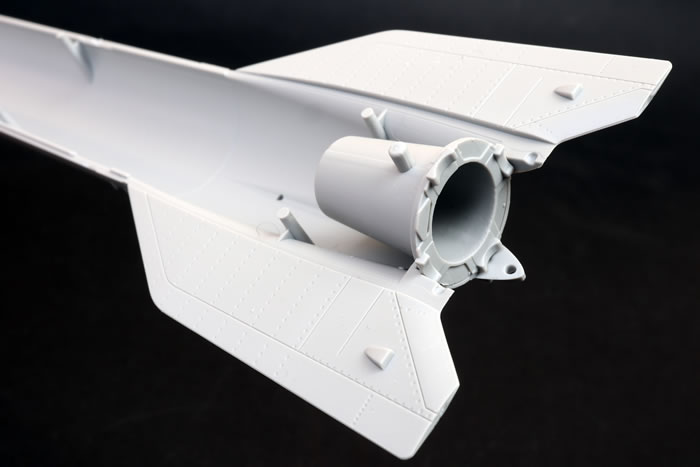
These were assembled without glue, but the steering vanes and all the parts for the launch pad were fixed with Tamiya Liquid Cement.
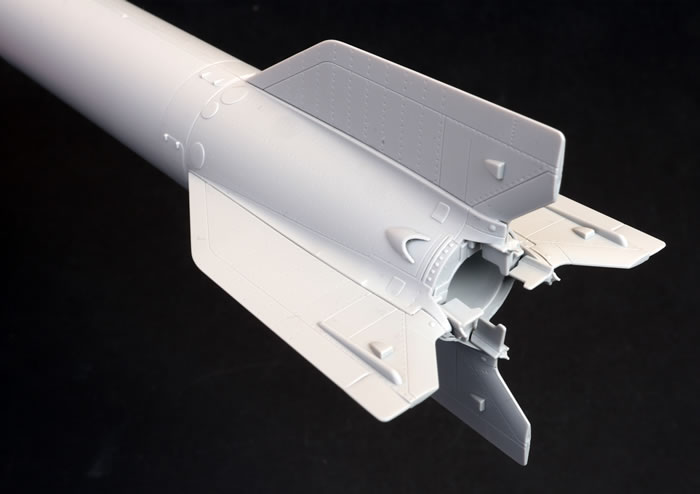
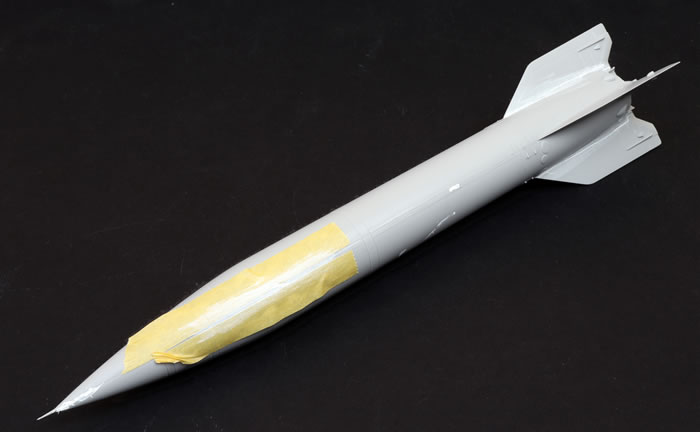
Fit of the rocket body and fins was pretty good, but I needed a few smears of Tamiya White Surfacer to fill some narrow gaps and join seams.
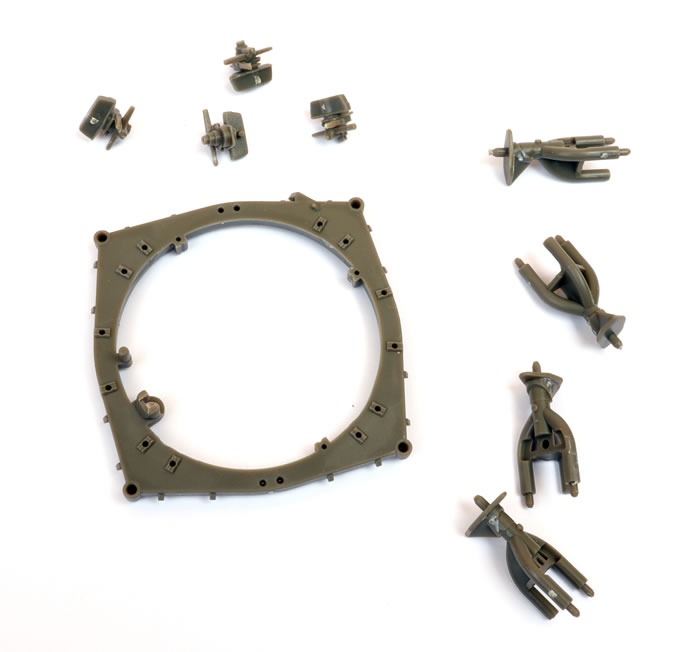
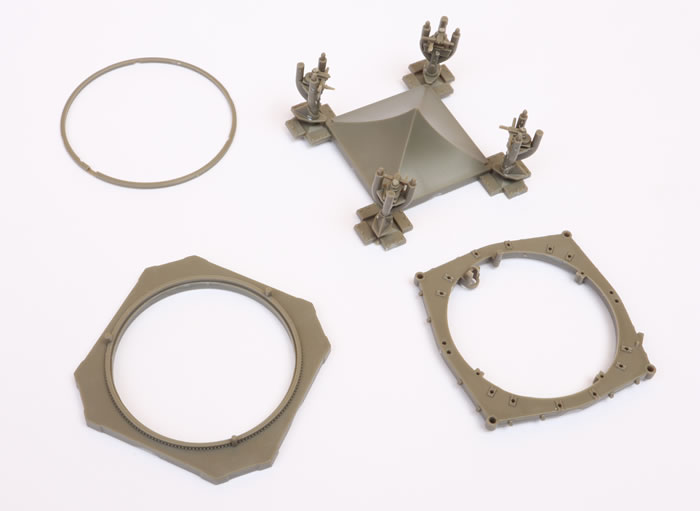
The launch base is really well detailed with a number of very small parts.
Fit was perfect here, and the fins of the rocket slotted perfectly into their receptacles on the base.
This was a fast and pleasant build. Detail is very good, and surface texture is subtle.
Let me start out by pointing out that I applied the decal upside-down. At least it will be facing the right ay up as it is hurtling down onto its target.
I started by spraying the completed rocket with Tamiy AS-12 Bare Metal Silver straight from the spray can.
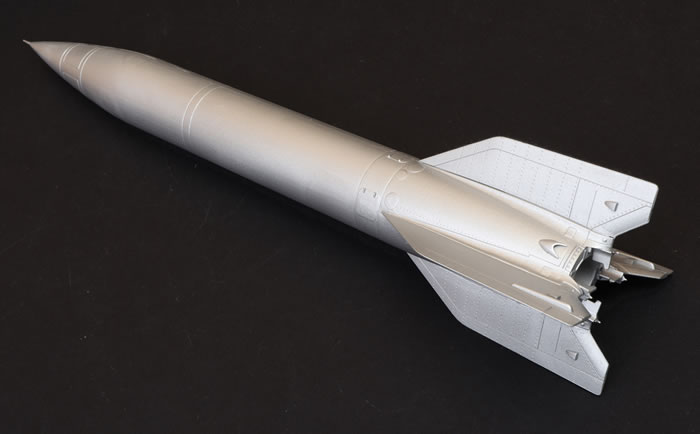
This was followed by a couple of coats of Future Floor Polish.
When the glossy Future coat was completely dry, I applied a brushed mix of Ronson Lighter Fluid with a smear of Lamp Black and Raw Umber oil paints.
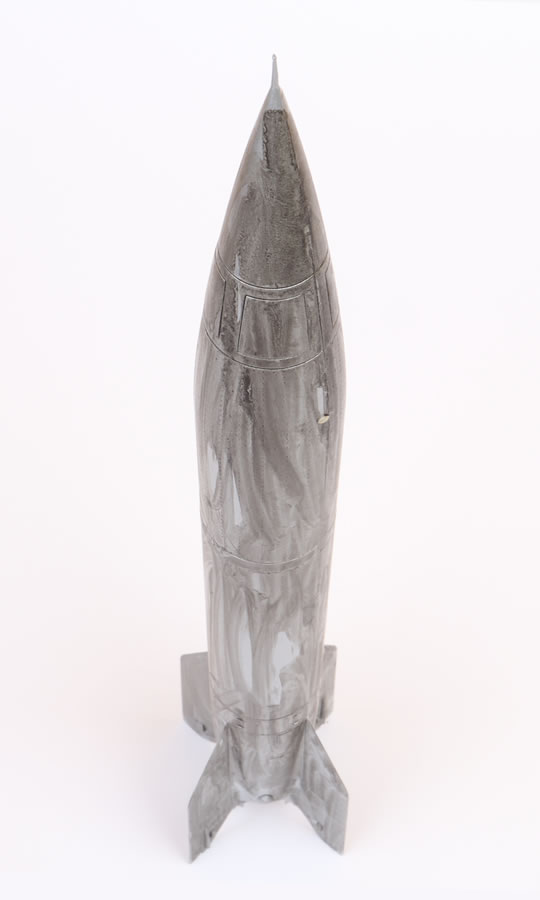
After a few minutes, the excess oil paint was scrubbed from the plastic using a damp fingertip, retaining some of the dark mix in the recessed panel lines and rows of rivets.
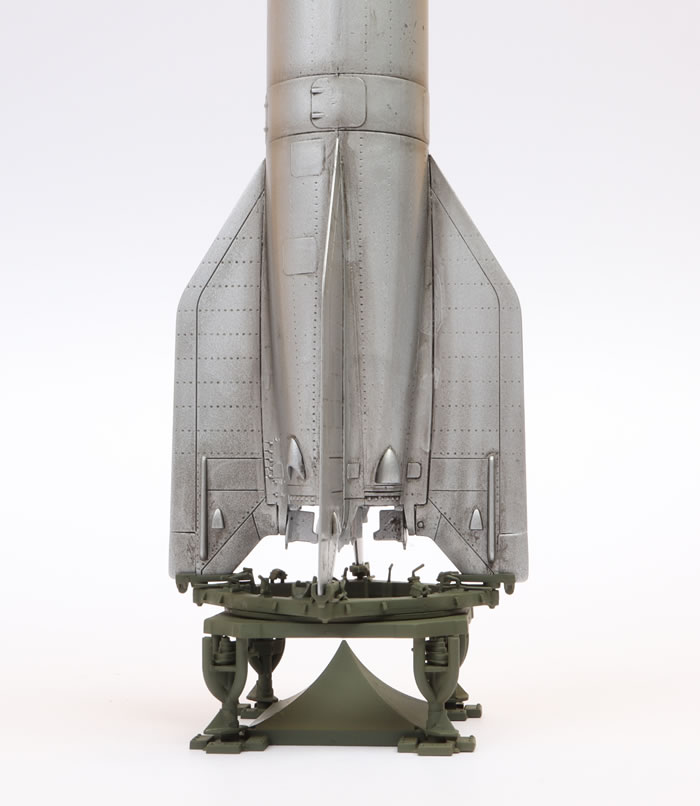
Decals were applied at this time, unfortunately upside-down (my apologies to any Mandarin speakers out there!).
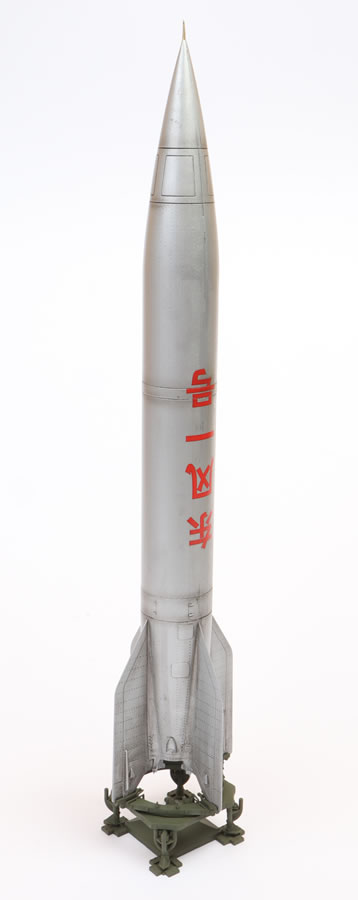
Next I loaded up my Harder & Steenbeck Infinity airbrush with a thin mix of Tamiya XF-1 Flat Black and XF-64 Red Brown, spraying random streaks and applying shading to some of the major structural features.
Finally, the decal was sprayed ith Winsor & Newton's Satin Varnish.
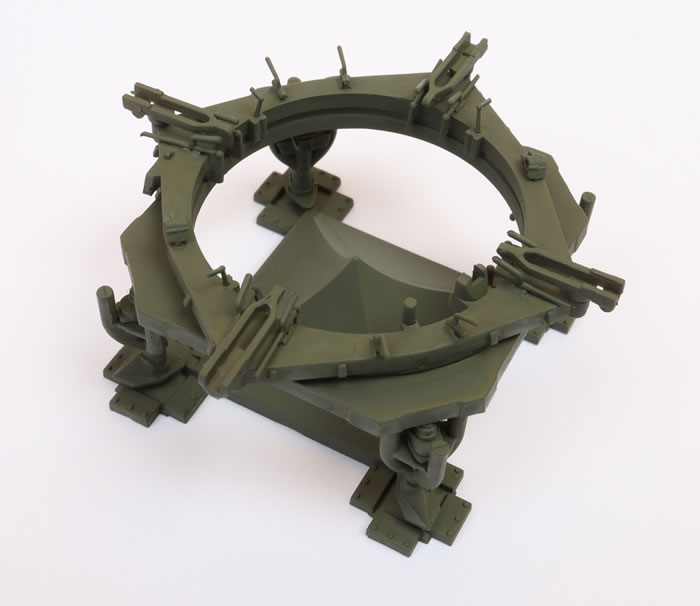
The launch pad was sprayed overall Tamiya XF-81 Dark Green 2 (RAF).
This is a relatively simple yet well detailed kit of an unusual - but very familiar looking - subject. It's a fast build too!
The small parts of the launch pad make it most suitable for moderately experienced modellers.
Thanks to Bronco for the sample
Review Text and Images Copyright © 2019 by Brett Green
Page Created 8 November, 2018
Last updated
8 November, 2019
Back to HyperScale Main Page
Back to Reviews Page

|
Home
| What's New |
Features |
Gallery |
Reviews |
Reference |
Forum |
Search