Special Hobby's 1/72 scale
Casa 212 "Tail Art"
by Remi Schackmann

Italeri's 1/72 scale C-47 Skytrain is available online from Squadron.com for only $25.99!
In the late 1960s, the Spanish air force searched for a replacement to its old Ju 52 and C-47 transport fleet.
A study for a new twin engine transport aircraft started. The first prototype took its first flight on 26 March 1971. The plane entered service in 1974.
More 40 air force will choose this plane for his quality.
Until 2017 the fan of this little twin engine transport plane had no modelling choice.
This changed when Special Hobby gave us the opportunity to build one.
Special Hobby have severals boxes who covers the Casa military and civilian operators.
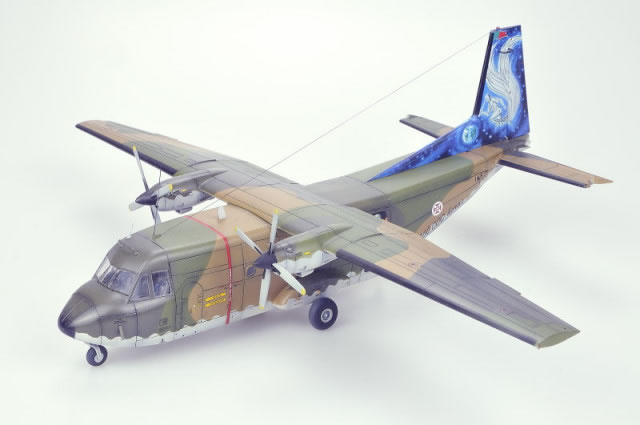
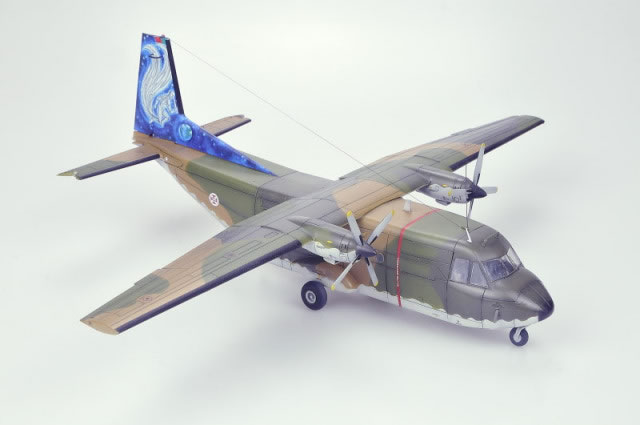
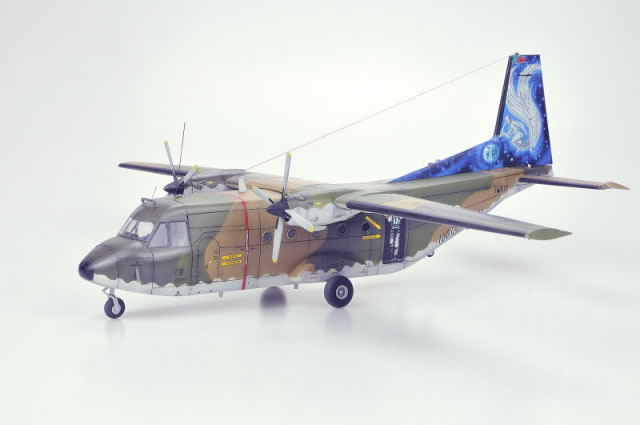
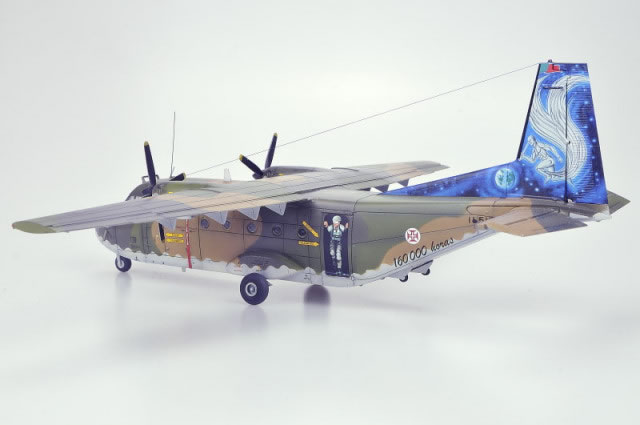
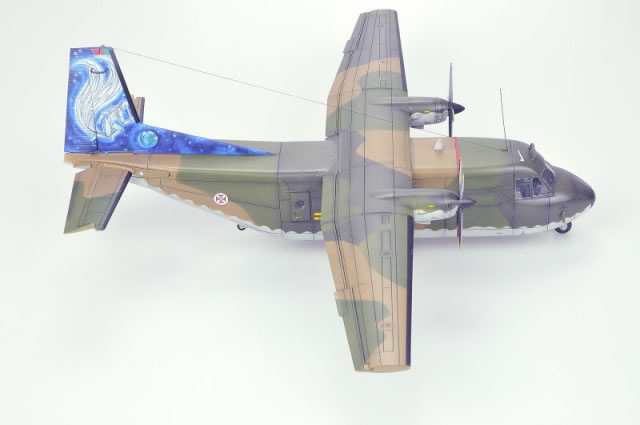
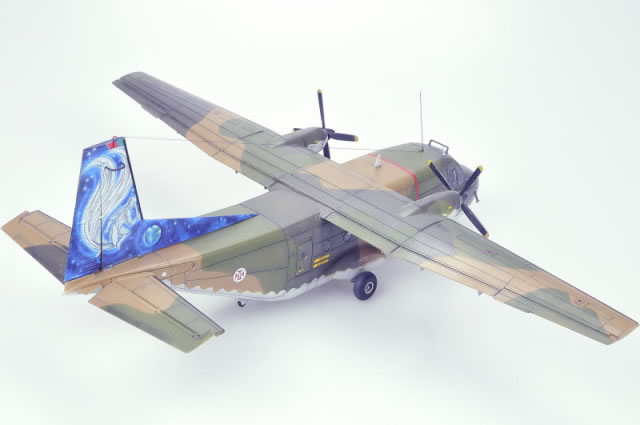
I choose for my part the box with the special "Tail Art" Portugese version.
In this box you have two decorations :
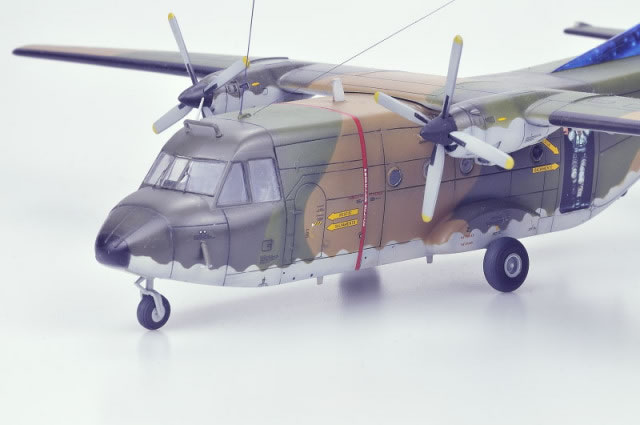
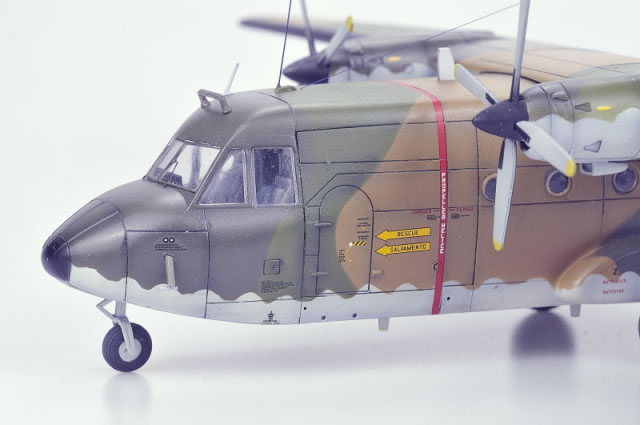
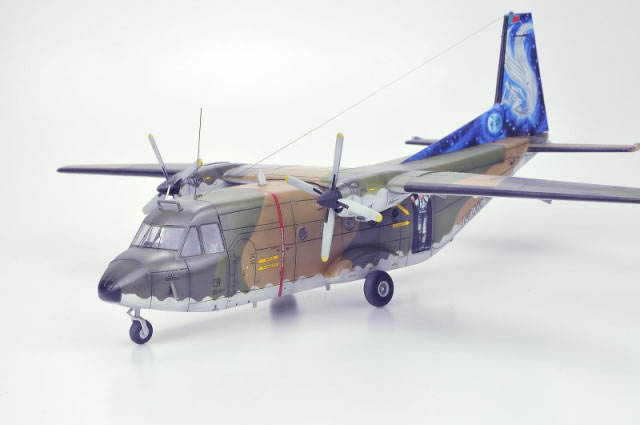
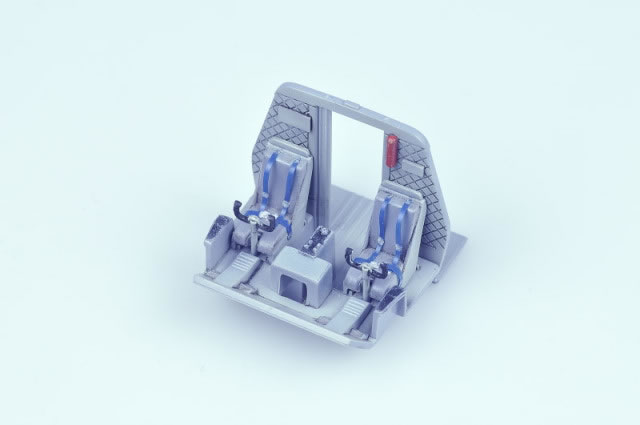
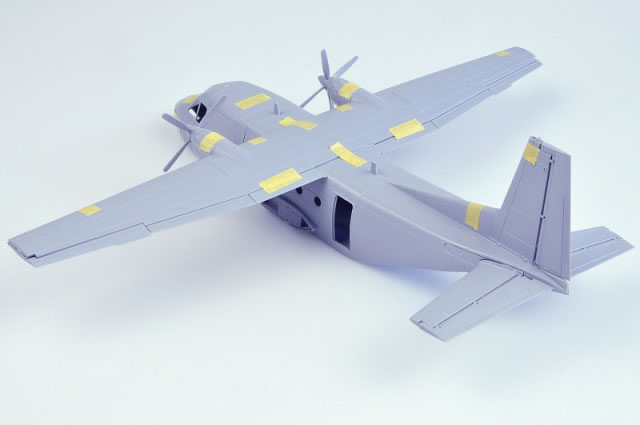
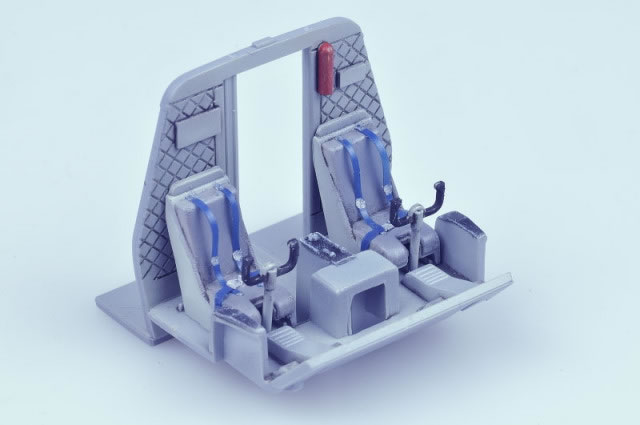
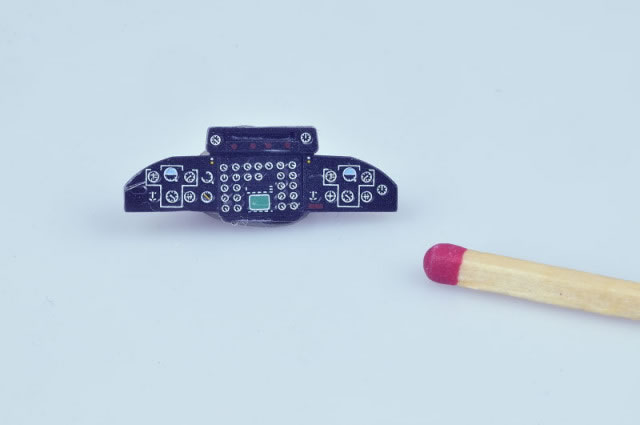
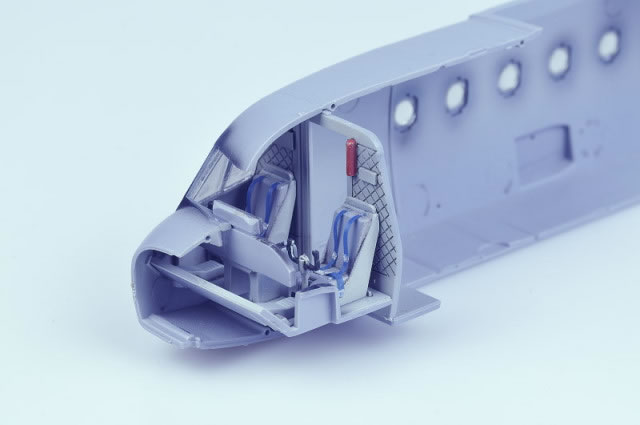
The kit start with the interior. The cockpit is very well detailed for the scale. Don't forget that you can't see major details when you close the fuselage. I just had seat belt. You don't need no further add.
I have few regrets for the passagers fuselage part. It have no details. The modeller who wish open the back door must create all superstucture and details.
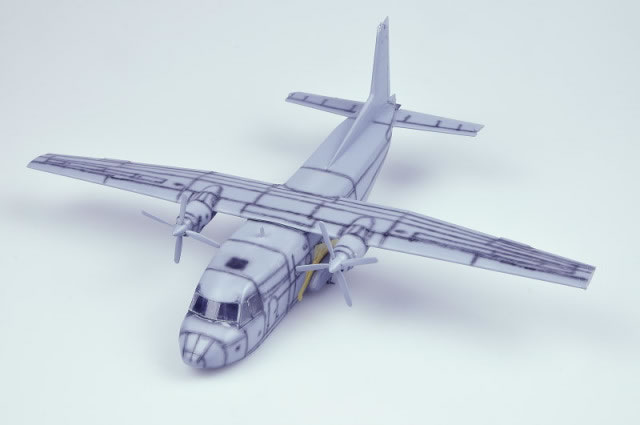
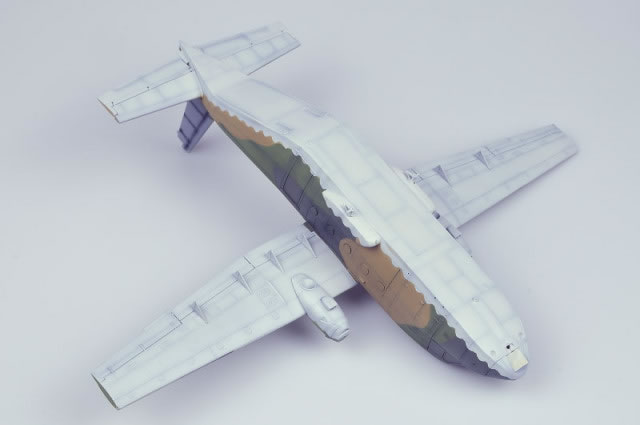
The fuselage close give no problem. You use the filler only on the under surface and the wheels bays.
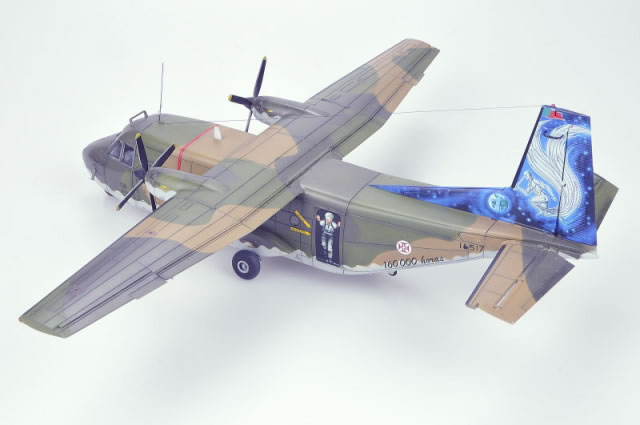
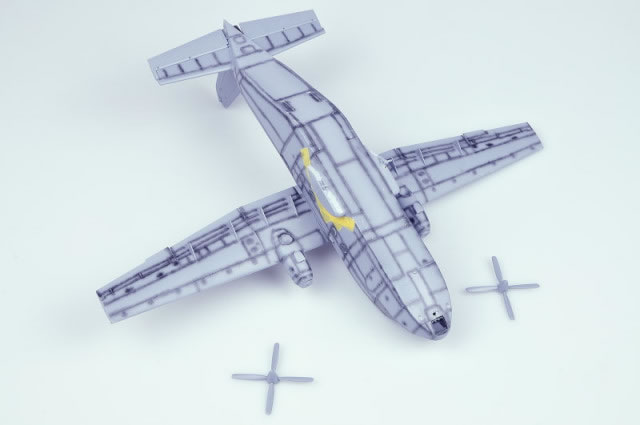
Now I can attack the wing. The join between the wing and the fuselage permit to not glue the wing before the end of the paint.
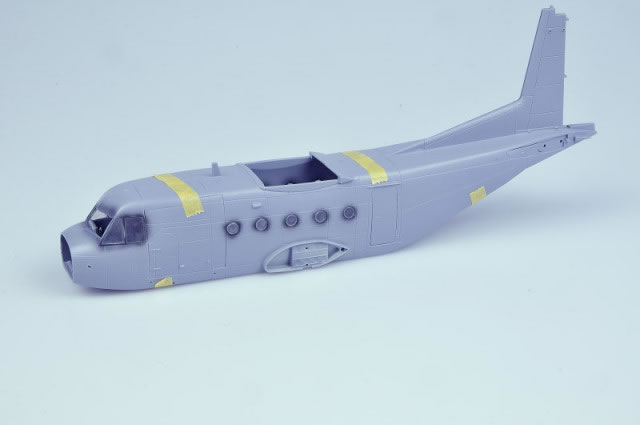
The engine exhaust hole need some filler for having a good shape
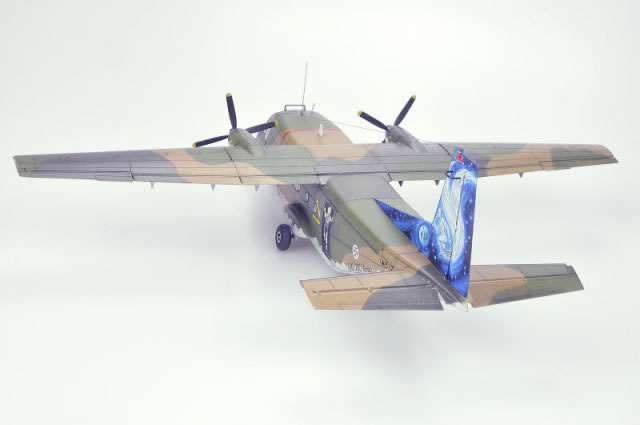
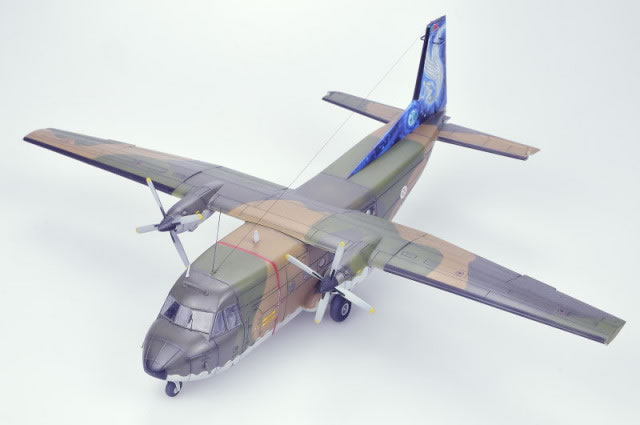
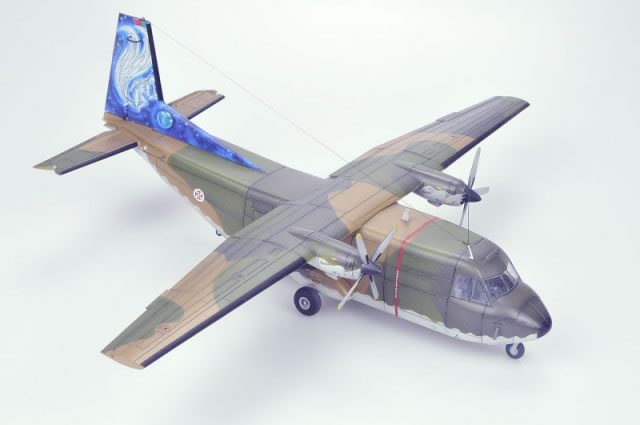
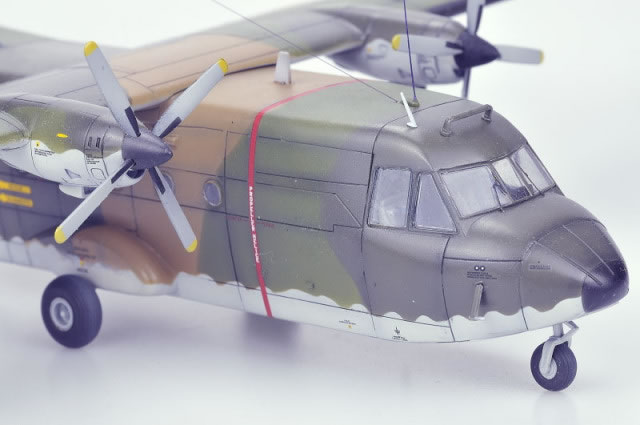
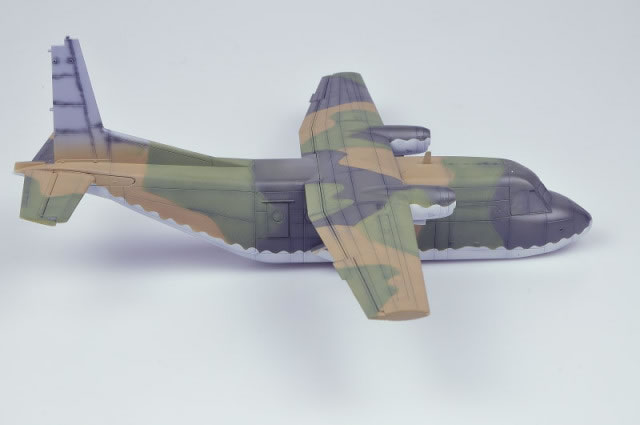
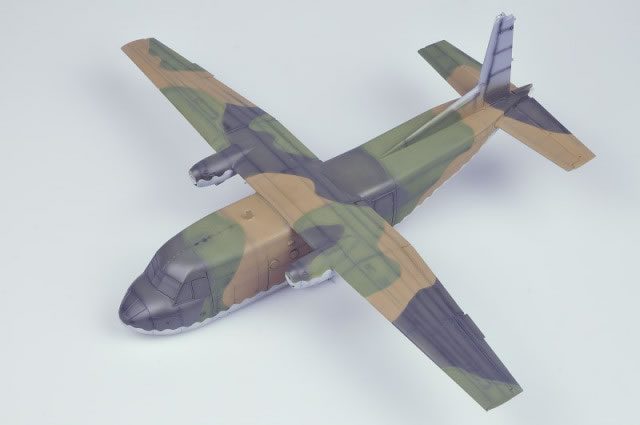
After that you can attack the paint. The portugese version have a 3 tones SEA type scheme. I love this scheme. In the real plane, the paint is heavly weathered but I choose to ignore it and made a paint with only a soft weathering. I paint the panel line with pre shadow method.
For each colors, I used the patafix to delimite each color.
For the underfuselage colors separation, I use patafix too sculting with a matches head.
I use the Gunze color paint given by the advice.
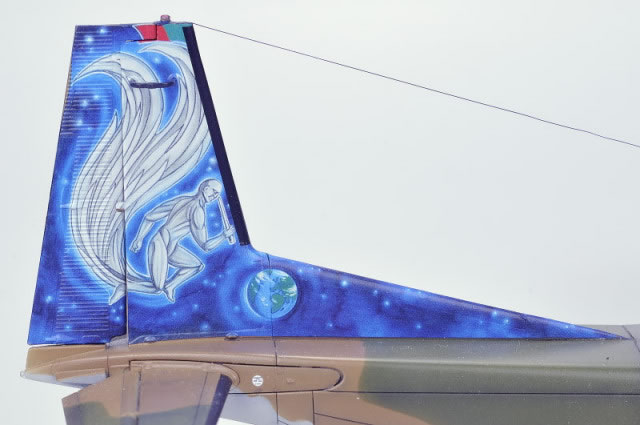
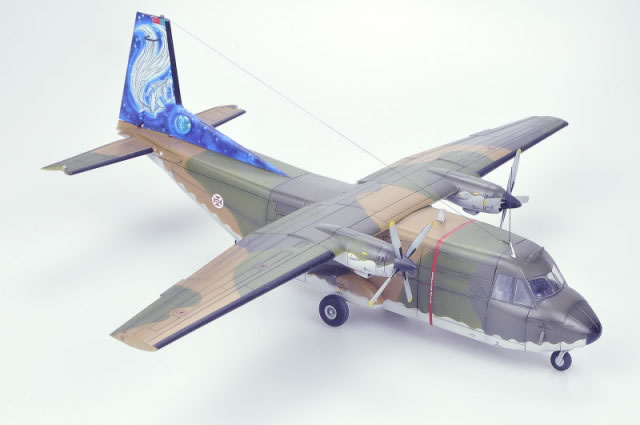
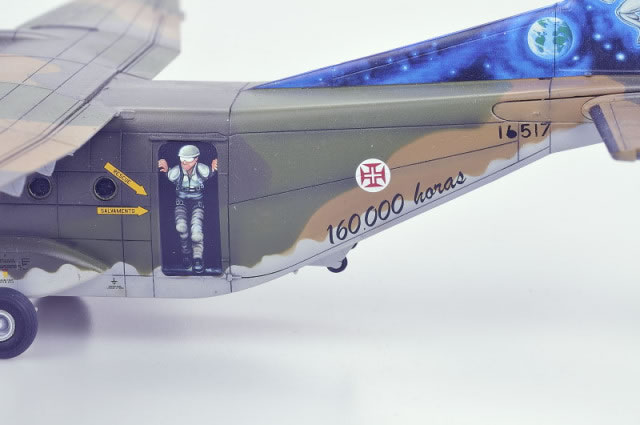
Now I'm ready for the challenge of this kit : the tail art.
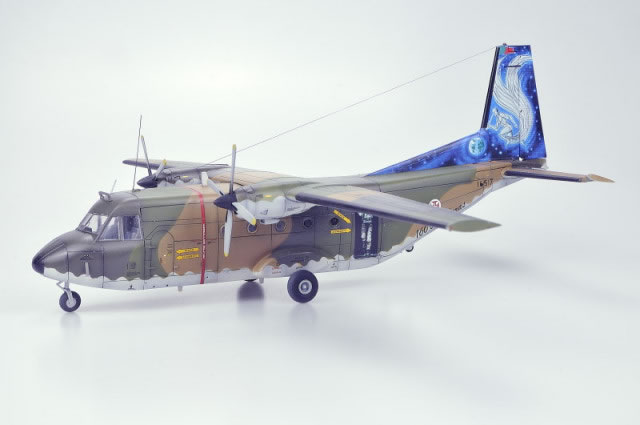
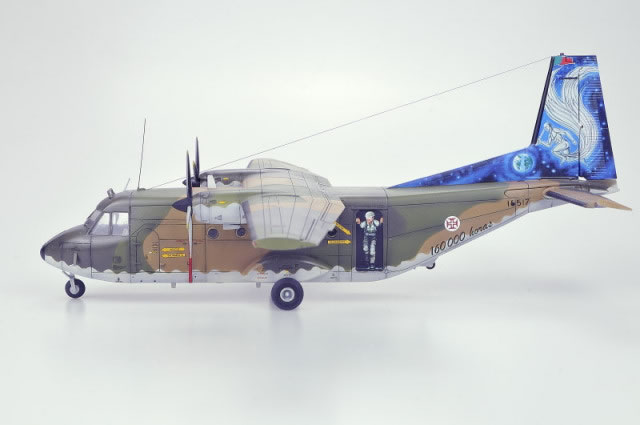
I choose the 160 000 hours tail art.
The tail decals have three parts. One part for the mobil tail part and two part for the fixe tail part.
The quality of the decals is very good. The decals are little to big but it is volontary.

For the mobile tail part, you set the decals by begenning to the end of the part. The decals marry perfectly the parts. Only some minor place need micro sol for a perfect fit.
Now go to the fixe tail part. Special Hobby have cut the decal on a panel line. It is very smart because you can use the panel line for mask the joint of the two decals. You set the decals by starting to the end of the tail part. The decals is to big too but the excess is recover by a black decal. I finish the set with Micro Sol two.
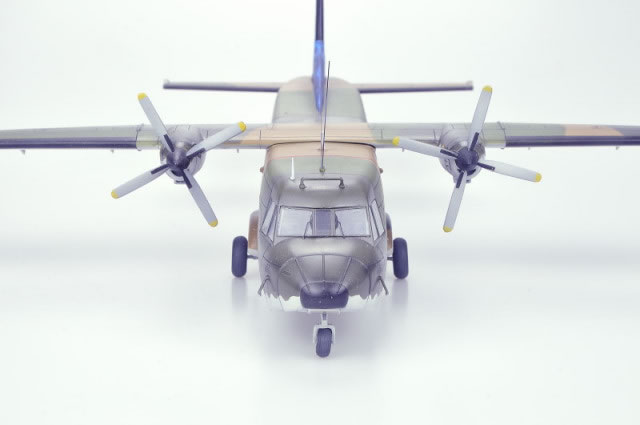
The wing can be added after the end of this challenge. And you can finish your model by adding the antenna cable.
This kit is a realy pleasure to built. All my thanks to Special Hobby for propose an another uncommon subject
Model, Images and Text Copyright ©
2018 by Remi Schackmann
Page Created 30 July, 2018
Last Updated
30 July, 2019
Back to HyperScale Main Page

|
 Home
| What's New | Features | Gallery | Reviews | Reference | Resource Guides | Forum |
Home
| What's New | Features | Gallery | Reviews | Reference | Resource Guides | Forum |