Alclad
for the First Time Again!
by Larry Goodell
|
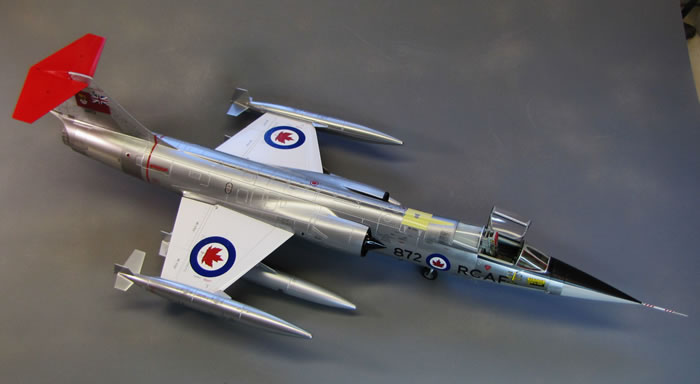
1/32 scale CF-104
|

Hobby Boss's 1/48 F4U-7 Corsair is available online from Squadron.com
Having used Alclad II Hi Shine Plus in the past I loved it so I thought I'd share with you the application I went with using Alclad II products including primers, base coats, metal finishes and Alclad's Micromesh set. I decided to go with an Italeri 1/32 F-104 in CF-104 markings as that is the only NMF option on the decal sheets. After all it's a long, pointed barrel and you don't have to NMF the wings. I purchased three sets of aftermarket parts to round out the Starfighter...a Master Pitot, Eduard's correct exhaust nozzle in resin and Airscale dial decals for early allied jet aircraft. The dial decals are 1/48 which are better suited in size for Italeri's 1/32 F-104 instrument panel
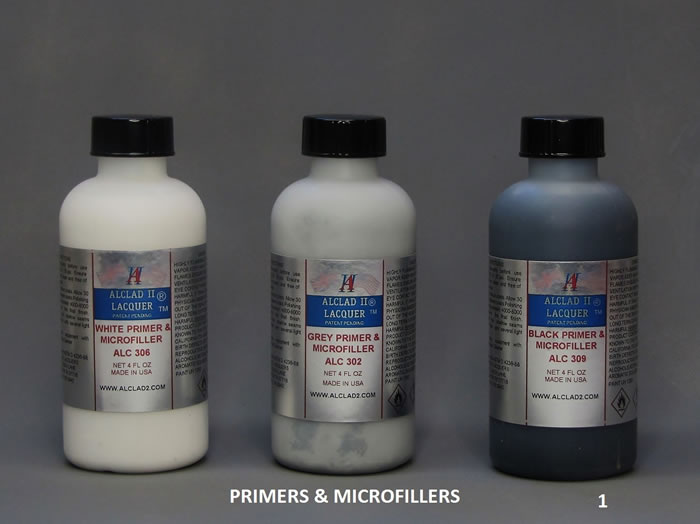
Alclad produces three microfiller primers ready to airbrush right out of the bottle, White, Grey & Black. I generally use a Badger 150 dual action but have found a 200 works better as it's a constant spray at release compared to a gradual release with the dual. Also humidity will effect the coverage. Note that my work shop is outdoors. I found warming the primers slightly let them flow nicely. The primers dry dense and hard and can be worked down to a shine using the Alclad Micromesh set without wearing through but yet feathers nicely.
Coats are workable after an hour or so. Make sure your primers are mixed thoughly by shaking well. I sprayed at 18 PSI. I use the 200 exclusively for the primers, base coats and metal coats.
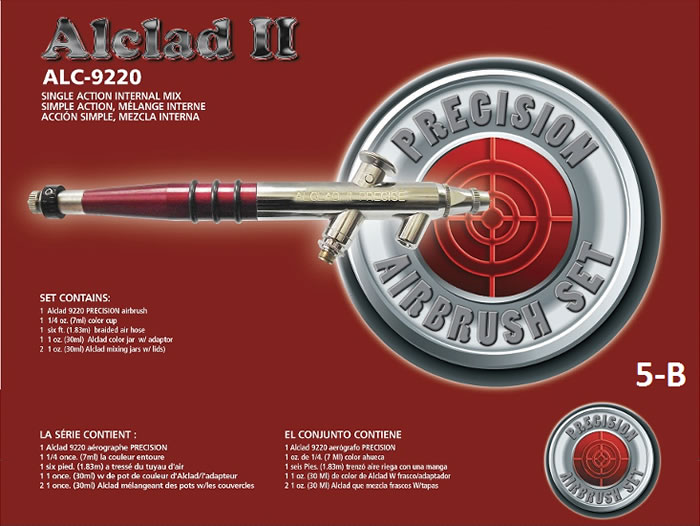
Alclad does offer an airbrush marketed exclusively for Alclad by Badger...basically a 200 single action but with features that gear toward Alclad products.
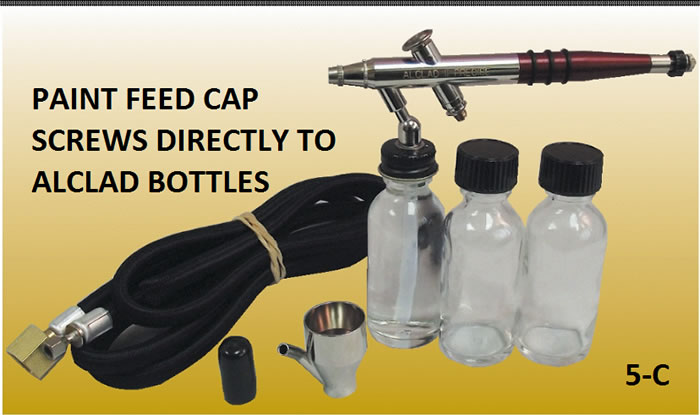
I believe the set sells for $69 and some change.
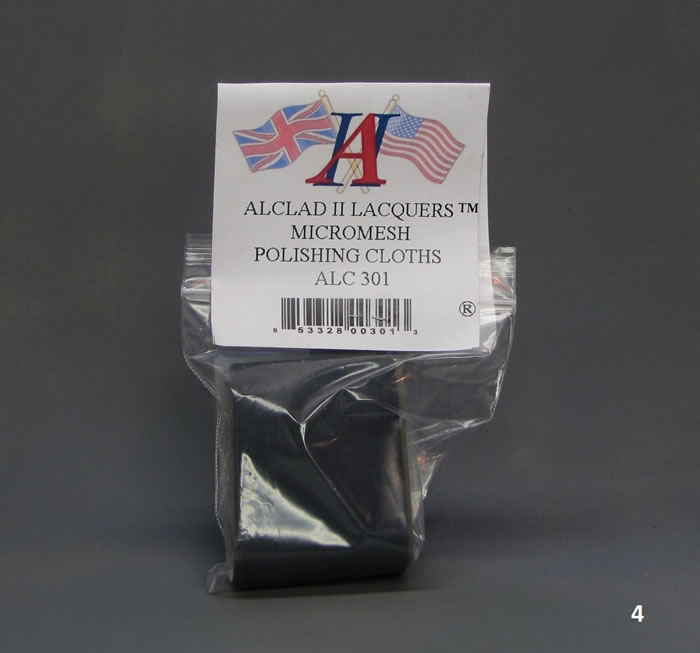
Alclad II Lacquer Micromesh polishing cloth. One pack contains 1x3200...1x4000...1x6000...1x8000...1x12000 sheets and one rubber block.
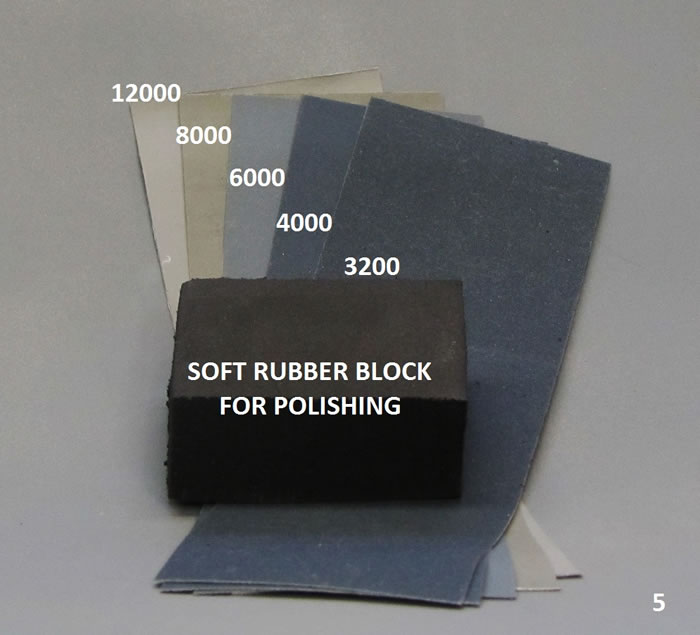
Each sheet is 2" x 6" & the pliable block is 2" x 1 3/8" x 7/8" thick. For polishing a back & forth motion is recommended to eliviate swirls.
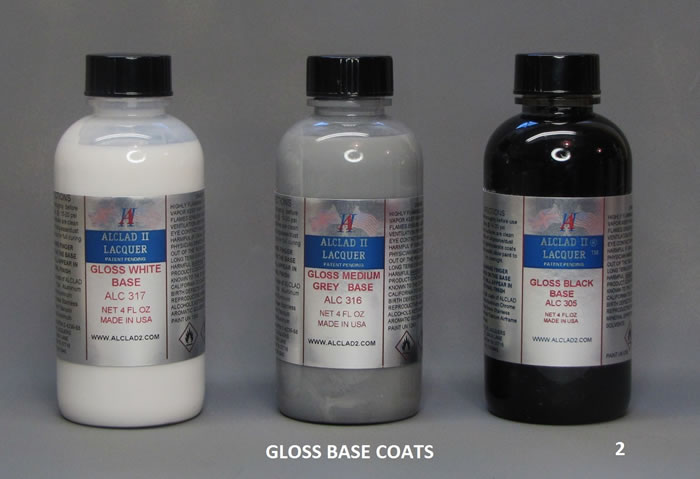
Standard base coats for Alclad II high shine finishes like Hi-Shine Plus, Polished Alum, Chrome and the like are White, Grey & Black according to how deep you want your metal finish to appear. all three are made to be used right out of the bottle and can be handled with cotton gloves within an hour. I do not recommend masking till base is completely cured and then using a low tack tape like Frog Green. I like to rub my finger across the tack to lessen the stick even more. For curves and the like I'll use Tamiya tape cut in thin strips and de-tacked somewhat. I recommend spraying something from another kit you'll not be using for sometime as you can remove that paint later. You can then log your own curing times for safely applying and removing masking tapes.
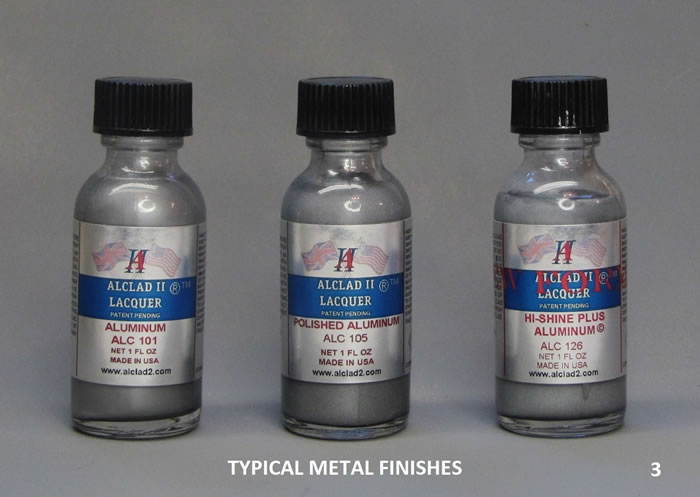
The finishes used in this article are White Aluminum, Polished Aluminum and Hi Shine Plus New Formula. Alclad's Burnt Carbon tints are also used. Hi Shine's formula allows it to be applied over anything including bare plastic and effects from a patina to a deep shine can be achieved according to the amount of surface preparing and adheres well. Do note that irregularities in the plastic injection process like pronounced swirls tend to show through so check areas where Hi Shane is going to be used over the bare plastic. Alclad gloss clear works as a great base coat also if applying just Hi Shine. Hi Shine will also give you a nice durable finish laid down over the primers that have been polished out. The other deep shine finishes, Polished Alum, Chrome etc need to be applied over Alclad's gloss base coats...white, grey or black. Any enamel, lacquer or acrylic gloss base will work fine also but generally have to be thinned whereas the Alclad product is one step used right from the bottle. As stated above the base coats provide a better surface that locks the Polished Alum or Chrome finishes on. Also a grain in the metal can be achieved by a one directional scouring using the micromesh on the primer or base coat. Now let me stress the importance of thoughly mixing the products...shaken not stirred till no residue can be seen in the bottom of the bottle. Follow the directions on the labels for spraying PSI and misting of coats. I like to keep the metal finishes agitated during the spraying process by swirling the mixture after the first mist coat. You do not want to apply a wet coat.
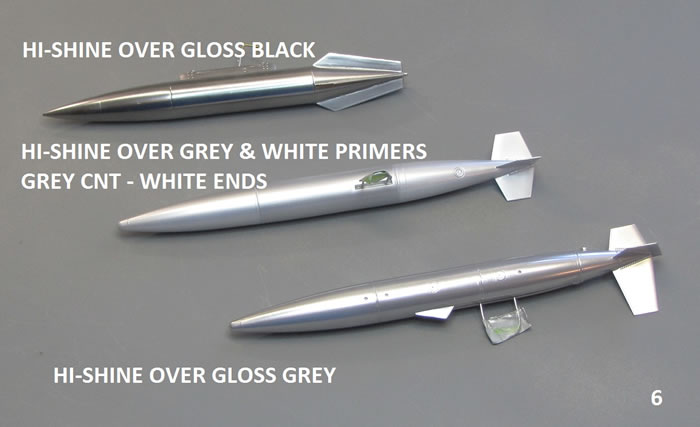
With all the above said & done I decided to go with a gloss grey base coat. I did experiment with two primer tones on the pylon mounted tanks.
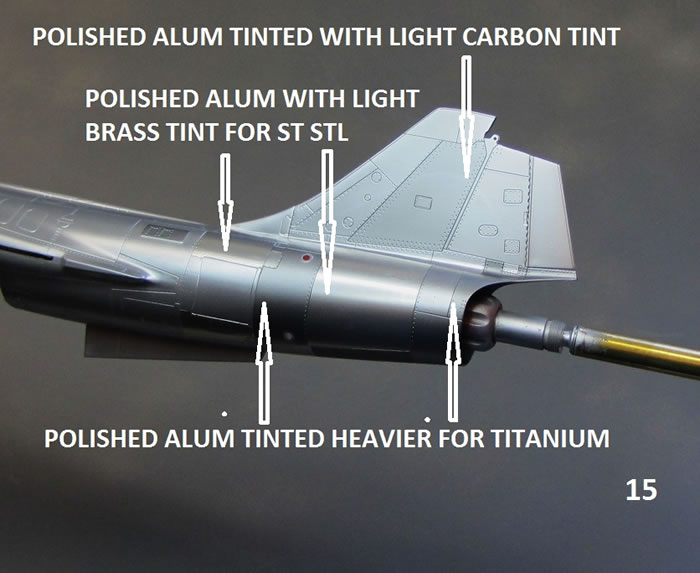
I used grey & white primer, polished them out and misted on Hi Shine so the two tones still shone through. Afterwards the Hi-Shine can be masked if you wish without lifting any of the metal or marking the finish...very durable. I'm also using Alclad II Hot Metal Carbon and Hot metal Burnt Carbon for tinting White & Polished Alum for various shades. I used Alclad II Armored Glass tint for the gunsight.
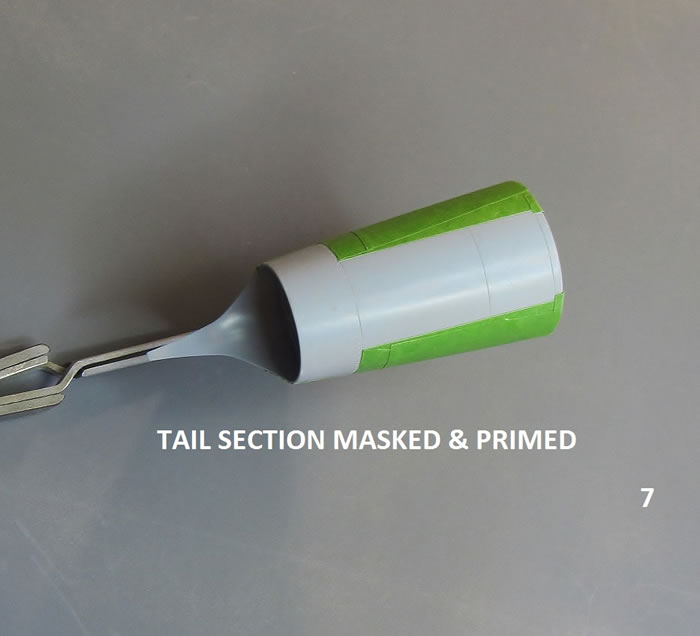
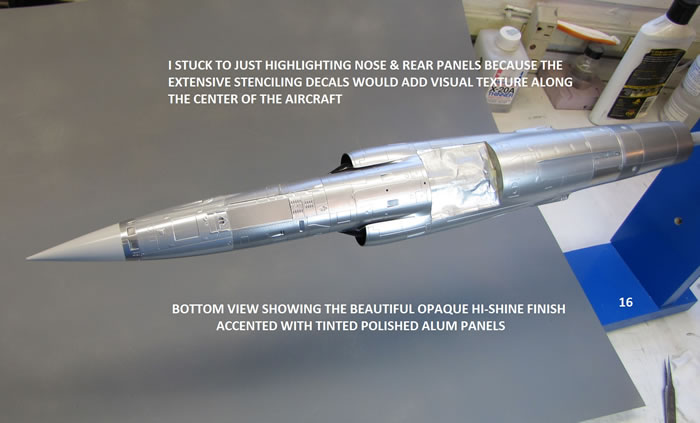
After assembling the usual interior set ups and some other detailing I closed up the fuselage. The seams are few on the underside and the spine fits so tight you can hardly see the join so cleanup was a snap. Any areas questionable had a little Mr. Surfacer 500 applied before any primer went on. I also modified the main & nose gear to be installed after the Alclad applications. Wings can also be installed afterwards. Looking at the photos you see I've taped off any areas that required priming at the time instead of shooting the whole fuselage and having several coats building up over the process.
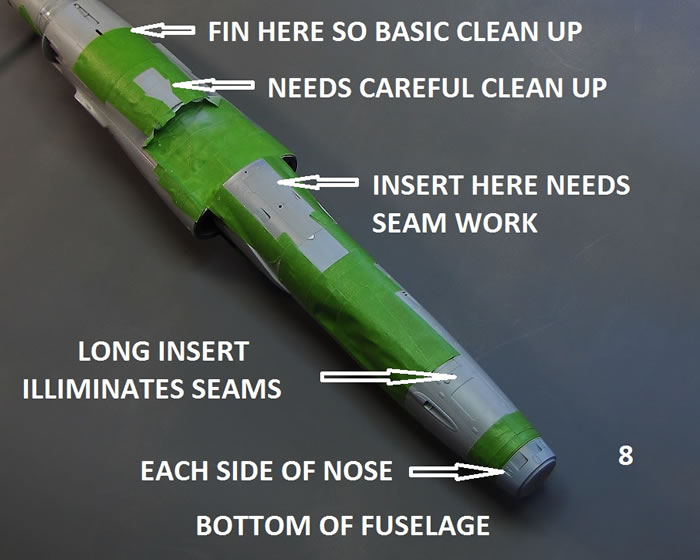
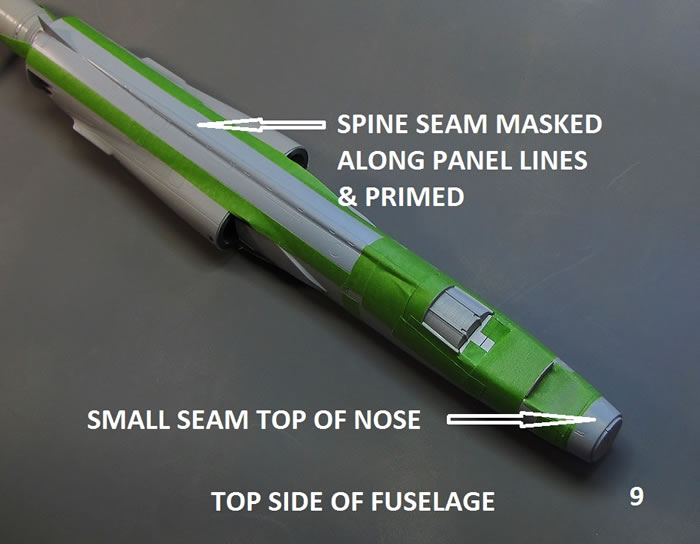
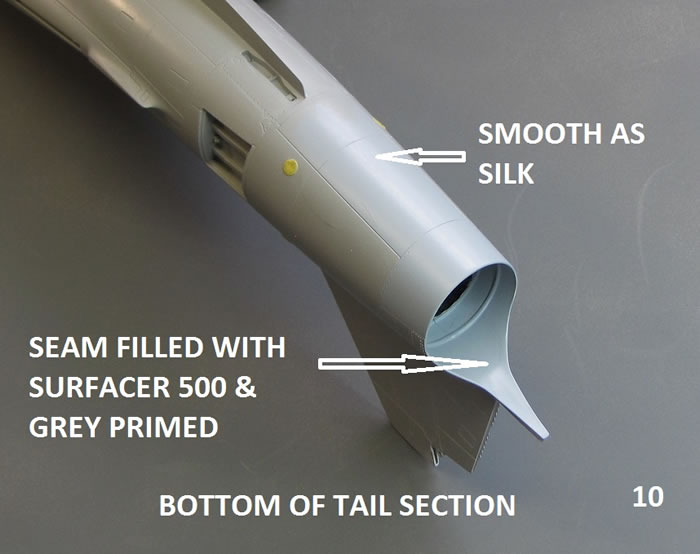
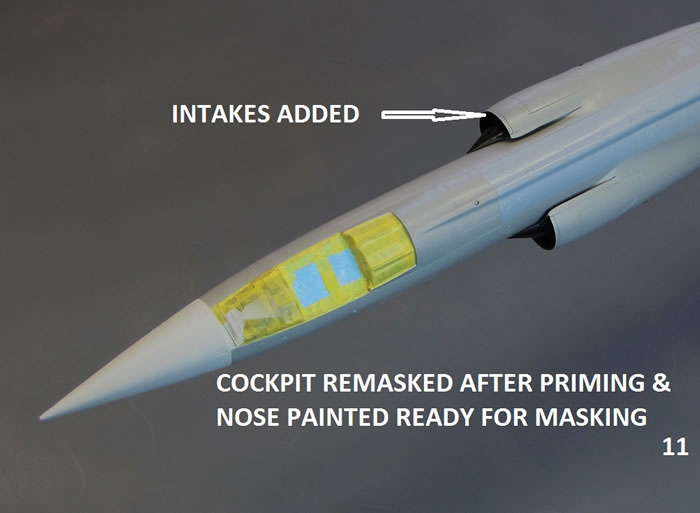
A bit time consuming but saves a lot of the detail. Next I added the intakes with a black coat already applied to the interior of them. These will be masked prior to the metal coats and only the splitter cone and rim of the intakes will need to be painted after metal coating. Finished out the fuselage with nose cone and speed brakes in the closed position. I had already assembled the tanks and will be using four...tip tanks & underwing. Sure hope the gear holds up...this thing has some heft to it. Also with the kit engine in it I had to add a bit of weight in the nose cone. I now proceeded to apply the gloss grey base coat. The Alclad gloss base coats go on extremely well starting with a couple of tack coats then a couple of good liberal coverage coats.
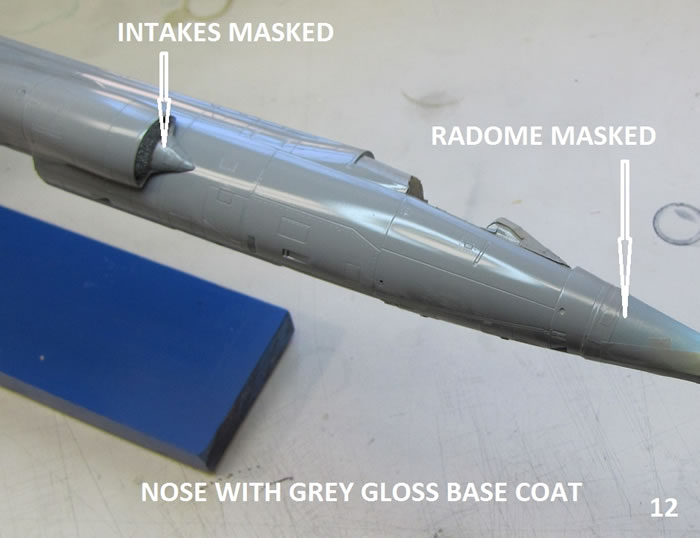
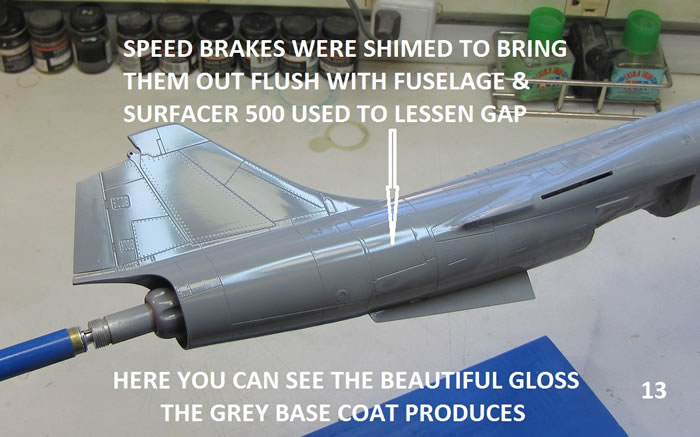
The Hi-Shine will go over that and then any other panel shades can be applied by masking and using other shades of Alclad II. As mentioned above I use Frog Green tape, Tamiya tape and Post-its. After the gloss cured for a couple of days I applied the Hi Shine in several coats to the extent of achieving a more opaque metal finish. I also tinted some Polished Alum with Alclad's hot blue & hot carbon tints and used it on the nose under the cockpit sills and aft panels.
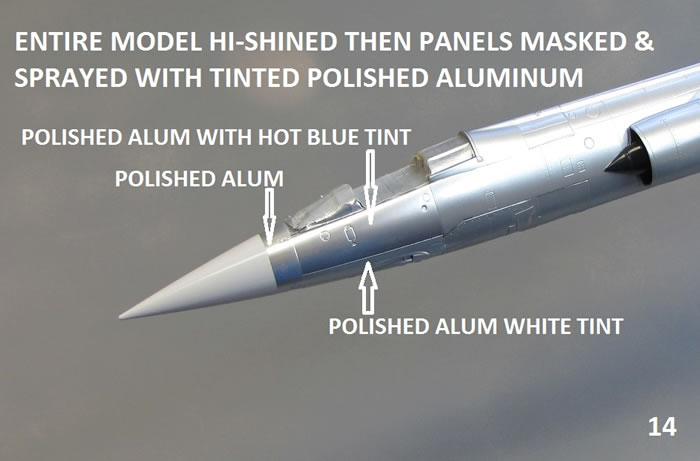
The wings, tailplane and radome will be finished using Mr. Color solvent based paints as they lay down to a scale appearance and capture details so nicely.
An F-104 in 1/32 scale is an impressive model especially coated in Alclad II NMF. This scheme with white wings, bright red taiplane and Canadian markings makes for a striking finish.
Text and Images Copyright ©
2018 by Larry Goodell
Page Created 12 June, 2018
Last Updated
14 June, 2018
Back to
HyperScale Main Page

|
Home
| What's New |
Features |
Gallery |
Reviews |
Reference |
Forum |
Search