Eduard's 1/48 scale
Focke-Wulf Fw 190 A-4
Part 2 - Painting, Weathering and Decals
|
Eduard 1/48 scale Focke-Wulf Fw 190 A-4 |
by Brett Green

Eduard's 1/48 scale Fw 190 A-4 is available online from Squadron for only USD$39.99!
Before painting, I masked the windscreen using the die-cut, self-adhesive masks included in Eduard's kit. Eduard supplies two optional parts for the standard sliding canopy - closed or open. I was planning to display the canopy open so I used the leftover closed canopy to effectively mask off the cockpit. This was tacked into place with spots of Gator's Grip acrylic glue.
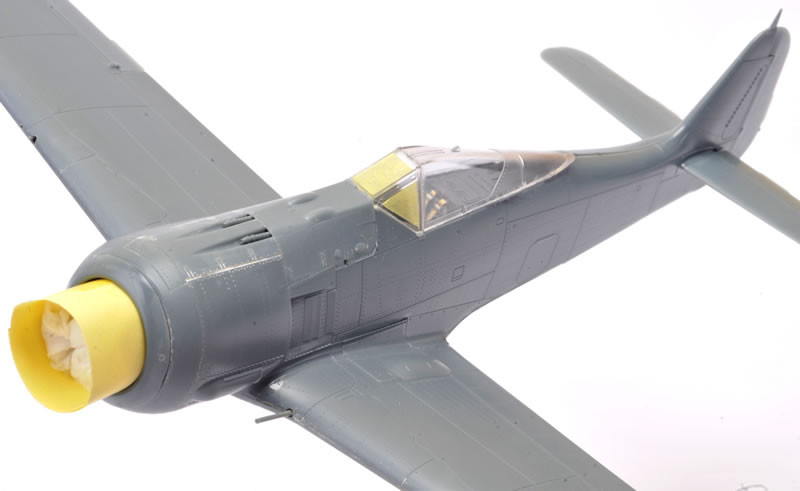
The windscreen was sprayed a mix of Tamiya acrylic XF-1 Flat Black and XF-24 Dark Grey to represent RLM 66, the colour of the internal frames. Note that the engine has been masked with a rolled section of Post-It Note and stuffed with tissue paper.
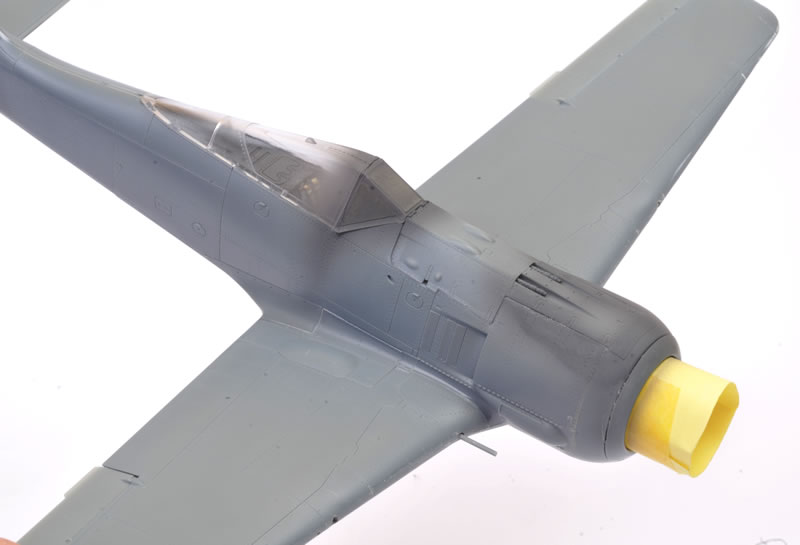
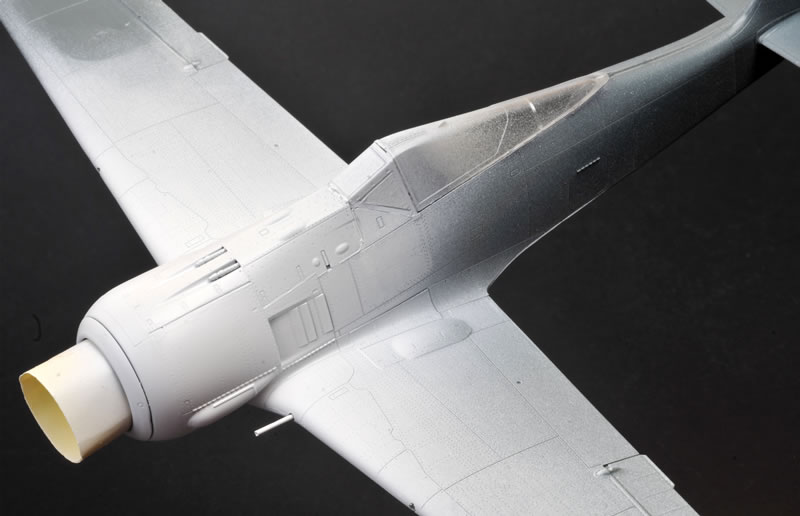
The entire nose area was now sprayed with Tamiya's Fine White Primer straight from the spray can. This would form the basis of the striking striped black and white nose.
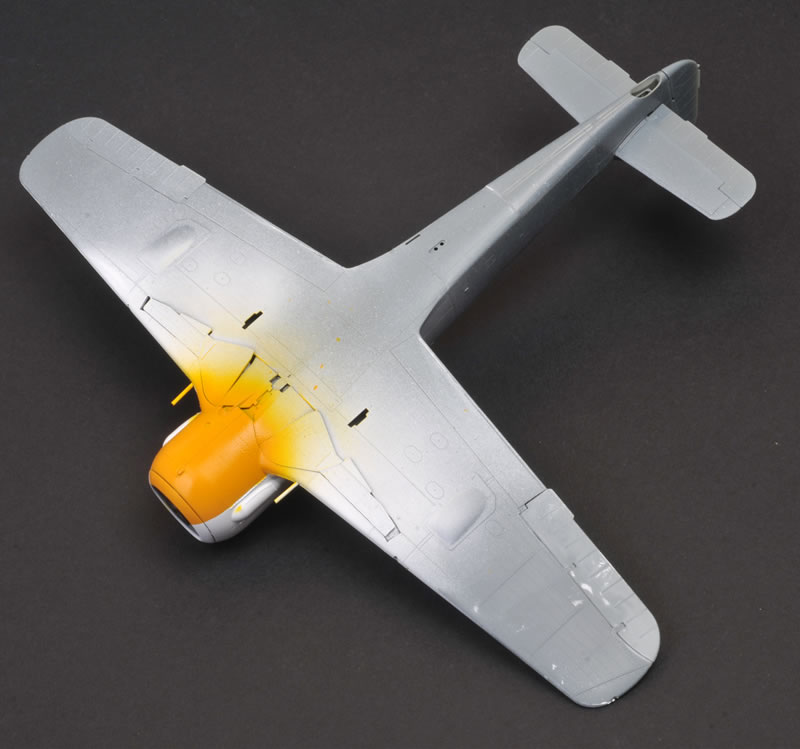
The lower cowl was sprayed yellow. I realised later on that I got the demarcation incorrect.
The nose was now masked off in preparation for the camouflage colours.
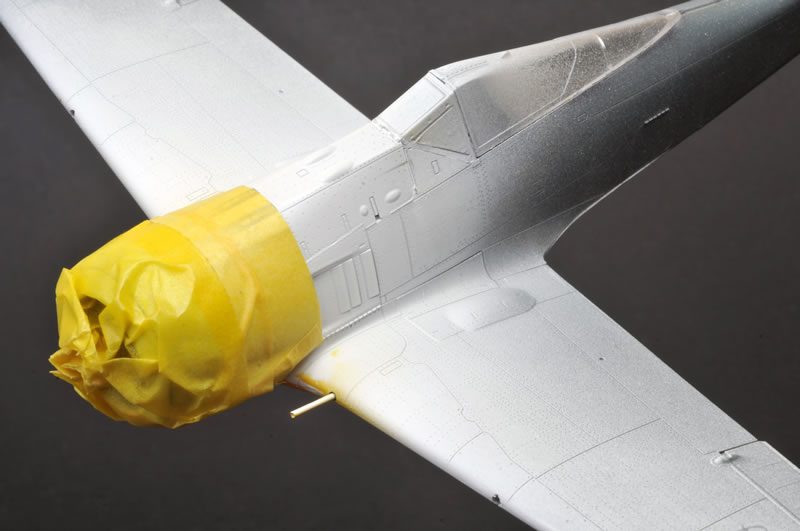
The entire model was sprayed with Tamiya's AS-5 Light Blue, also straight from the spray can. This is a pretty decent match for RLM 76 Light Blue, and close to Gunze's acrylic H417 - handy for touch-ups later on. With the light blue base colour in place, the bottom of the horizontal stabilisers were masked off.
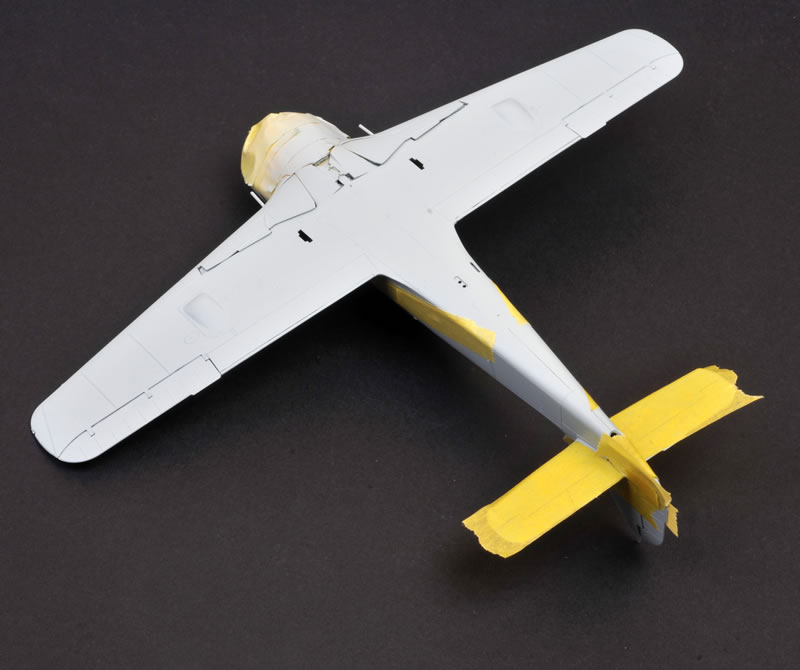
The fin and the wing roots were also masked off with Tamiya tape.
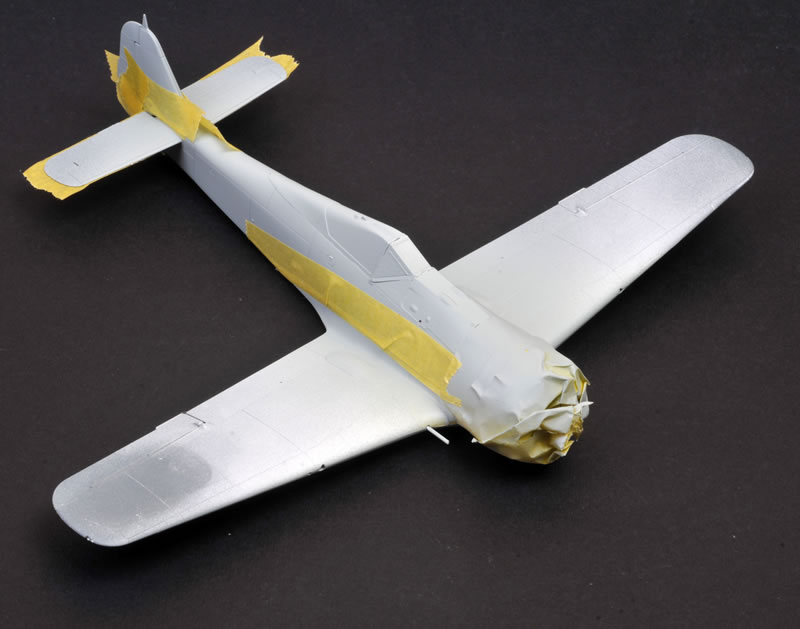
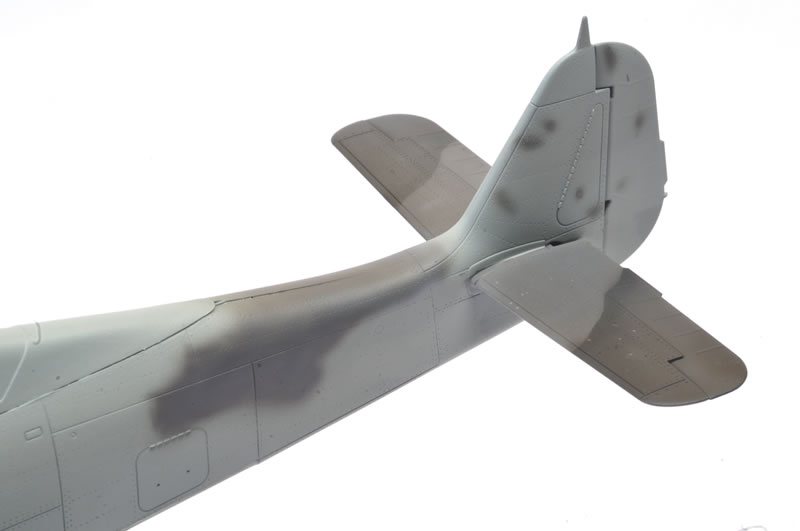
Gunze acrylics were used for the camouflage colours. This first coat on the wings is H69 RLM 75 Grey Violet. I later sprayed a lightening mottle and streaking with a shade mixed with a few drops of RLM 76 Light Blue.
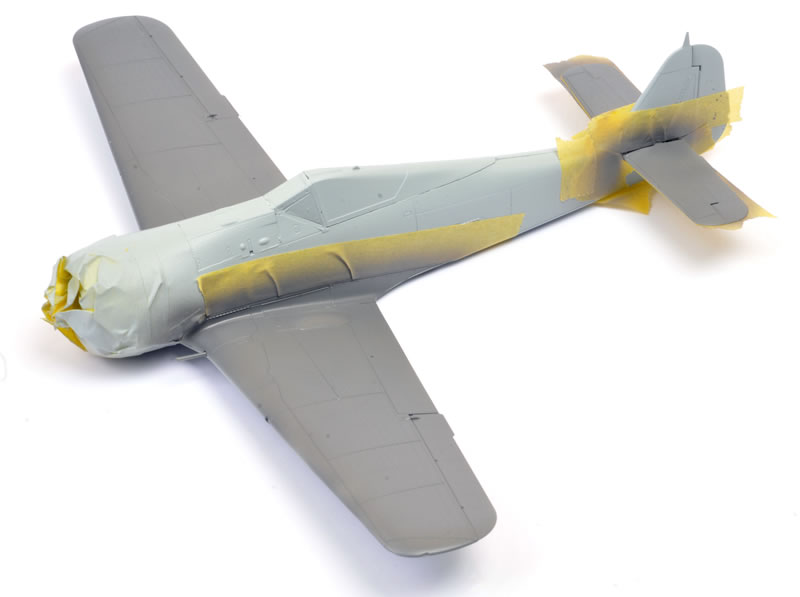
I scaled up one of the upper surface camouflage illustrations in Eduard's instructions and printed them onto a full sheet of self-adhesive label paper.
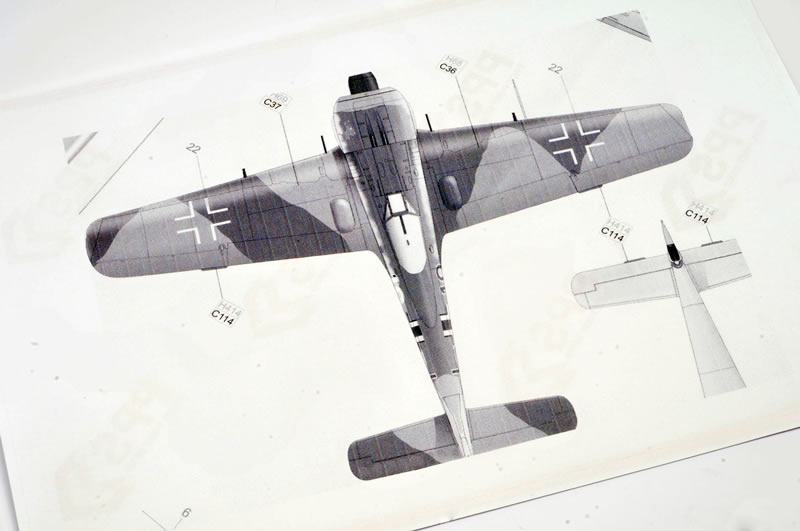
The camouflage pattern was cut out with scissors and stuck straight onto the wings and tailplanes.
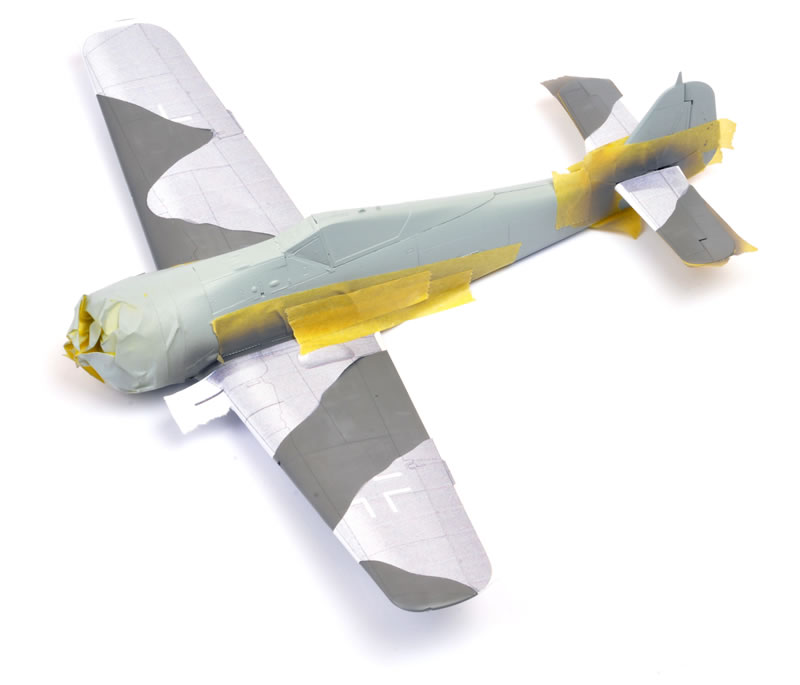
The spaces between the masks were sprayed with Gunze acrylic H68 RLM 74 Dark Grey.
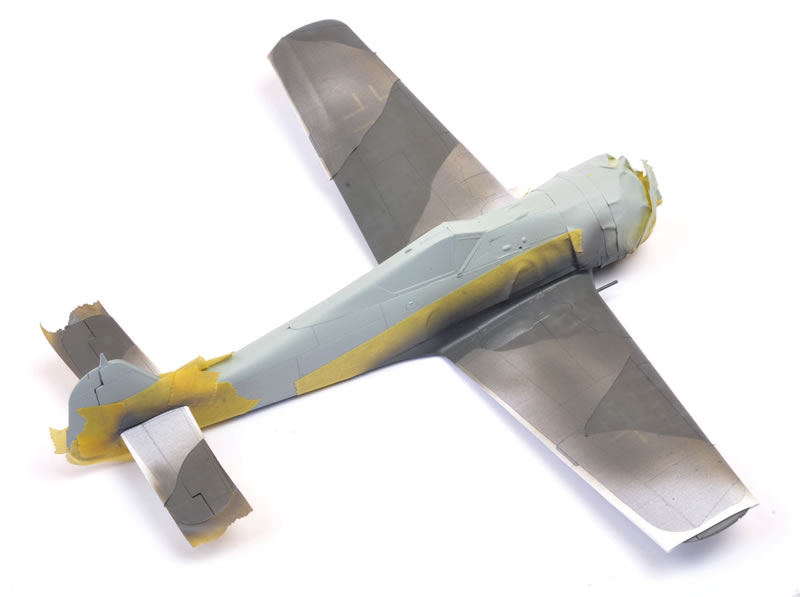
Note the paler disruptive mottles and streaks on the basic camouflage colours.
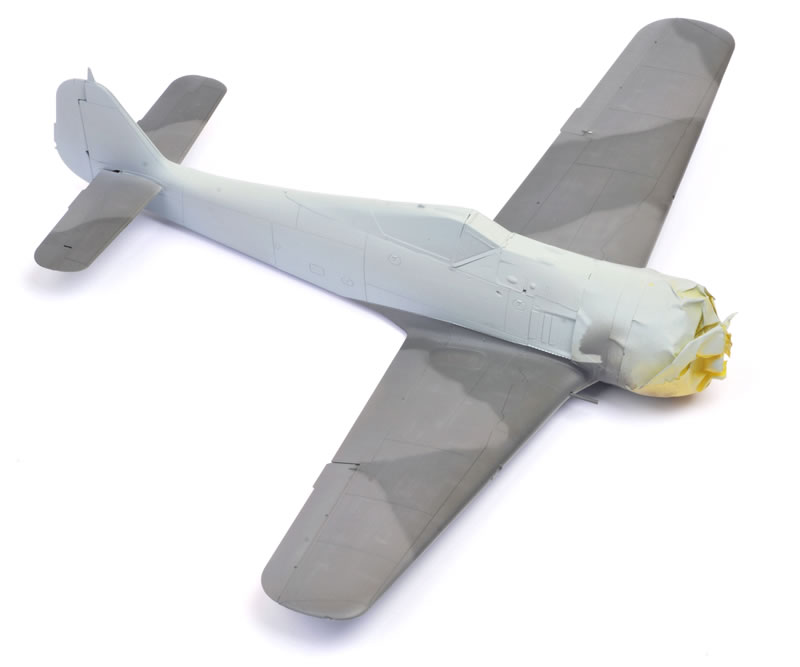
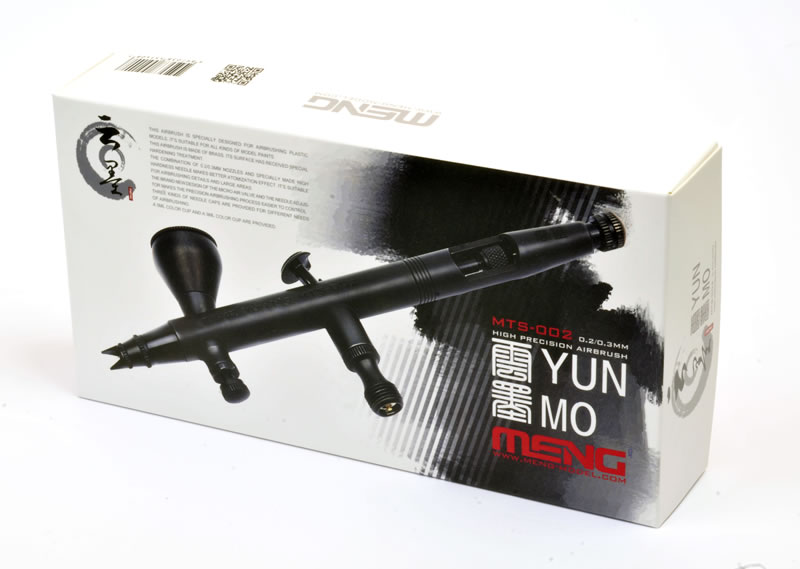
I have been test driving the new Meng MTS-002 Yun Mo airbrush on parts of this project. It seems to work well. I'll write a more detailed review next week.
The sparse RLM 75 Grey Violet mottle plus larger patches were sprayed freehand onto the fuselage sides and fin.
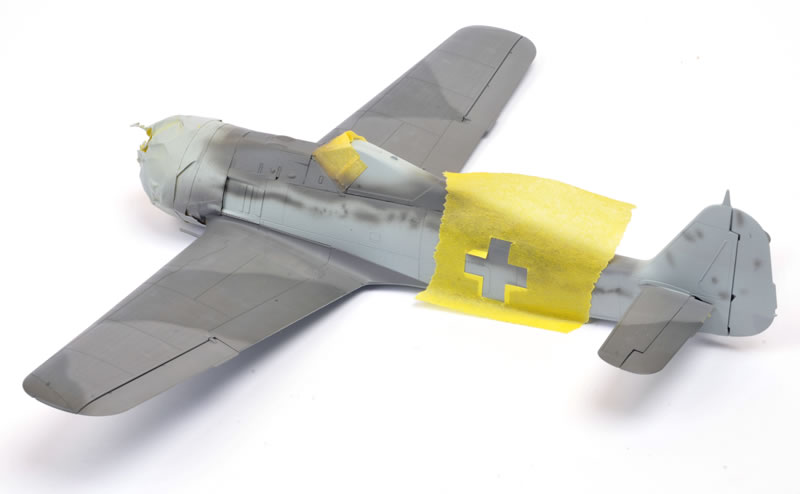
The inside of the fuselage cross was sprayed to ensure that it matched the surrounding camouflage colours. I cut this rough mask using the Eduard decals as a guide.
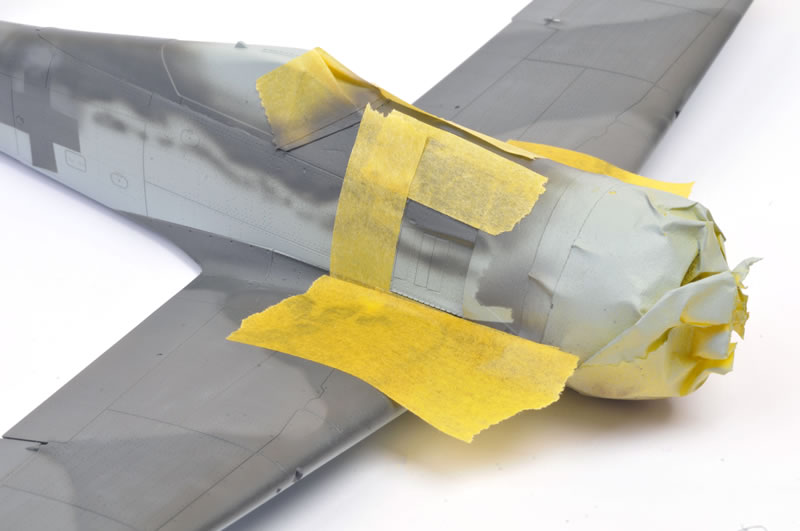
The area surrounding the black exhaust panel was masked with Tamiya tape.
The white nose and black exhaust panel are unveiled. So far, so good.
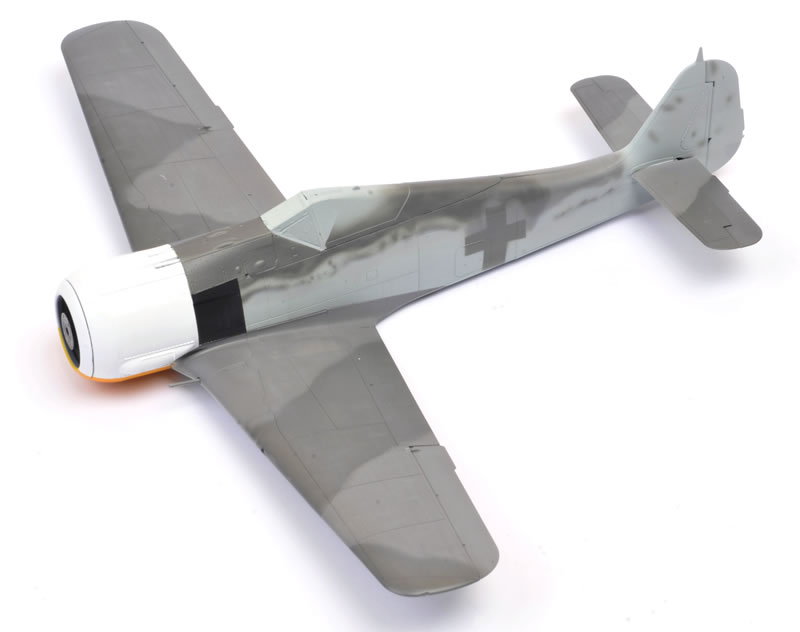
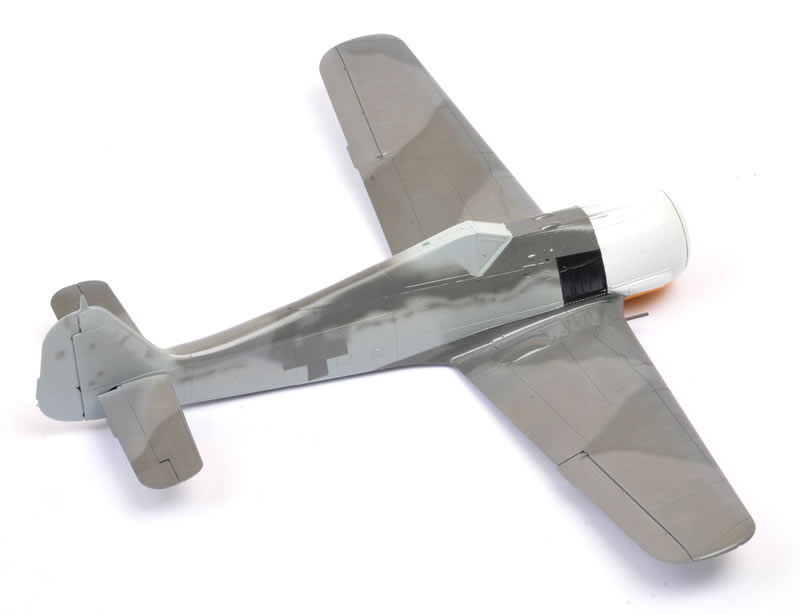
The model received several coats of Future Floor Polish in preparation for decals.
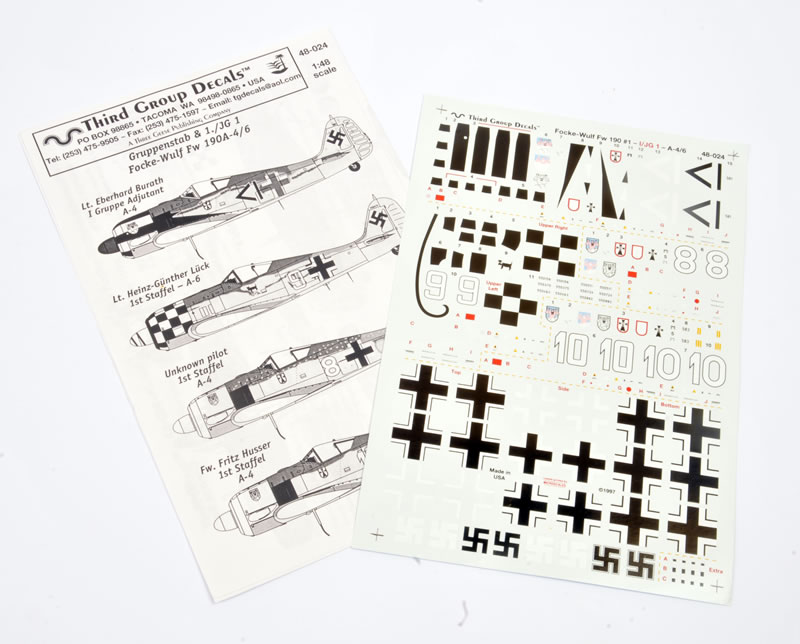
I bought these Third Group Decals in 1997 - yes, 20 years ago - and I have been waiting for an excuse to use them. All good things come to those who wait!
These 20-year-old decals performed superbly. They were very thin, quite opaque and conformed to surface textures perfectly. Fit was very good too, considering the specific nature of the markings and the fact that it was designed for the Dragon kit. There were just a few gaps that needed touching up with black paint and a fine brush.
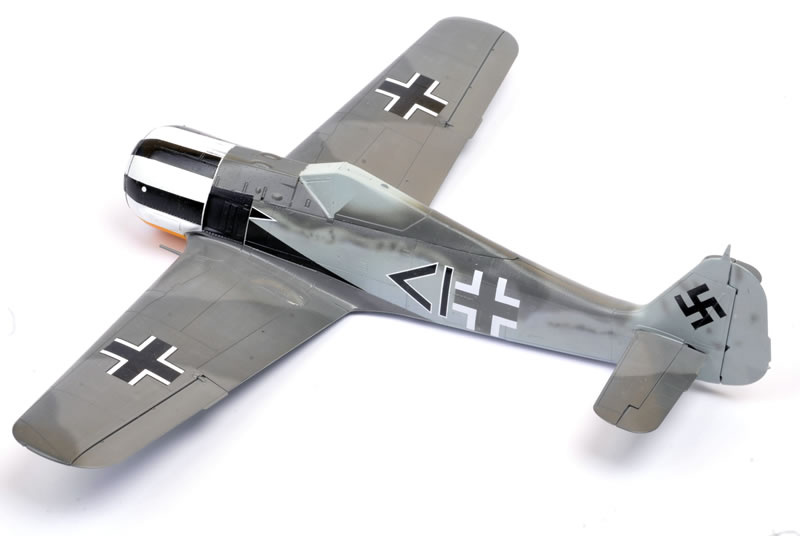
I now realised that I had missed the stripes on the lower forward cowling. I masked and sprayed the white area before applying the black stripe sections.
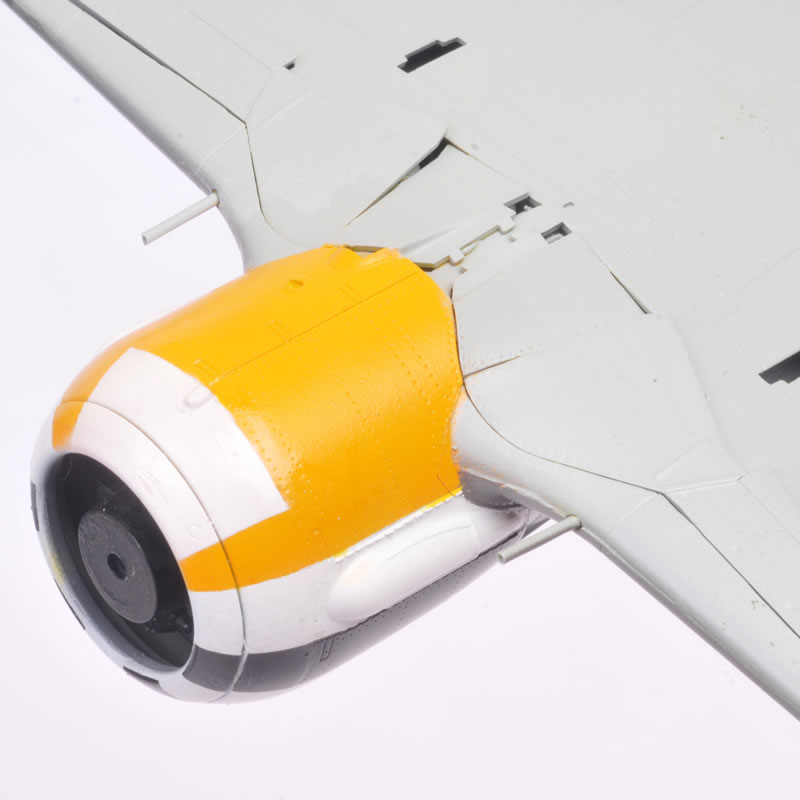
I think that this was worth the effort. Note that the undercarriage doors have been Blu-Tacked closed to act as a mask for the undercarriage bays.
At this stage I hit the model with two coats of Alclad II Klear Flat. This is their second flattest clear lacquer, leaving the hint of a sheen on the model.
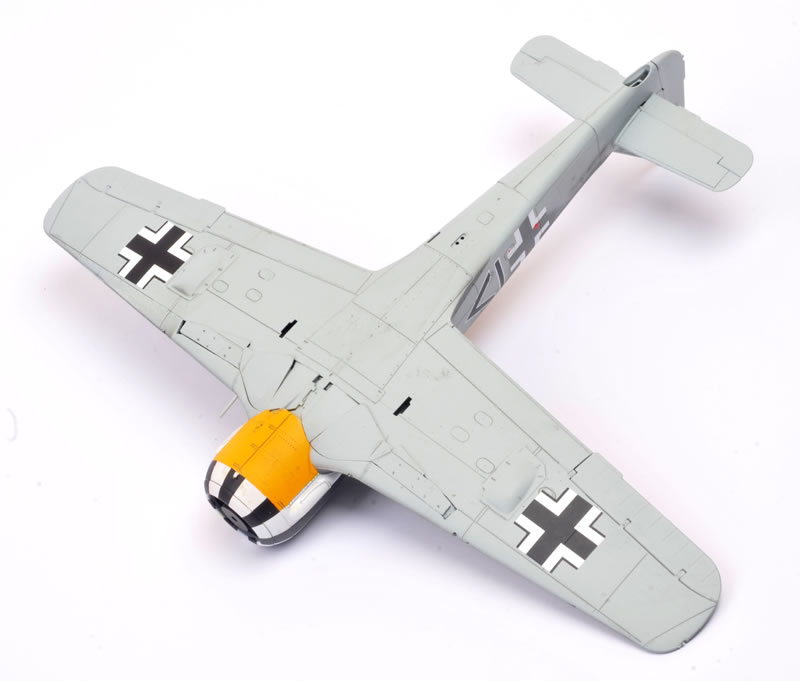
Panle lines have been highlighted subtly with a wash of Future floor polish, water and a spot or two of a black/brown mix applied with a fine brush.
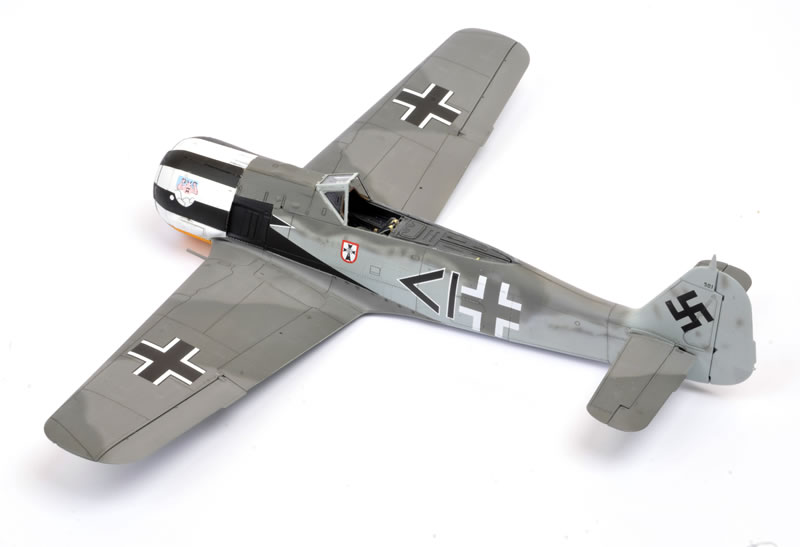
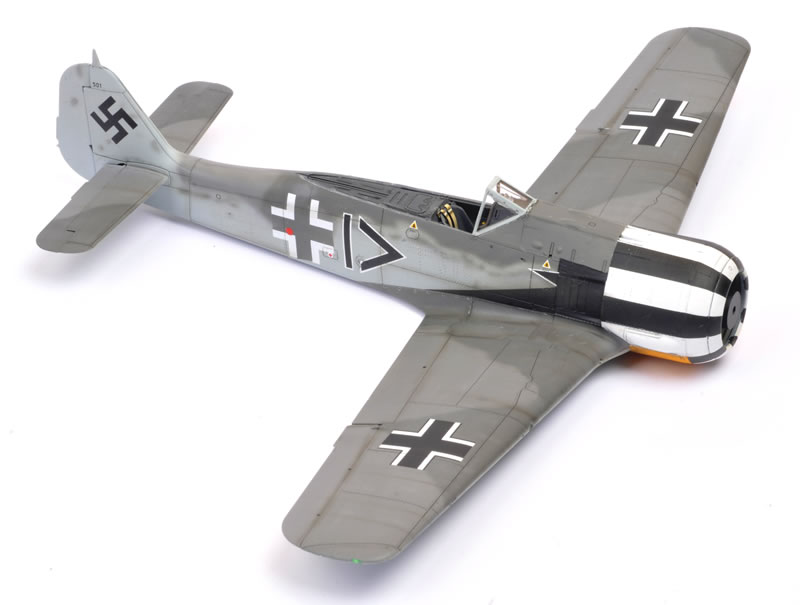
I also applied streaks, mottles and panel shading with a thin airbrushed black/brown mix.
Lower surfaces were lightly weathered too.
Murphy's Law dictated that I should find this photo of my subject aircraft after I had finished painting and weathering. This shows some very distinctive elements that I hadn't depicted.
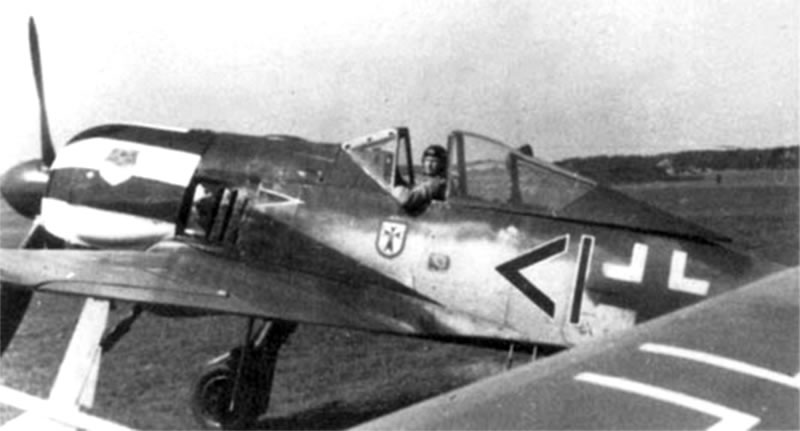
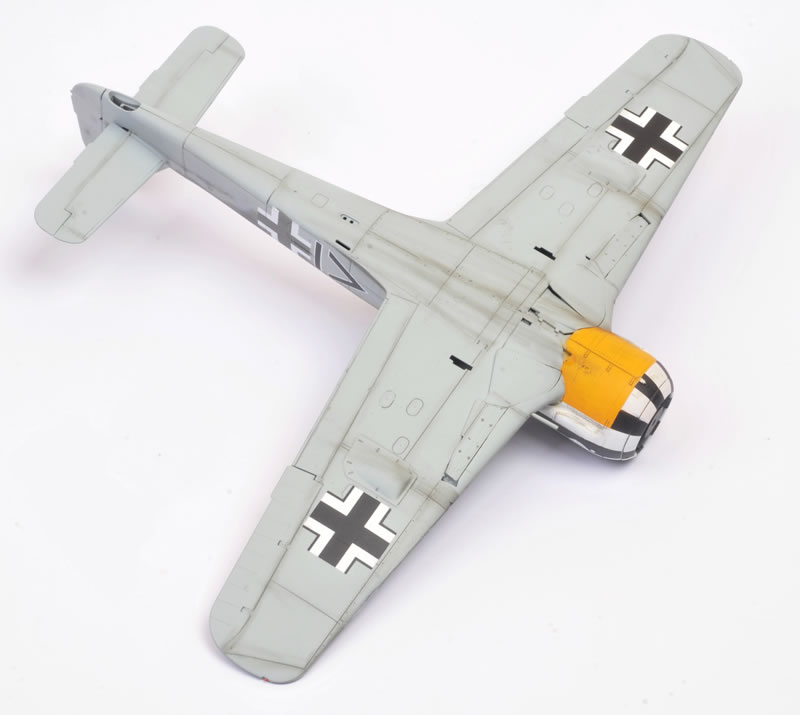
I decided that it wasn't too late to modify the lower half of the fuseage cross, the lower diagonal demarcation of the pale windscreen and the heavily scuffed paint a the trailing edge of the wing root panel.
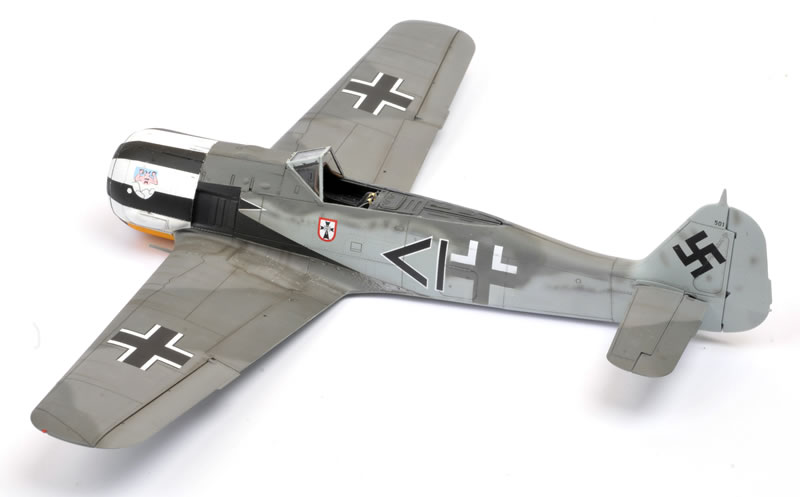
Another thing that I noticed in the photo was that the spinner was much shinier than the rest of the aircraft, and that it was paler than I would have expected for RLM 70 Black Green. I took a punt that the spinner may have been painted the Staff Flight colour of RLM 25 Green.
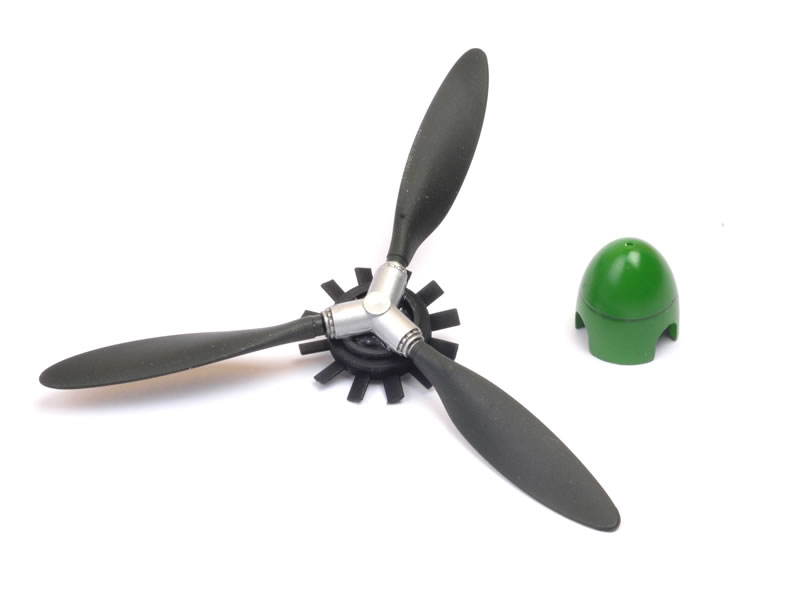
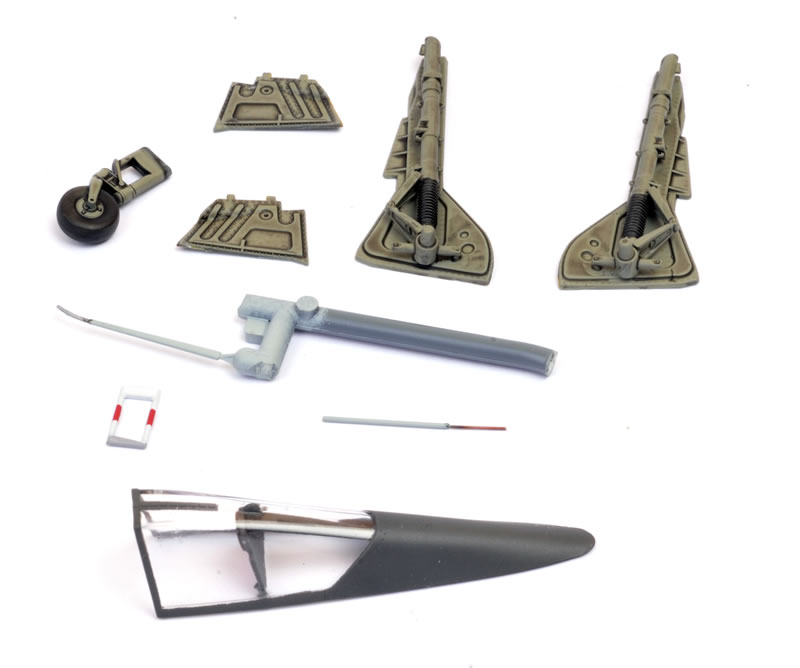
Dangly bits painted, weathered and ready for final assembly.
The Morane mast is clearly visible in the reference photo, even though this was an unusual feature on an A-4. I assumed that if this was fitted, the FuG 25a mast might have been too.
I lost the kit pitot tube so I replaced it with a length of industrial light filament.
Eduard's 1/48 scale Focke-Wulf Fw 190 A-4 finished. The locating points for the undercarriage legs and the retraction struts set the rake and tow-in. The locating points are fairly shallow though, so make sure you let the glue dry thoroughly before setting the model on its legs.
Test fitting suggested that the canopy would sit a little high at the rear so I cut off the internal sliding structure aft of the clear section. You wouldn't have been able to see it anyway.
I also sanded a flat spot onto the bottom of the main wheels.
In this photo you can see that the port side retraction strut has come adrift from the undercarriage leg. I repaired this afterwards.
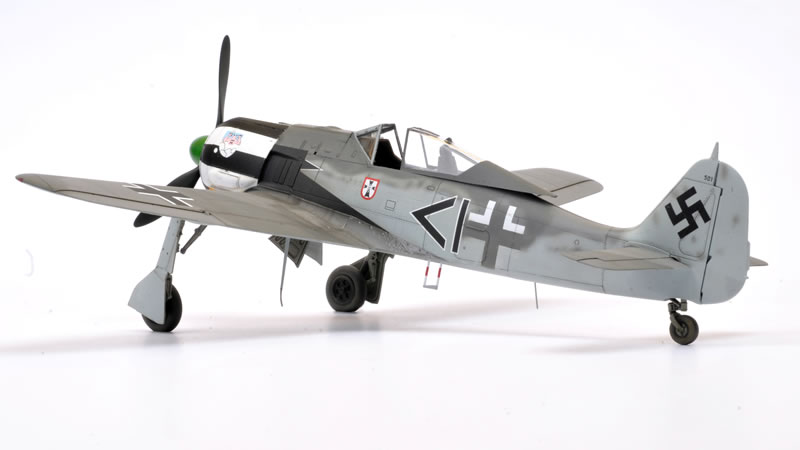
Eduard’s 1/48 scale Focke-Wulf Fw 190 A-4 is a terrific kit – nicely detailed, world class surface textures, many useful options, fast build and excellent fit. Kudos to Eduard for going back to totally retool its 1/48 scale Wurgers.
I will certainly be building more of these as the new variants are releases – probably using the BRASSIN engine next time!
Model, Images and Text
Copyright © 2017 by Brett Green
Page Created 30 November, 2017
Last Updated
1 December, 2017
Back to HyperScale Main Page
|
Home
| What's New | Features | Gallery | Reviews | Reference | Resource Guides | Forum |