Eduard 1/48 scale
Supermarine Spitfire Mk.VIII
Part Two - Painting and Finishing
by Brett Green
 |
Supermarine Spitfire Mk.VIII |

Eduard's 1/48 scale Spitfire Mk.VIII is available online from Squadron
 CLICK HERE TO RETURN TO PART ONE CLICK HERE TO RETURN TO PART ONE
Preparation
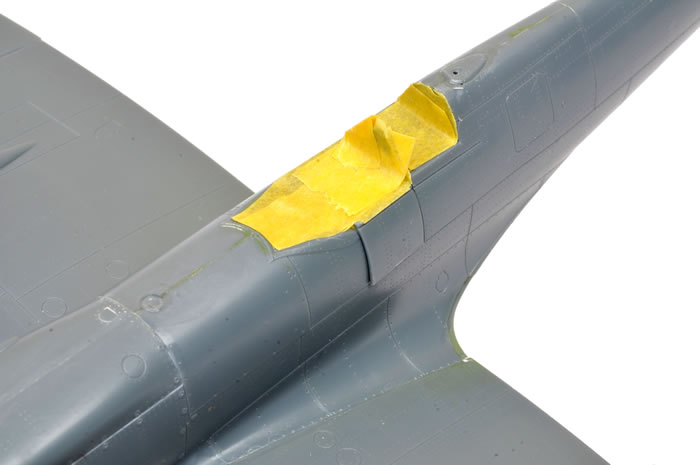
The cockpit was masked using Tamiya tape for the top.
The pilot's entry opening was covered with the unused "closed" version of the door, held in place with a couple of blobs of Blu-Tack on the inside.
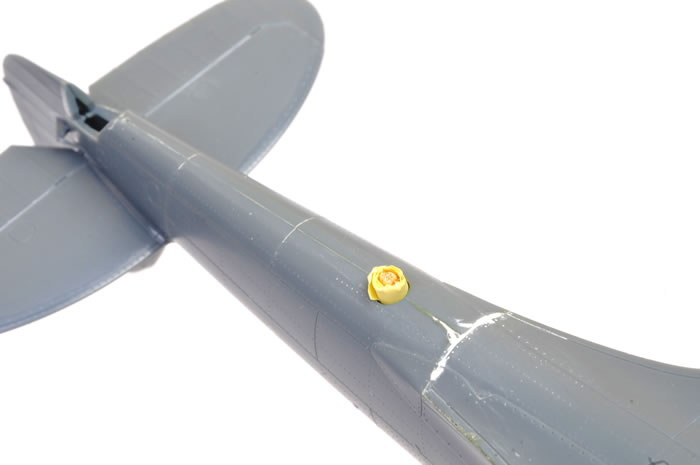
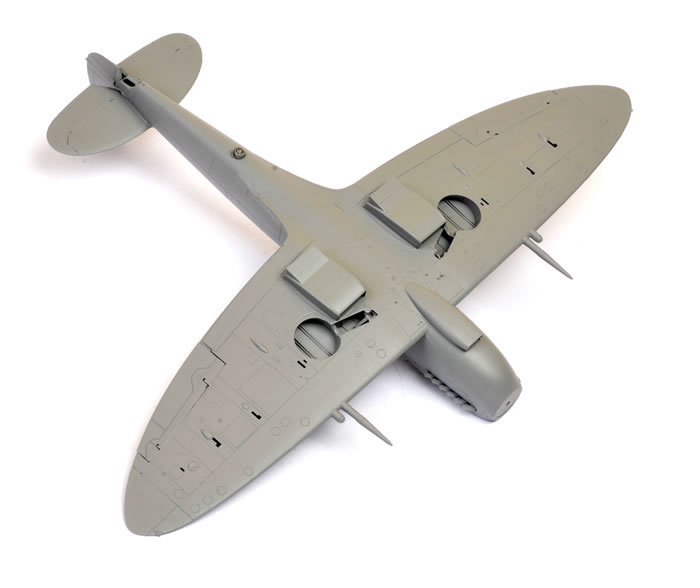
The opening for the lower fuselage landing light was plugged with some masking tape wrapped loosely around a toothpick. The extra length of the toothpick was cut off before painting commenced.
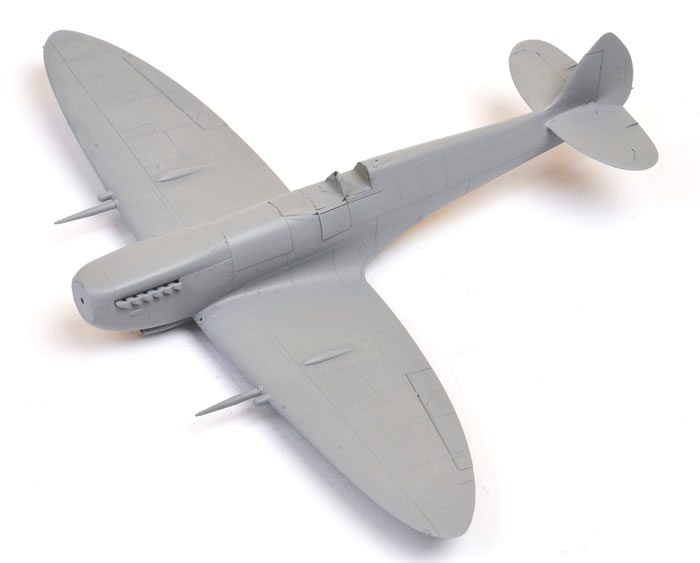
Next was an overall coat of Tamiya's Grey Primer, straight from the spray can.
Painting and Masking and Painting...
I have always liked Gunze’s Mr Color lacquer range for its smooth coverage, fast drying properties and tough finish. However, I used to find the Mr Color left a trail of dried paint that looks like spiderwebs, especially when the paint has been heavily thinned or when it comes into contact with masking tape adhesive. This problem has been completely solved by thinning with Mr Hobby Mr Color Leveling Thinner 400, which retards the drying time of the lacquer paint.
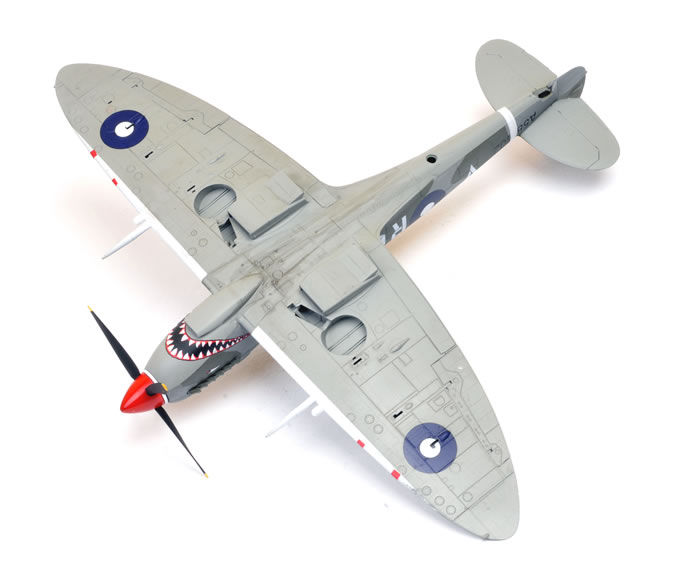
The lower surfaces were sprayed Mr Color 363 BS637 Medium Sea Grey.
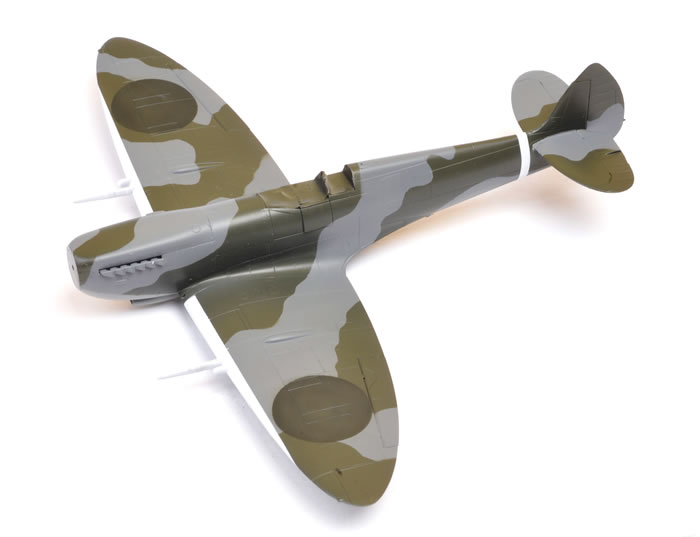
The lower surfaces were masked with Tamiya tape, and the fuselage, wings and tailplanes received a base coat of Mr Color 362 - Ocean Grey, lightened with approximately 25% Medium Sea Grey and once again mixed with 40% Mr Color Leveling Thinner 400.
The camouflage plans included in the Model Art book on the Spitfire were scanned and scaled to 1:48 in Photoshop before being printed onto a full A4 label sheet. The patterns for the wings and tailplanes were cut out with a pair of scissors then the self-adhesive masks were stuck straight onto the model.
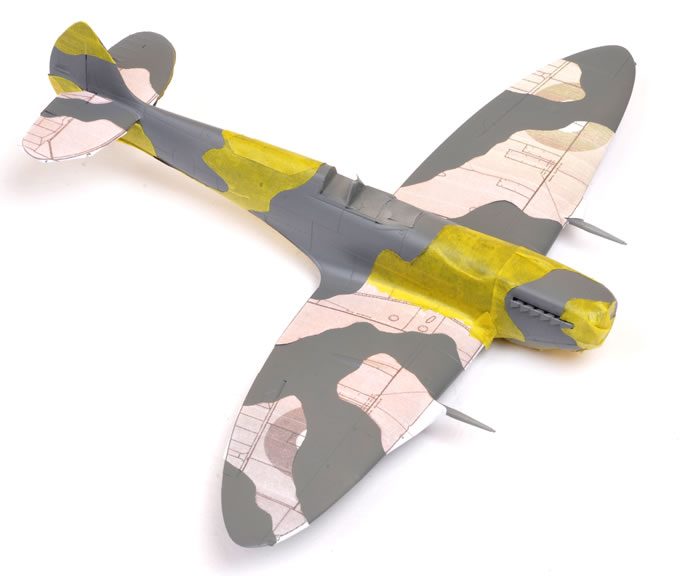
The fuselage was masked with wide Tamiya tape. I applied sections of tape, drew the camouflage patterns onto the tape while it was stuck to the fuselage, then removed the tape, cut out the pattern and re-applied the newly cut mask onto the model.
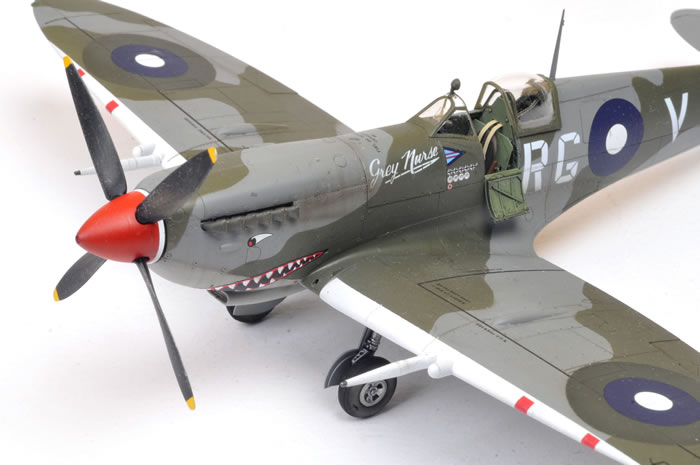
Mr Color 361 RAF Dark Green was used for this colour.
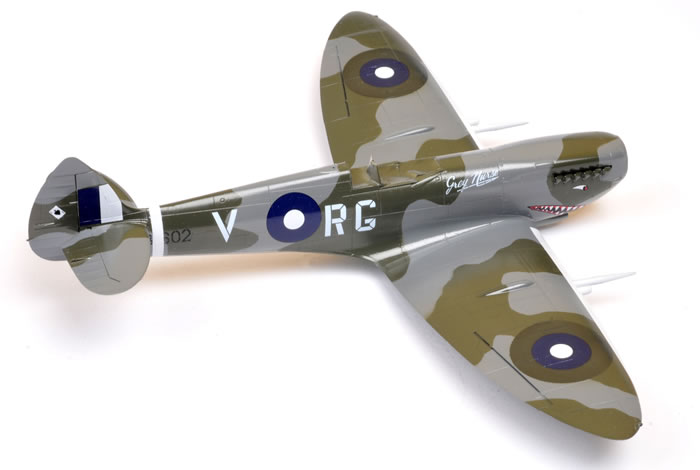
The “overpainted” RAF roundels were masked off with wide Tamiya tape, cut with an Olfa Circle Cutter.

The airframe was masked off to paint the white leading edges and tail band.
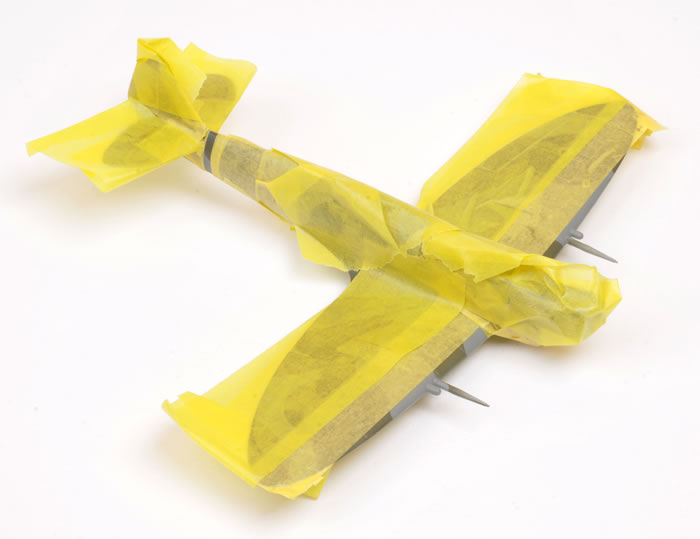
It might look drastic, but I still managed to get some overspray on the camouflage paint!
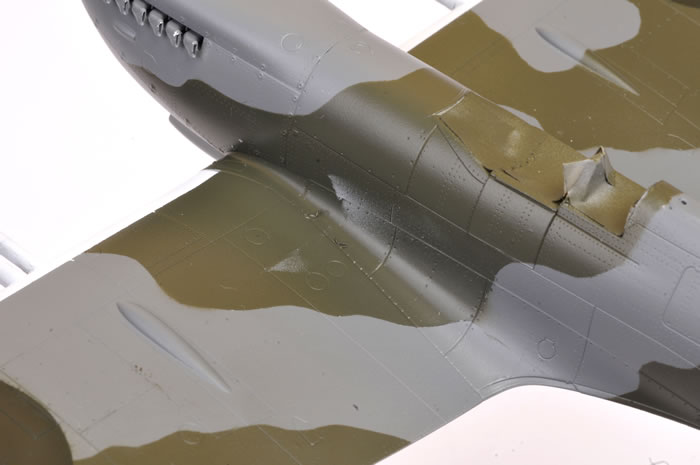
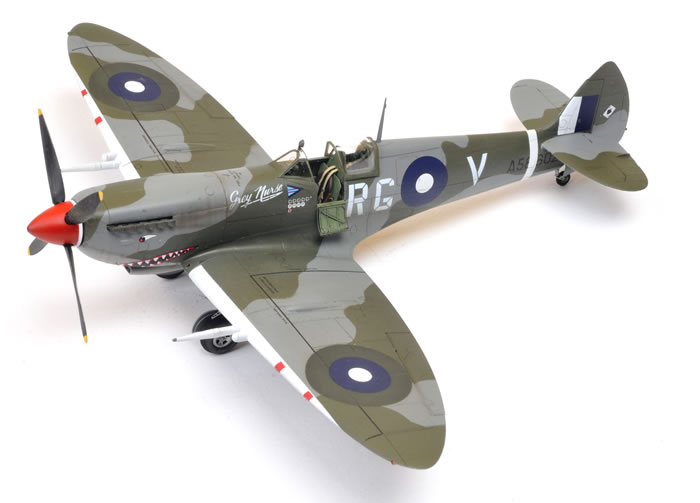
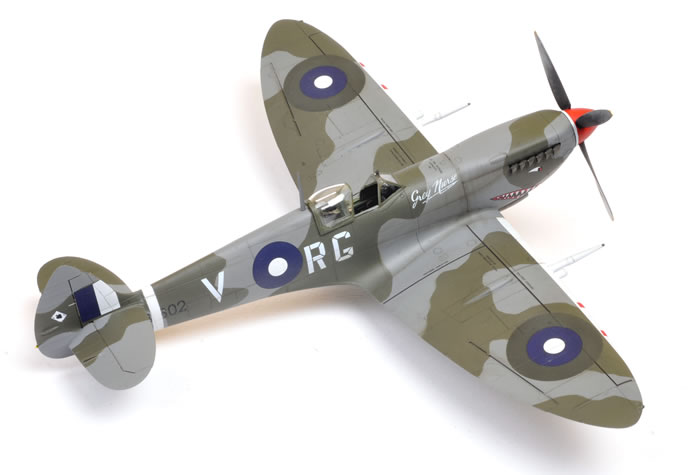
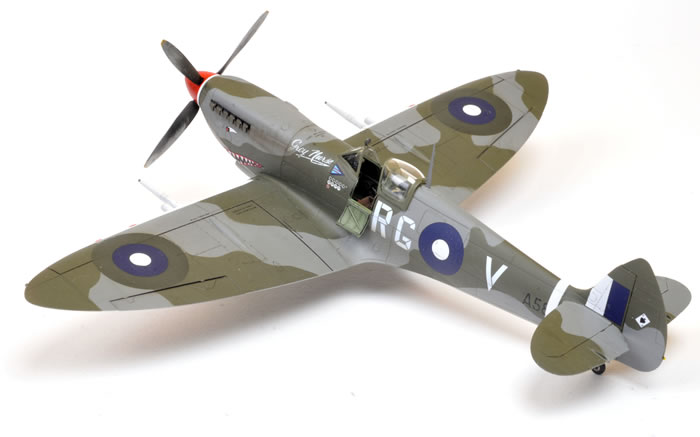
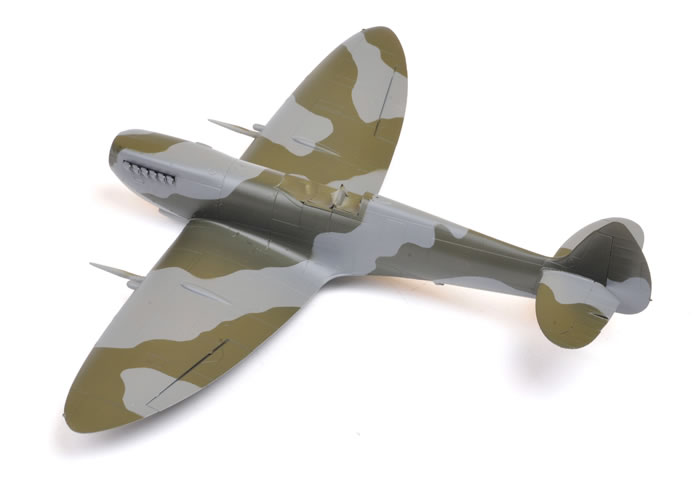
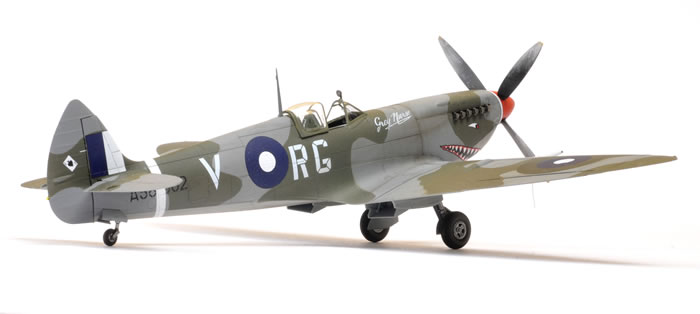
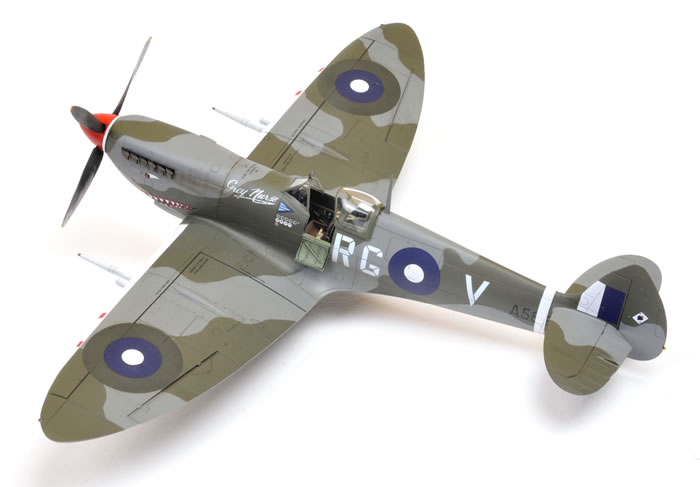
When all the masking tape was removed, the overall picture was revealed – a nice hard-edged clean camouflage finish.
Eduard’s superb Cartograf-printed decals were applied over three coats of Future floor polish.
Two coats of Testor’s Flat Clear Lacquer restored the low-sheen surface to the model.
 The canopy was masked using thin strips of Tamiya tape and sprayed Interior Green before receiving its camouflage colour of Mr Color 361 RAF Dark Green. The canopy was masked using thin strips of Tamiya tape and sprayed Interior Green before receiving its camouflage colour of Mr Color 361 RAF Dark Green.
The undercarriage legs, wheels and oleo scissors, antenna mast and mirror were painted at this stage too.
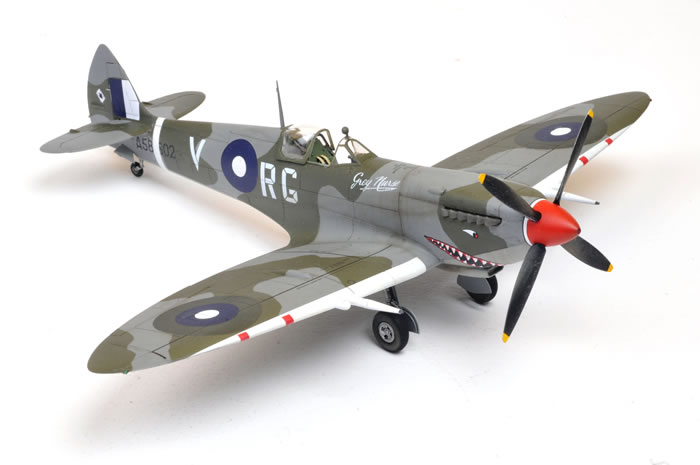
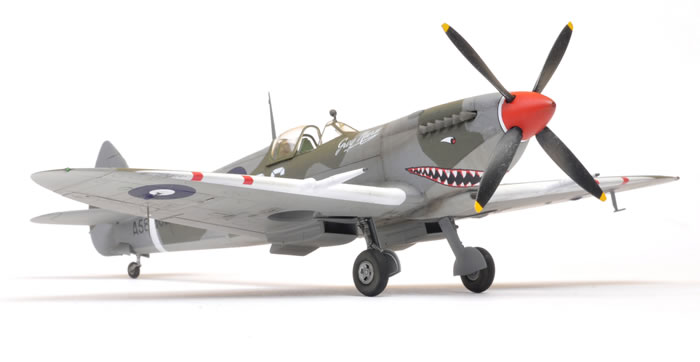
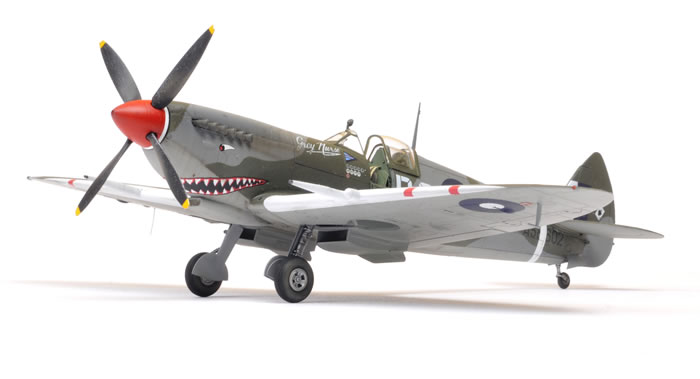
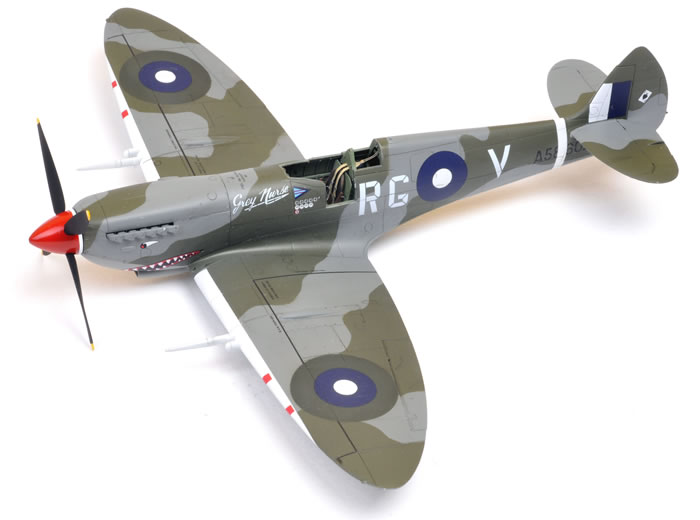
The tips of the propeller blades were painted yellow, and the rest of the blades and the spinner were painted Tamiya XF-1 Flat Black.
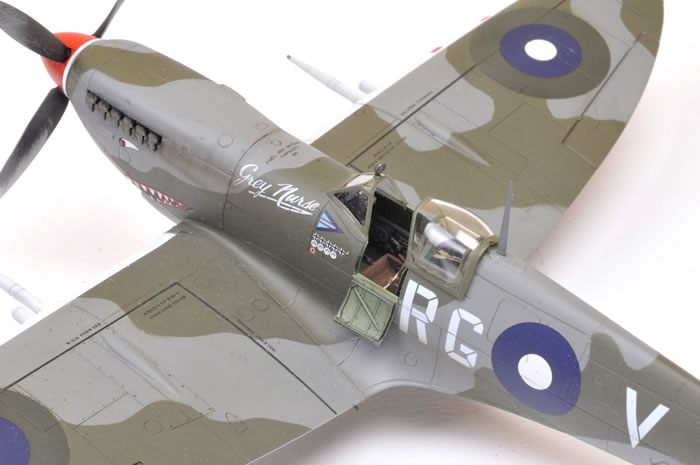
Panel lines were highlighted with a subtle mix of Future floor polish, water; plus a few drops of black and brown acrylic paint. I did not spray my usual panel line highlights and streaking on this model, as I wanted to retain a clean finish. I simply sprayed fairly subdued exhaust streaks on the fuselage sides and the lower fuselage.
Smaller detail parts were fitted at this stage.
With all the painting and weathering complete, the various sub-assemblies were now brought together.
I found that the main undercarriage legs fitted more easily when the “tabs” at the top of the covers were cut off. Once that was done, the fit was positive and strong.
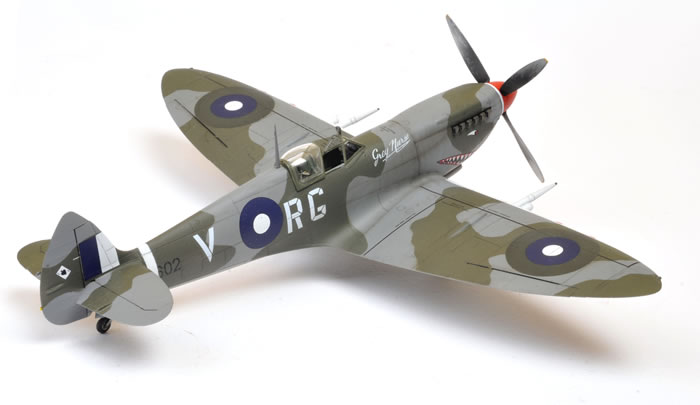
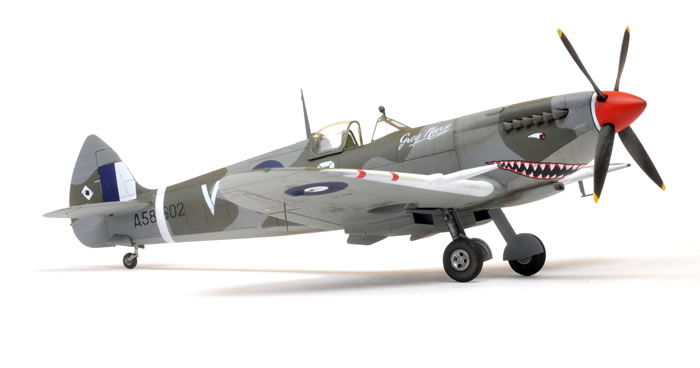
Eduard's Spitfire Mk.VIII/IX family sits very high on my list of top ten favourite models of all time.
Their Mk.IX kits were the best Spitfires in 1:48 scale upon their release, and they still are today. This new Spitfire Mk.VIII is equally good.
It would have been easy to overlook some of the subtler differences between the Mk.IX and Mk.VIII, but Eduard has gone the whole nine yards with their brand new fuselage and wings depicting the unique attributes of this later variant.
Eduard's 1:48 scale Spitfires all boast a high degree of accuracy, superb surface textures, excellent detail and modeller-friendly parts breakdown. The option of a bunch of photo-etched and BRASSIN accessories, including an engine, specific Mk.VIII cockpit, fabric harness straps and "super" straps, will keep the super-detailers out there happy too.
These Spitfires showcase Eduard at the very top of their game.
It was interesting to build the Airfix Hurricane and this Spitfire Mk.VIII back-to-back. I stand behind my assertion that the Airfix Hurricane is the best of the type in any scale, but I found the Eduard Spitfire to be less finicky in construction. The Spitfire also boasts finer surface textures, and detail - while different (due to Eduard’s use of photo-etched parts) – is better in my opinion.
I'm already itching to find an excuse to build another Eduard Spitfire!
CLICK HERE TO RETURN TO PART ONE
S
u m m a r y |
| Catalogue Number: |
Eduard Kit No. 8284 - Spitfire Mk.VIII |
| Scale: |
1/48 |
| Contents and Media: |
207 parts in grey coloured plastic; 17 parts in clear; colour photo-etched fret; self-adhesive die-cut masking sheet; markings for six aircraft |
| Price: |
USD$42.46 plus shipping,
available online from Eduard
USD$39.96 plus shipping available online from Squadron |
| Review Type: |
FirstLook |
| Advantages: |
Accurate fuselage and wing dimensions; very high level of detail; outstanding surface
features including crisply recessed panels and subtle rivet lines where
appropriate; brand new fuselage and wings depicting subtle changes to the Mk.VIII; optional HF pointed wing tips; separate parts for closed and open canopy. |
| Disadvantages: |
|
| Conclusion: |
Eduard's Mk.IX kits were the best Spitfires in 1/48 scale upon their release, and they still are today. This new Spitfire Mk.VIII is equally good. Eduard has gone the whole nine yards with their brand new fuselage and wings depicting the unique attributes of this later variant.
Highly Recommended. |
Thanks to Eduard for the sample
Model, Images and Text
Copyright ©
2015 by Brett Green
Page Created 11 May, 2015
Last Updated
12 May, 2015
Back to HyperScale Main Page
|
 Home
| What's New | Features | Gallery | Reviews | Reference | Resource Guides | Forum |
Home
| What's New | Features | Gallery | Reviews | Reference | Resource Guides | Forum |