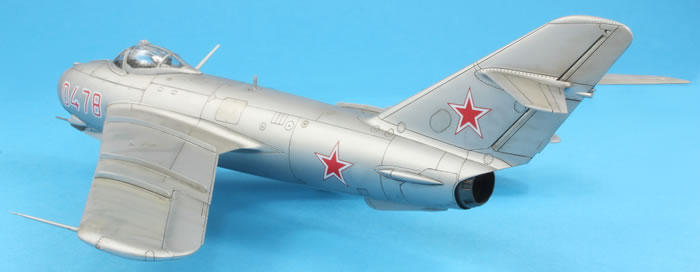
HobbyBoss' 1/48 scale
MiG-17F
by Jon Bryon
|
|
Mikoyan-Gureyvich MiG-17F |

Hasegawa's 1/48 scale F-15E is available online from Squadron.com
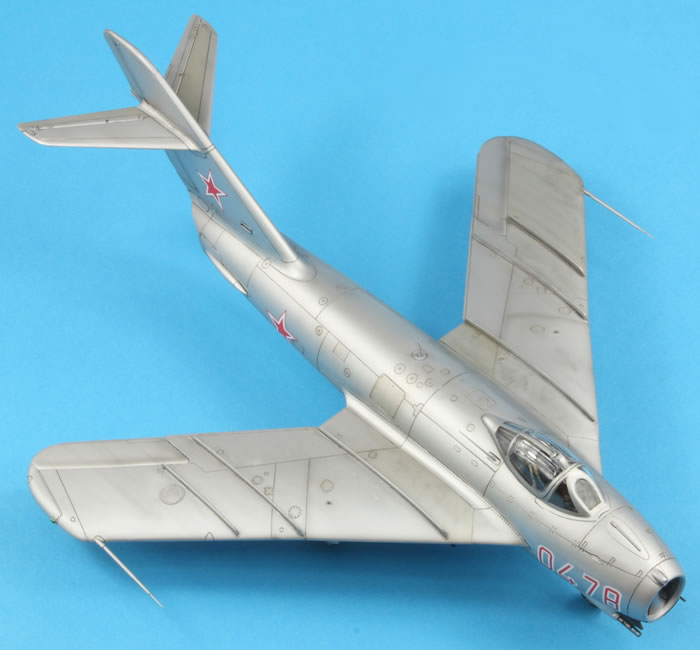
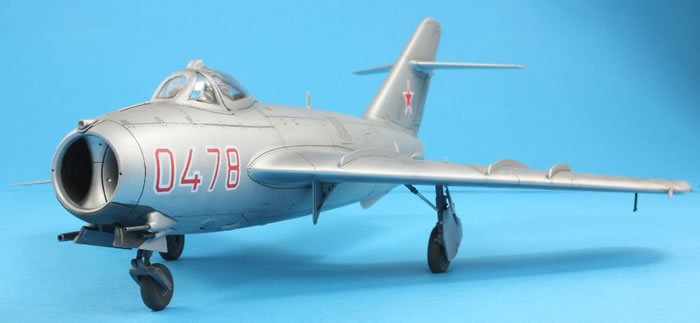
Continuing my attempt to build all the MiGs in my stash in numerical order, I've followed the Trumpeter MiG-15UTI with Hobby Boss's MiG-17F.
This is a nice kit and at £11.99 when I bought in the UK, an absolute bargain. My understanding is that it's pretty accurate (although I may be wrong). Tom Cleaver on Modeling Madness reckons the rear fuselage around the afterburner is inaccurate for a Fresco-C (he implies it's accurate for a Fresco-A), but I spent quite a long time looking at photos and plans and couldn't see where the supposed error lay. I completed this model in two months, which shows what a straightforward kit it is to make.
The cockpit is a lacklustre affair with minimal detail, especially the instrument panel. This was of no great consequence to me since I was going to close the canopy, but I did make a small effort and added some spare photo-etched belts to the ejection seat and used a strip of white decal on the instrument panel. MiGs of this era had their interiors painted in a non-descript grey, so I used Tamiya XF-53 which looked suitable. The cockpit tub is attached to the nose gear bay and intake splitter; these all went together without any fuss. I didn't bother using part A8 and filled the resultant space above the intake with lead fishing weights. To really ensure the nose remained firmly planted on the ground I also superglued four one penny coins under the cockpit tub. The kit does need a lot of weight in the nose, especially if you install the complete engine.
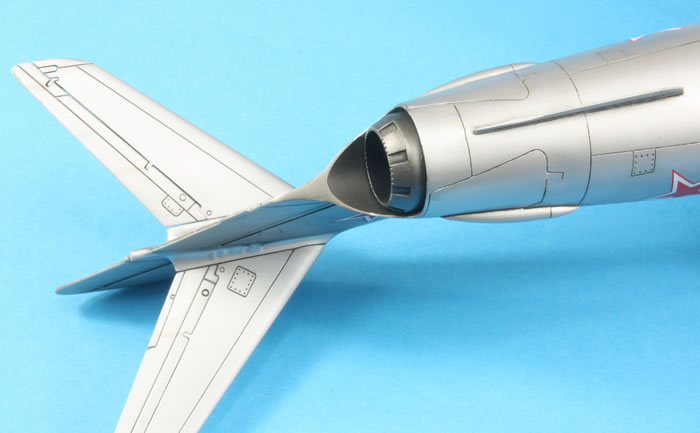
I didn't install the complete engine. Whilst not as straightforward as the Trumpeter MiG-15s, the bulk of the engine can be left out (everything forward of part F3) and the exhaust fitted in one of the fuselage sides before they are brought together. It takes a fair amount of dry fitting to make sure the afterburner sticks out of the rear fuselage to the correct length, but it is very doable and will reduce the amount of time required to complete the kit and weight required in the nose.
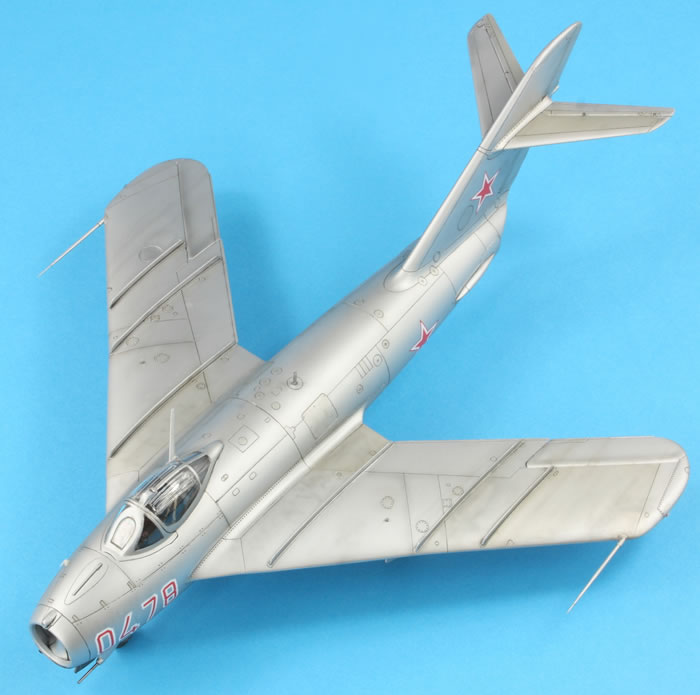
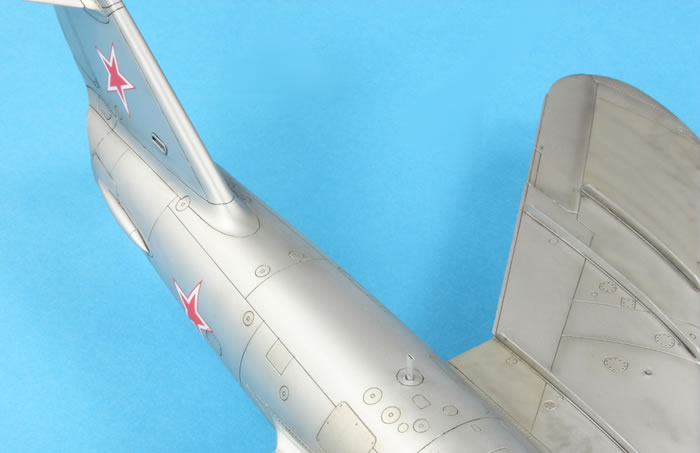
Rather than follow the kit instructions, which suggest building complete forward and rear fuselages, I used the tried and tested method of making complete left and right halves before bringing them together around the cockpit and exhaust. I used superglue for all major joins and the fit was pretty good. There was a gap behind the cockpit opening which was easy enough to eliminate with more superglue. Hobby Boss mould the SRO-1 antenna on the spine integral with the left fuselage half. I removed it, which makes seam elimination much easier and afforded the opportunity to remake the antenna in the correct position. It should be installed slightly to the left; Hobby Boss actually mould a circular panel where it should be.
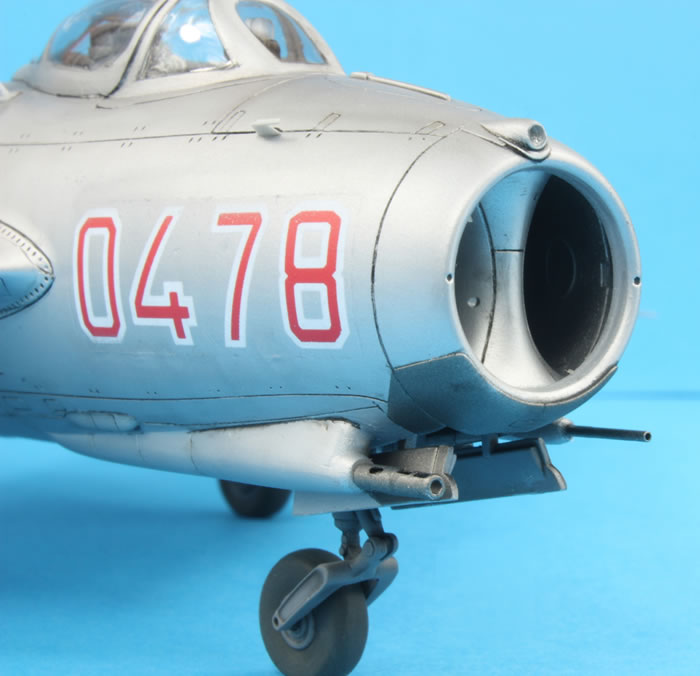
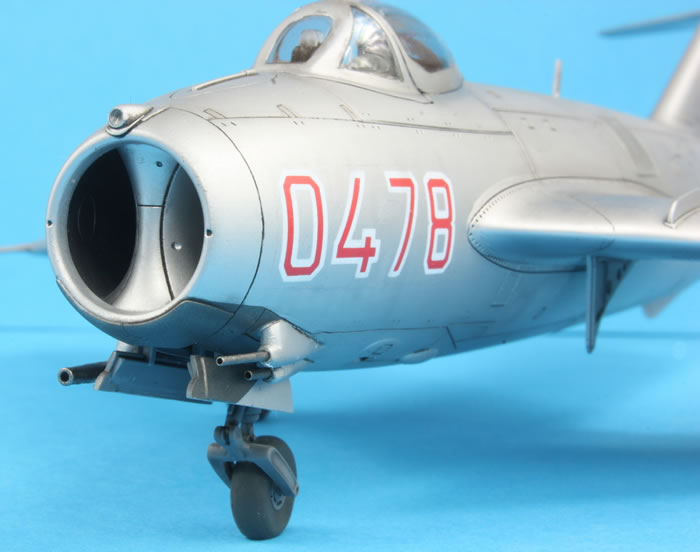
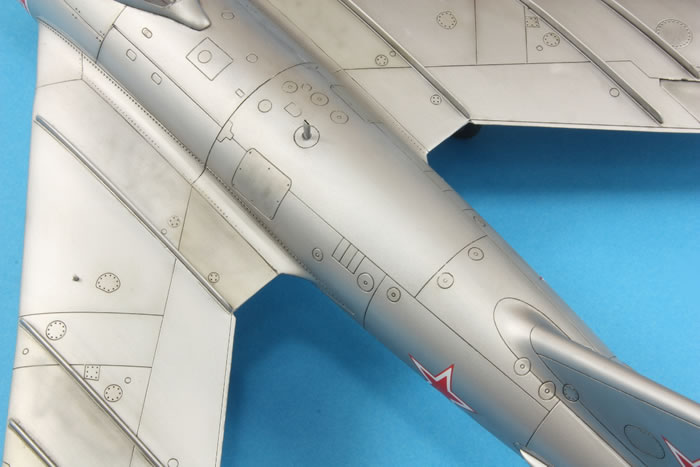
Various panels need to be fitted to the basic fuselage. I first started with the nose ring. This didn't fit cleanly as the top and bottom of the intake splitter (part A12) get in the way. Slowly sanding these down produced a good fit of the nose ring. I use Tamiya Extra Thin Cement for seams like this where I want to try and retain the join as a panel line. This was also used to glue on the nose cover; the fit, again, is adequate. Which is more than can be said for the underside panel, around the nose gear bay. This had all kinds of gaps, and in the end I simply used superglue to fair it in followed by careful rescribing slightly away from the join. I find scribing superglue almost impossible, so reinstate the panel lines in the adjacent plastic. The panel lines are an awkward shape and this was probably the least pleasant part of the build. I fitted the airbrakes at this point too; I like them closed. There were some gaps which I used Mr Dissolved Putty to fill. The excess can be wiped away with Mr Thinner, filling the gap but still leaving the panel line well defined.
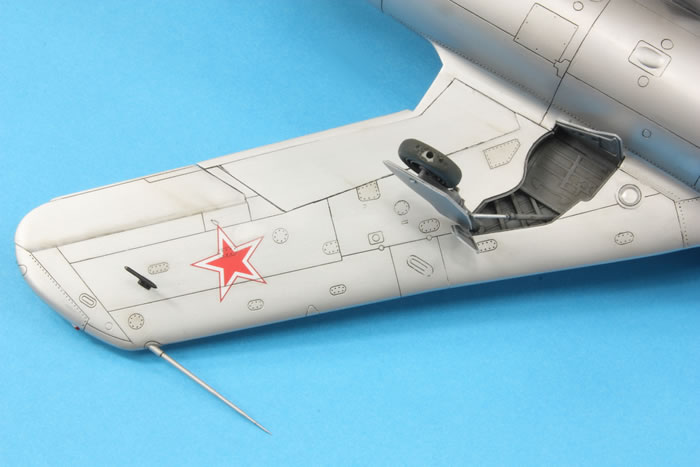
I turned to the wings next. Before the top and bottom halves were joined I needed to fill the holes for the various pylons. It's a shame these were moulded open; much easier to open holes than remove them! The wings fitted together quite well and I attached the ailerons and flaps in the neutral/up position; the latter are not a great fit. I had the pitot and gun barrel set made by Master from turned brass. They are absolutely beautiful, but I couldn't get the wing pitots to fit their attachment points. In the end, after ruining the moulded receptacles, I rebuilt them from Albion Alloys brass tubing to perfectly accept the Master pitots.
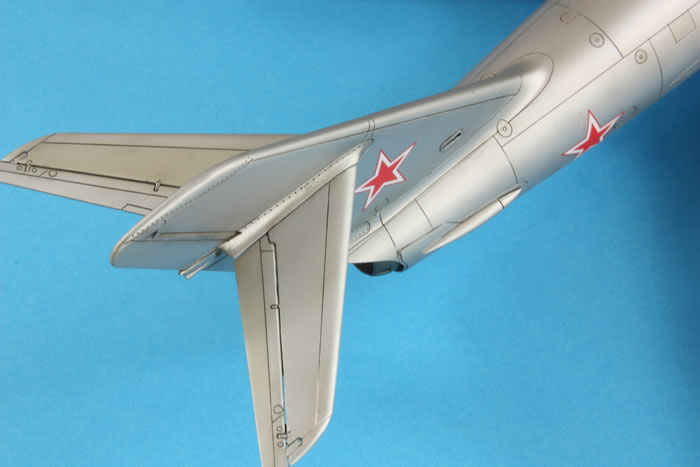
I painted the undercarriage bays, legs, wheels and doors in the same grey as the cockpit, followed by the Deep Grey wash from Ammo. I used the resin wheels produced by Ciro. They are very nice, but there were quite a few bubbles near the sprue and the improvement in detail is, in my opinion, fairly marginal. Around this time I also used a sheet of very thin plastic card to the rear and above the jet exhaust to cover the prominent seam in this area. I attached the sheet with superglue, applied accelerator and then trimmed and sanded the sheet to fit.
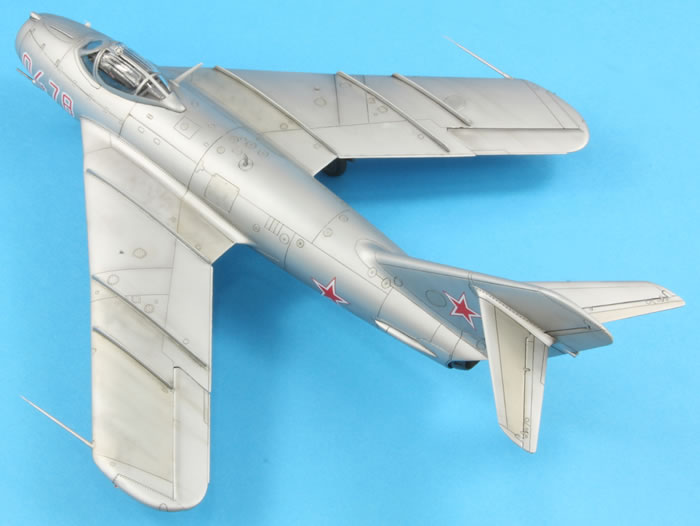
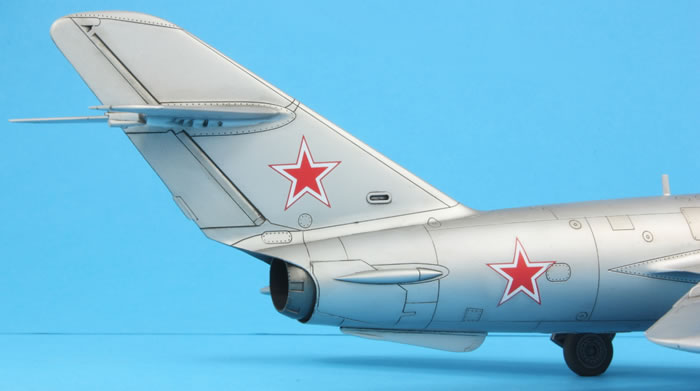
Now came the most frustrating part of the build: attaching the wings to the fuselage. The fit is not good. To make things worse, I felt the moulded in anhedral was insufficient (it should be 3 degrees) and so increased it slightly, which degraded the fit even further. Lashings of Superfine White Milliput were applied to the join and I spent plenty of time sanding it all back. The panel lines were reinstated using RB Productions photo-etched scriber, but not altogether successfully. Some rivets were lost and I didn't bother trying add them back in. Thankfully the tailplanes fitted far better.
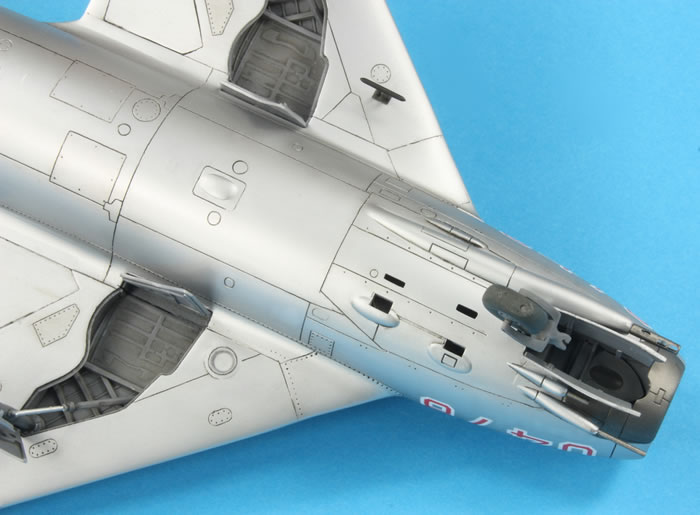
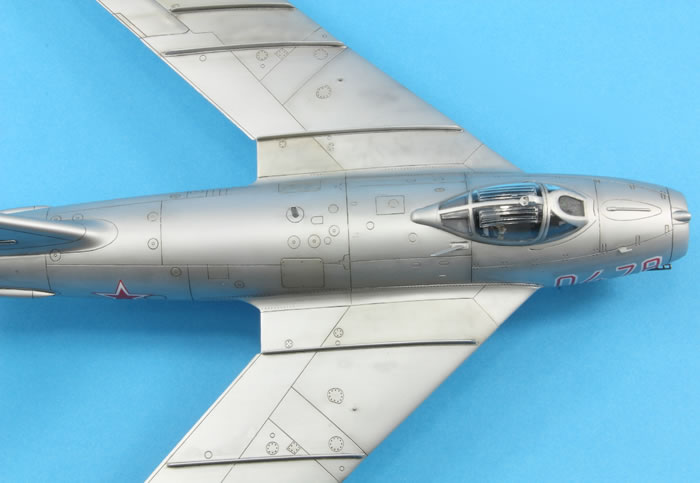
Once the main airframe was put together, various bits and pieces could be added. A new SRO-1 antenna was made from squashed Albion Alloys brass tubing and inserted into the top of the fuselage. The ventral fin was removed and a resin replacement made by Quickboost pinned in its place. To be honest I can't see how it's significantly different from that in the kit; I'd not bother with this were I to build the kit again. The gun fairings were glued in place (the fit is poor) and the barrels chopped off. I would install the Master versions later. I painted the underside clear panels in black - I've no idea what possessed me to do this; they look nothing like reality! Anyway, they fitted perfectly well.
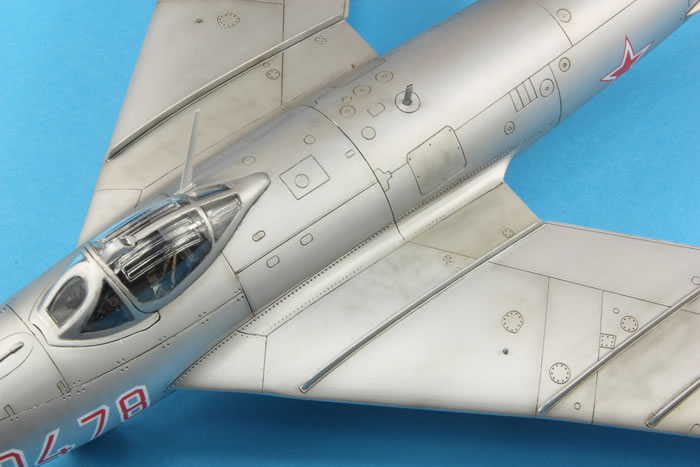
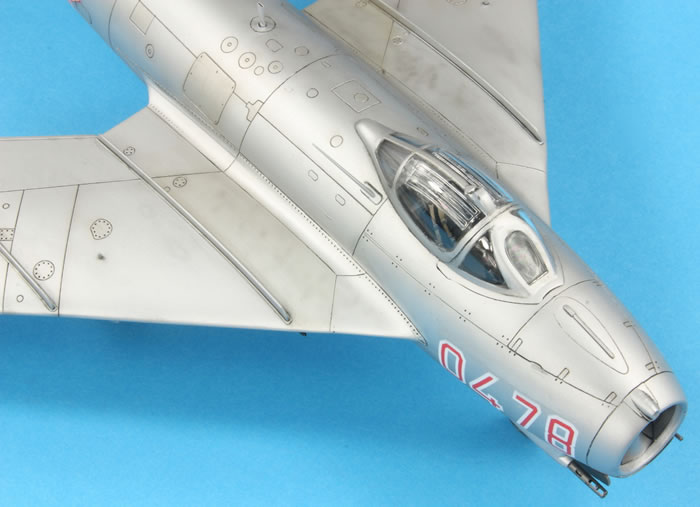
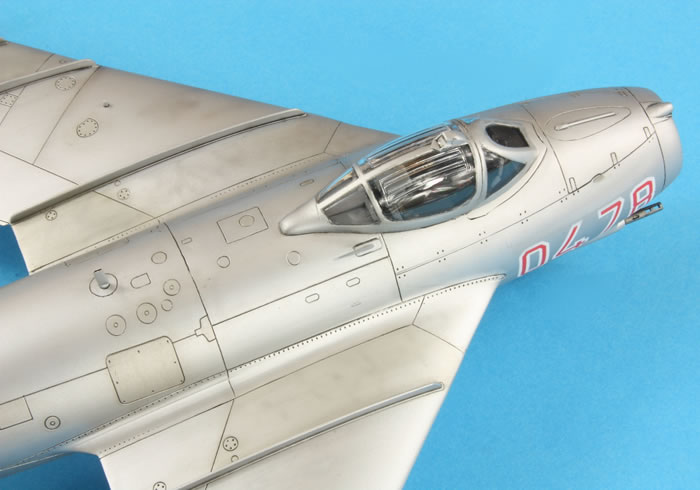
I next prepared the canopy. It is an ugly thing, with very over-emphasised detail and (in my opinion) overly wide framing around the windshield. I attached both parts using Tamiya Extra Thin cement and found the fit to be fine.
ven for such a simple canopy, masking was quite tedious as the shapes are subtly complex. I also masked the wheel wells with a combination of tape and blue tack.
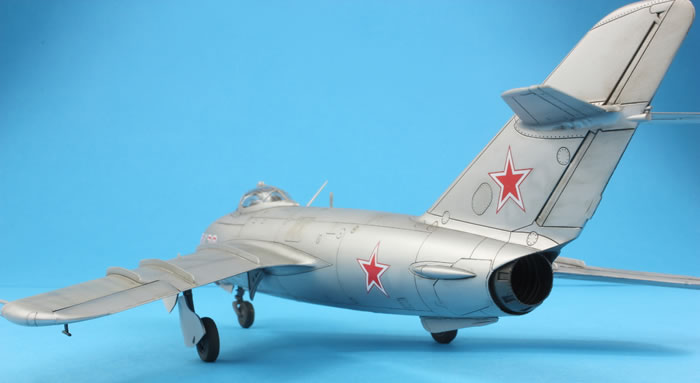
This Fresco was then ready for paint! After a gentle wash under running water and leaving it to dry for a day or two, I pulled out my Iwata RG-3, loaded it with Mr Surfacer 1000 and primed the model. I'm getting used to this spraygun and the resulting finish was far smoother than anything I've ever managed with an airbrush; no sanding or polishing would be necessary before applying the silver finish. Whilst all the seams were good, unfortunately a defect was apparent on the left side of the tail. It looks like a mould insert is used around the oval panel, presumably because some MiG-17 variants didn't have it. A square shape was very apparent in the primed plastic and was sanded out, polished and then re-primed.
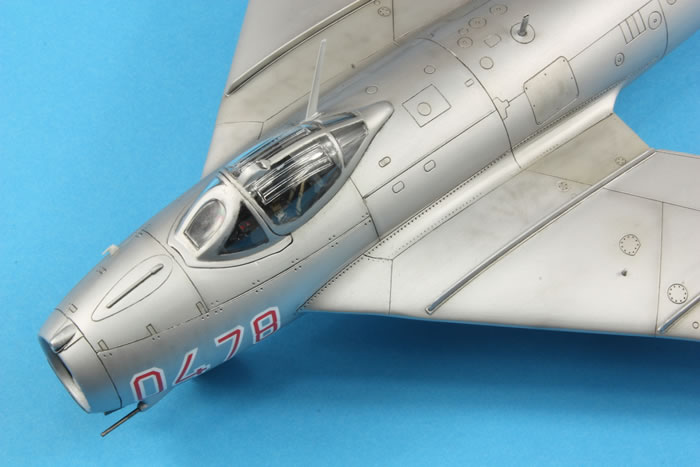
Before I applied the main colour, Alclad II Steel was airbrushed on the jet exhaust and the surrounding area. After masking this the RG-3 was again employed to spray a nice coat of Mr Color Silver (number 8). I really like this paint and wasn't disappointed. As well as the RG-3 giving a super-smooth finish, it also meant painting was a lot quicker. After allowing the paint to dry (not long; these acrylic laquers dry fast!) I used the Iwata to spray on a coat of Tamiya Gloss acrylic, thinned with Mr Levelling Thinner. No repeat of my Klear disaster on the MiG-15 (if you haven't read that article, the basic message is: never use Klear through the RG-3!).
I mixed up a dark grey from black and grey oil paints, thinned with enamel thinners and applied a pin wash to all the recessed detail. The excess was wiped away with cotton buds.
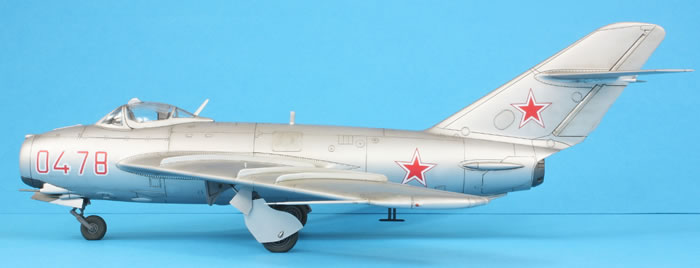
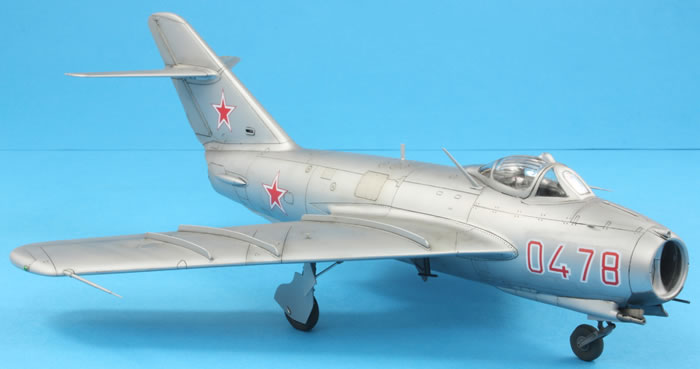
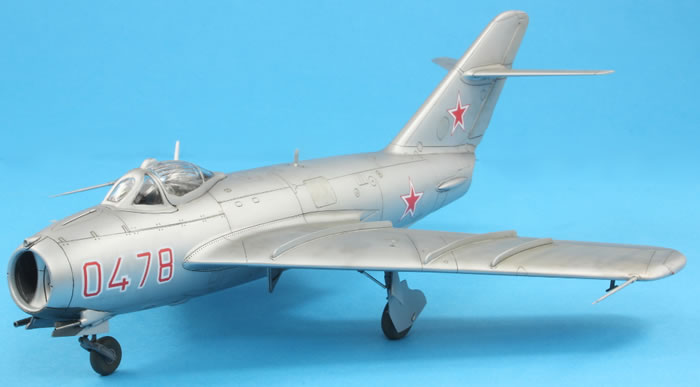
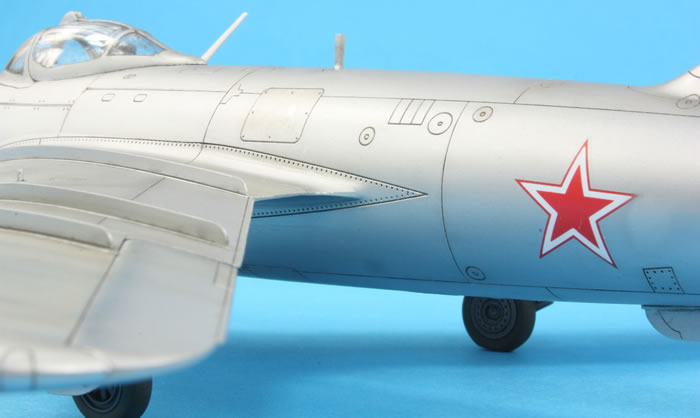
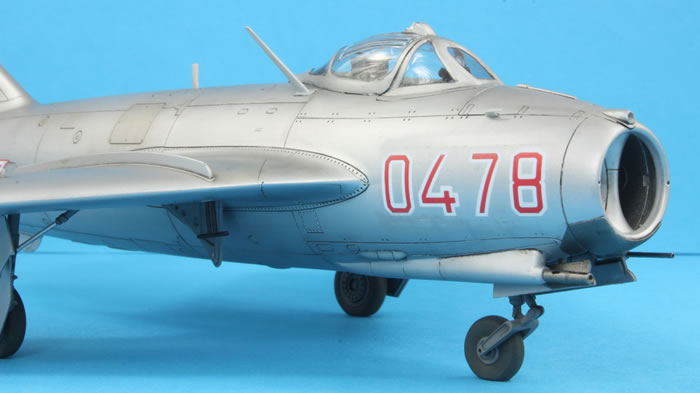
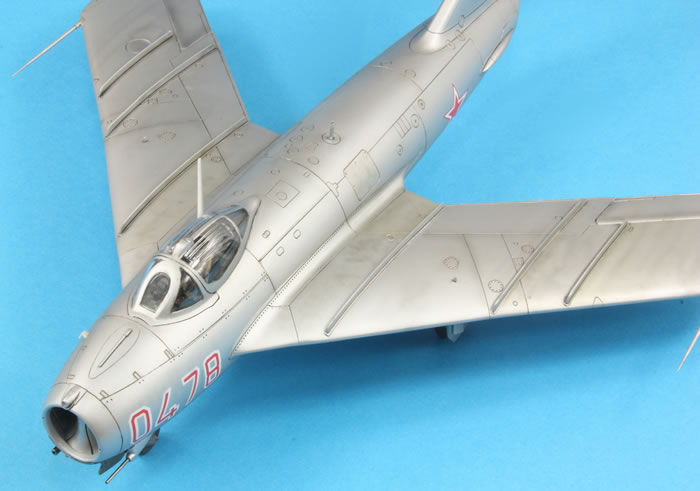
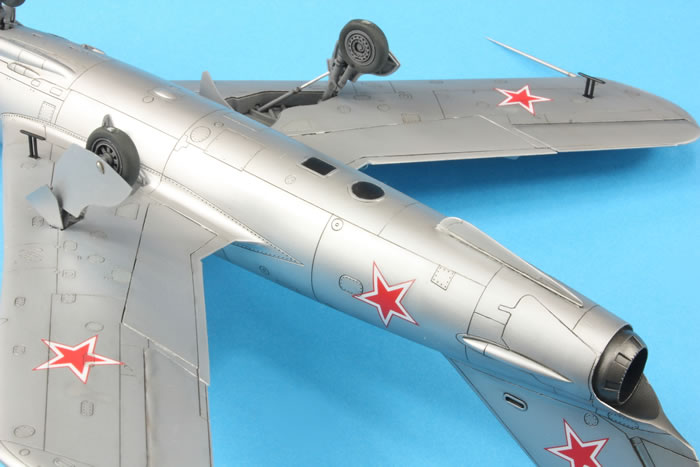
So now it came to apply the markings. I have a general unwritten rule that my aircraft must be built, if possible, in the markings of the country of manufacture, and to me MiGs should always be in Soviet stars anyway. I thus was limited to the Soviet option provided in the kit; aftermarket decals for Russian MiG-17Fs seem to be thin on the ground: Red 0478 it was then. I thankfully noticed just in time that Soviet Frescoes did not generally have stars on their upper wing surfaces. Hobby Boss supply eight but only six are required, and to be fair, their instructions are correct, just confusing. That left only eight decals to be applied: six stars (two on each fuselage side) and two bort numbers. I used Mr Mark Setter as the setting agent. I find this product the best at getting decals to settle into recessed detail.
Unfortunately the decalling did not go well. The bort numbers are large and need to fit over compound curves. I realised this too late (i.e. once the decals were being positioned) and couldn't really avoid large wrinkles. Over the setting solution they did conform, but the wrinkles were still visible. I also tried Mr Mark Softer, but this didn't do much except etch the Tamiya Clear. Panic. I recalled reading in Model Airplane International that John Wilkes removes carrier film from Trumpeter and Hobby Boss decals with white spirit. With heart in mouth I had a go at this using cotton buds dampened with enamel thinners. This did reduce the carrier film, but I didn't dare rub too hard in case I removed the marking itself. Unfortunately, it also rubbed through the acrylic gloss and Mr Color silver in a few places. Sigh.
During this process I'd also been unhappy that in a few places small fibres had got trapped in the paint work. I hate blemishes and so attempted to polish these out using Micro Mesh pads. The upshot was that I had several spots that needed touching up in silver, not least around the bort numbers following my attempts to remove the wrinkles. 'No problem', I thought, 'I've retouched Mr Color silver loads of times.' So I loaded up my H&S Evolution and touched up the silver. These touched-up areas took on a completely different appearance to the surrounding paint. Aargh! No amount of gloss or polishing would even them up. I can only think that the Iwata and H&S airbrushes atomise paint in different ways giving slightly different finishes. Now I had a silver airframe that looked like it had been touched up all over the place. It was ugly, but I chose to live with it. After all, MiG-17s were sprayed with a varnish and they did often look quite tatty; that's how I've tried to convince myself to live with the finish anyway!
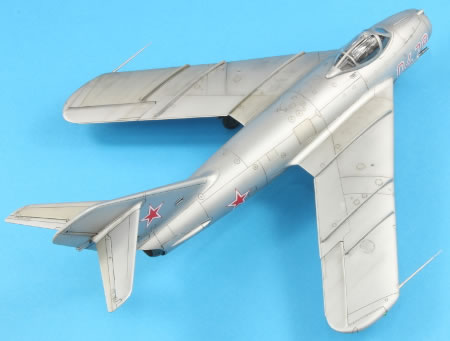
I thought that spraying some heavily thinned Mr Aqueous Hobby Color Smoke might help. It didn't, and the finish got tattier. I'm simply not talented enough with the airbrush to do this post-shading well. I mixed some Tamiya Semi-Gloss and Gunze Flat acrylic together and sprayed the whole model using the RG-3.
As a last resort to unifying the finish a bit better, I also tried using various shades of Ammo Panel Line Washes as filters over selected panels. I painted the wash on with a flat brush, let it dry for 30 minutes or so, and then wiped it away. The matt finish meant some of the wash stuck. I actually liked this effect and will use it in future to gently differentiate panels on silver aircraft.
With the painting debacle behind me I pressed on to complete the model. The undercarriage went on next. The nose leg fits very positively and so I fitted that first, followed by one of the main gear legs. These wobble around quite a lot in their locating holes and don't seem very strong. Using a Lego jig I attached the last leg ensuring the wings were level. The main undercarriage does toe in a bit, but from head on photos of the real thing this seems pretty prototypical. The wheels were a positive fit; the nose wheel was left loose (you can see it has rotated in some of the photos so the flat is in the wrong place). The undercarriage doors generally fitted well. I attached the antenna mast, nose-mounted pitot, two wing-mounted pitots and gun barrels next; I do love these Master products!
The final steps were to flat coat the bits I'd just added and use Krystal Kleer to make the gun camera lens. The masking was removed from the canopy and...hooray!...it had done its job. The Fresco was finished.
Well, it's a very tatty looking MiG-17 and I'm not best pleased with the finish, and it's a bit wobbly on its undercarriage, but I love having it next to the Midget in the display cabinet. Next up: Trumpeter's MiG-19PM.
To see more model build articles like this, please visit my website: www.jonbryon.com/model_index.html
Text and Images Copyright ©
2015 by Jon Bryon
Page Created 22 July, 2015
Last Updated
22 July, 2015
Back to
HyperScale Main Page

|
 Home
| What's New |
Features |
Gallery |
Reviews |
Reference |
Forum |
Search
Home
| What's New |
Features |
Gallery |
Reviews |
Reference |
Forum |
Search