Eduard's 1/72 scale
Focke-Wulf Fw 190 A-8
Part Two - Construction
by Brett Green

Eduard's 1/72 Fw 190 A-8 is available online from Squadron
When Eduard’s new 1/72 scale Focke-Wulf Fw 190 A-8 arrived on the doorstep at the beginning of last week, I could not resist starting it straight away.
The model features very fine and crisp surface textures including recessed panel lines, a high level of detail in the cockpit and wheel wells, and straightforward parts breakdown.
If you are wondering whether this kit shares some of the trickier construction attributes of Eduard’s 1/48 scale Wurgers, the answer is “no”. You still need to keep your wits about you, but test fitting and careful parts preparation should steer you clear of trouble.
In addition to the kit, I also received Eduard’s BRASSIN resin cockpit set, SUPERFABRIC seat belts, BRASSIN exhausts, BRASSIN resin main wheels plus the “Overtrees” set of plastic sprues.
I decided to use these three update sets. I used the Overtrees rather than the ProfiPACK kit too, as the updates effectively replaced the photo-etched parts not included in the Overtrees box. The only sacrifice was the masking set, and I could use one of the five marking options found in the ProfiPACK kit, leaving four more for the full kit when I get around to building it.
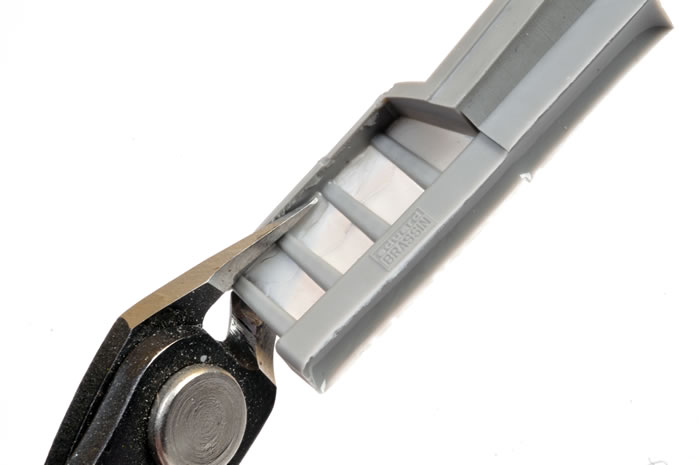
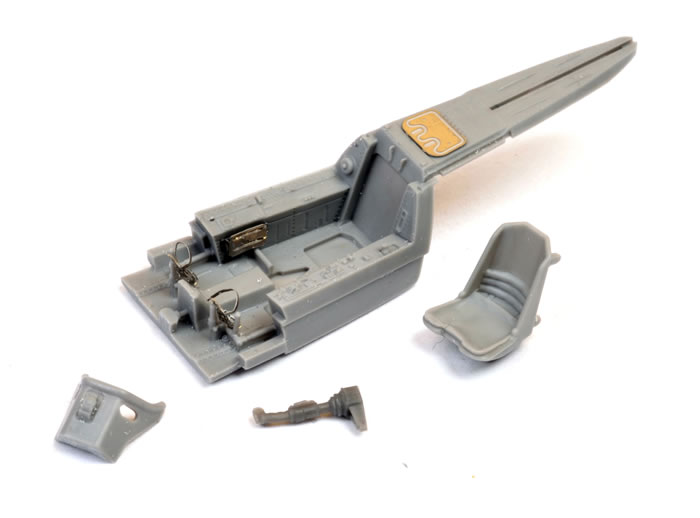
The BRASSIN cockpit tub is cast onto a substantial block and several vertical strips. I snipped the strips off quickly with a sprue cutter.
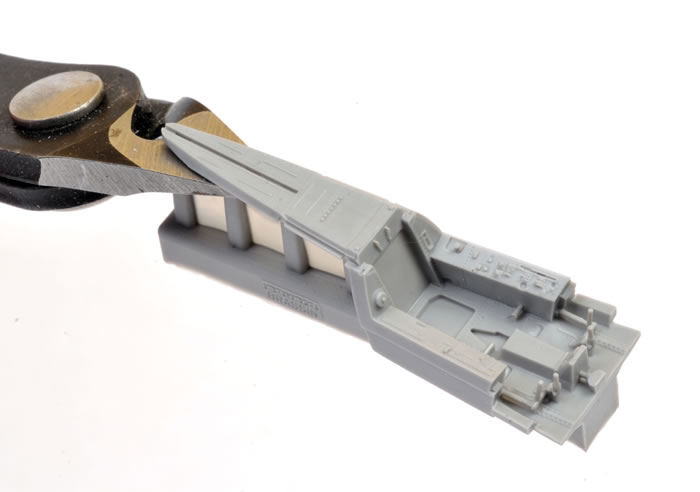
By cutting close to the join, I saved myself some clean-up time later on.
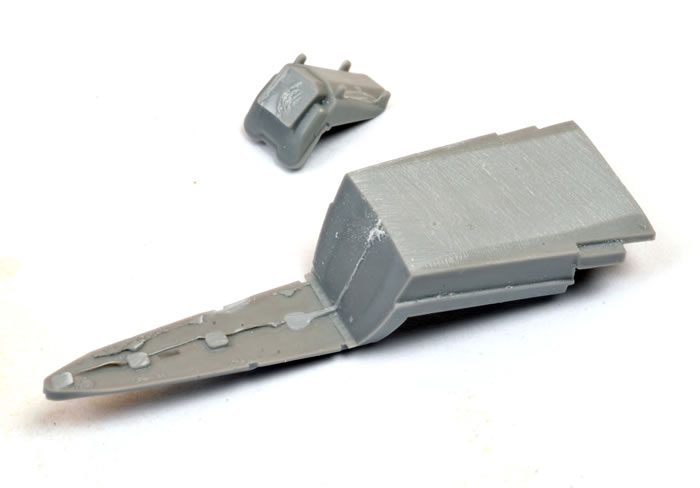
I sawed off the blocks from the bottom of the tub and the resin seat. These were further reduced and cleaned up with a coarse sanding stick.
The main sub-assemblies ready for paint. I really like the raised detail on the side consoles.
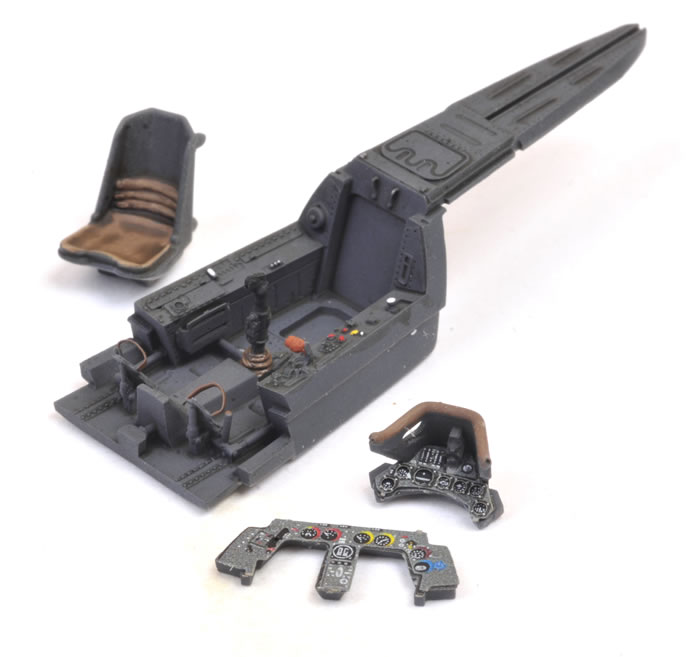
The cockpit sub-assemblies after painting and weathering.
I test fitted the BRASSIN cockpit tub between the fuselage halves prior to committing to glue. The fit appeared to be very good. Please note that several modellers have reported that the kit’s standard plastic cockpit tub and photo-etched instrument panel needs trimming to allow the fuselage halves to meet. I recommend test fitting and making any adjustments before starting any other construction and painting.
You can see the SUPERFABRIC harness straps here too. They look better in real life than they do in the photo. I love the drape of these very flexible straps. I think that they are particularly suited to 1/72 scale, as photo-etched belts can look stiff and unconvincing in such a small cockpit.
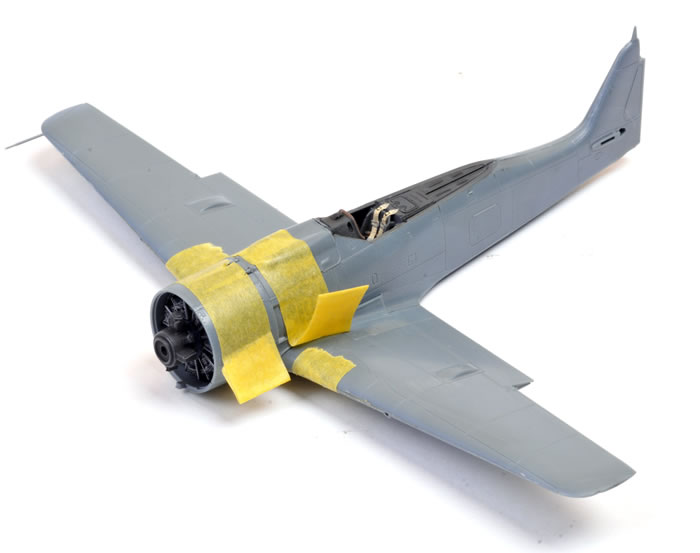
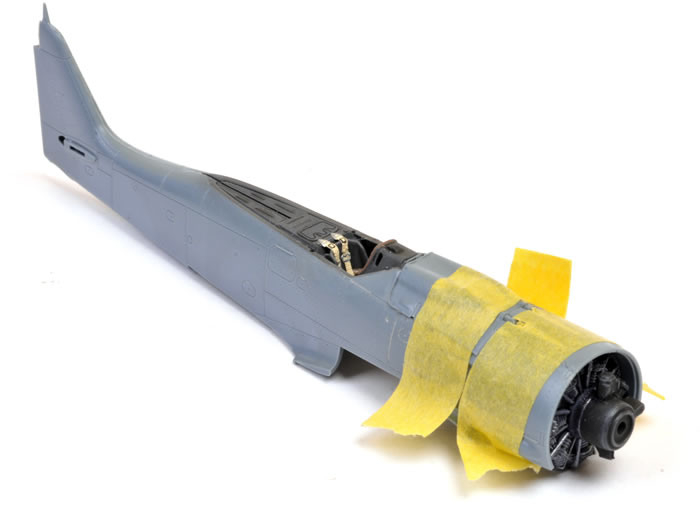
The fuselage halves came together without fuss. However, I would recommend cutting off one of the locating bumps on sides of the engine mount, and do not glue that side to the forward fuselage just yet. This will make it easier to align the gun cowl and lower cowl later on.
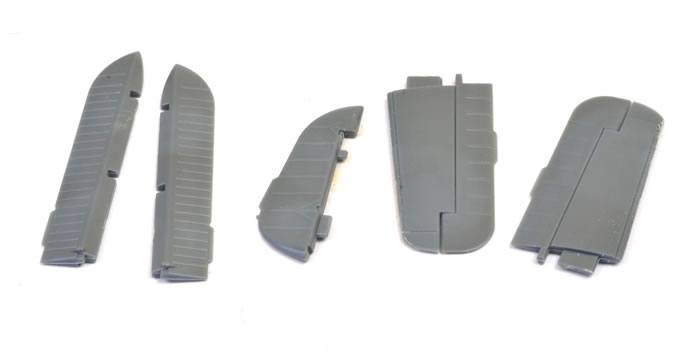
The wings were assembled at this stage. The parts were painted and weathered before assembly.
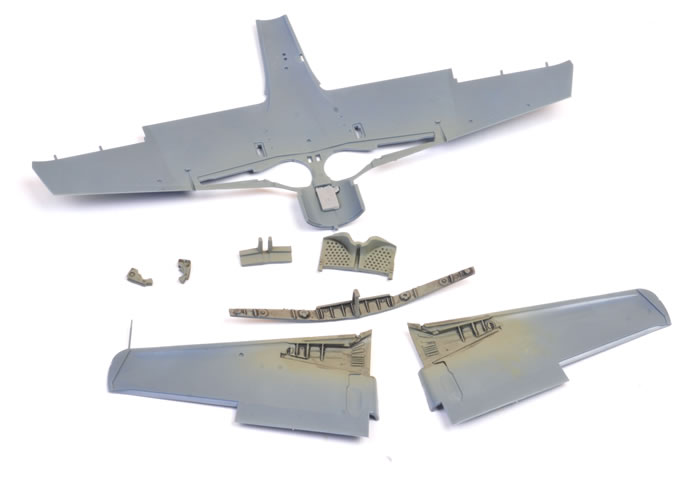
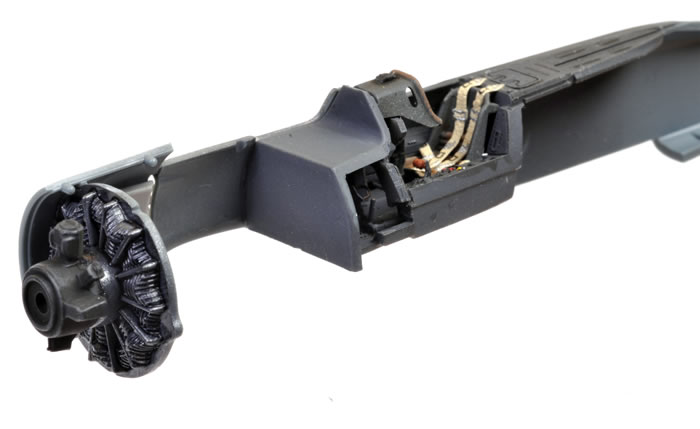
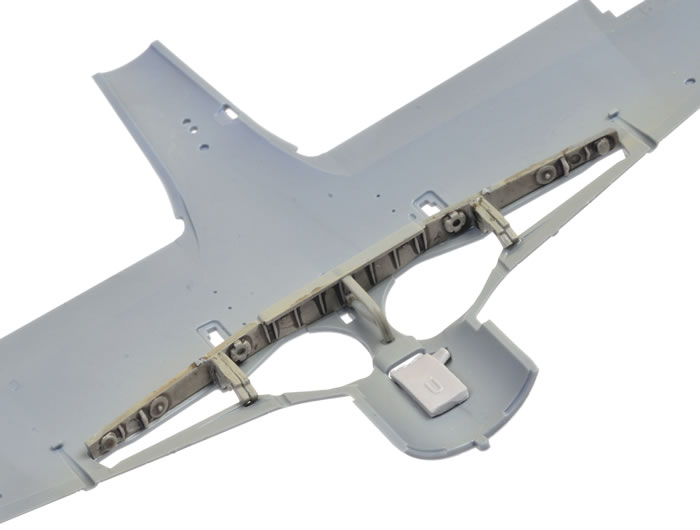
The wing spar and lower wing structures in place.
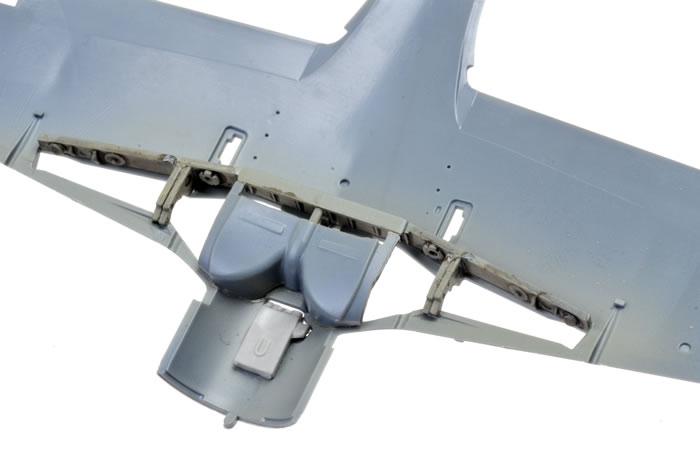
Here we can see the BRASSIN lower exhaust fitted, along with the main wheel well central cover.
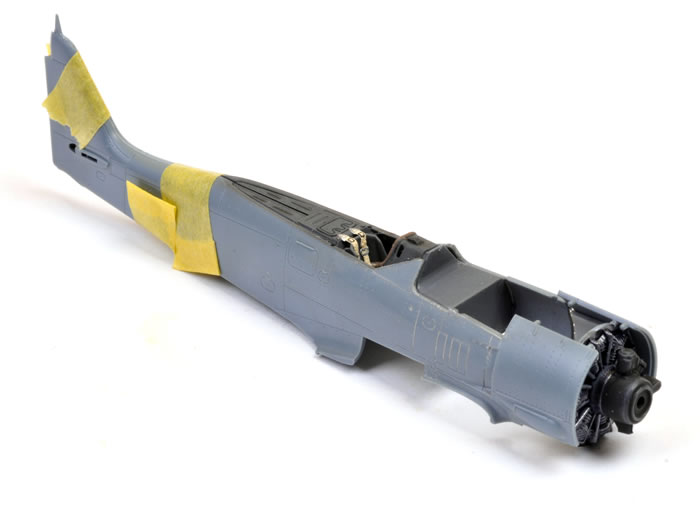
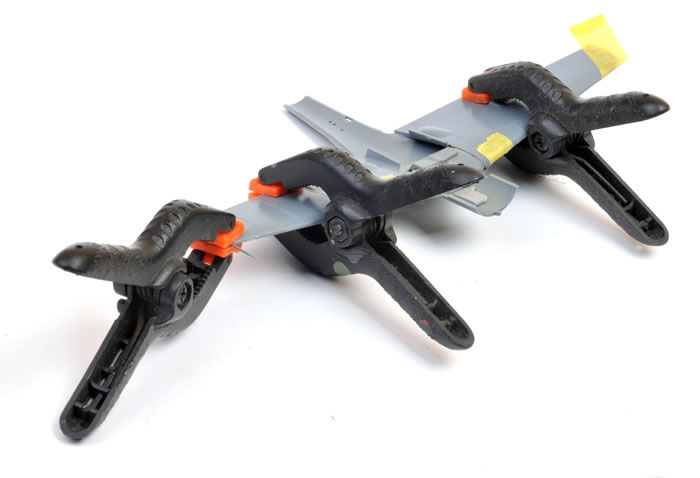
The upper wing halves were clamped and taped in place as the glue set. Fit was trouble free.
Here, the wing is being test fitted to the fuselage without glue. It seemed that the fuselage was fractionally narrow, so I popped the super-glued join between the sides of the cockpit tub and the interior of the fuselage sides, allowing the fuselage to be slightly spread at the wing root. This delivered a very good fit with no filler required.
The wing was removed while the upper and lower cowls were fitted. These needed a few minutes of fiddling, but the fit was eventually very good after I snipped off the bump on one side of the engine mount.
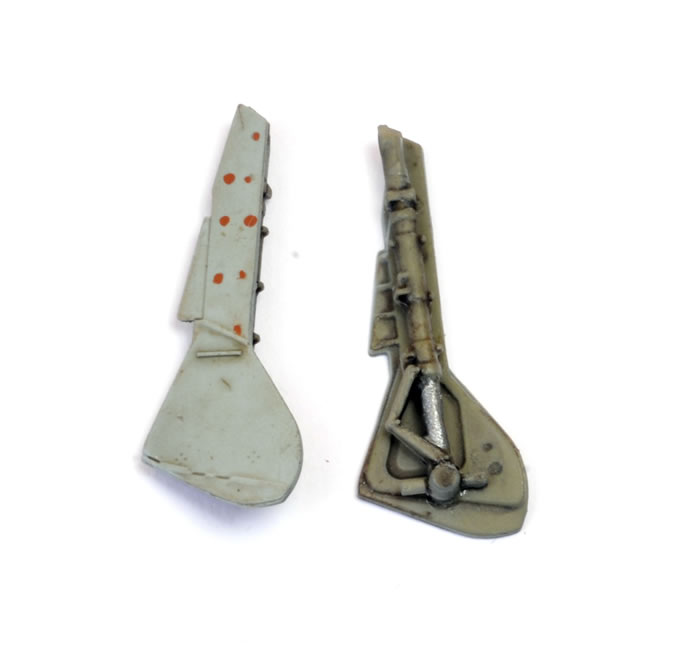
A view of the well detailed wheel well from below, just before the wing was fitted.
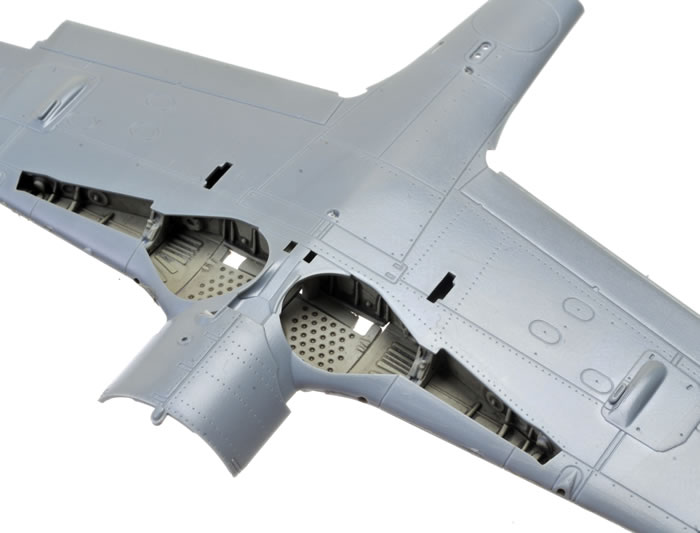
The wing was now glued into place. Check the gap-free join at the wing root.
Subtle textures of the kit’s control surfaces. They are almost a snap-fit.
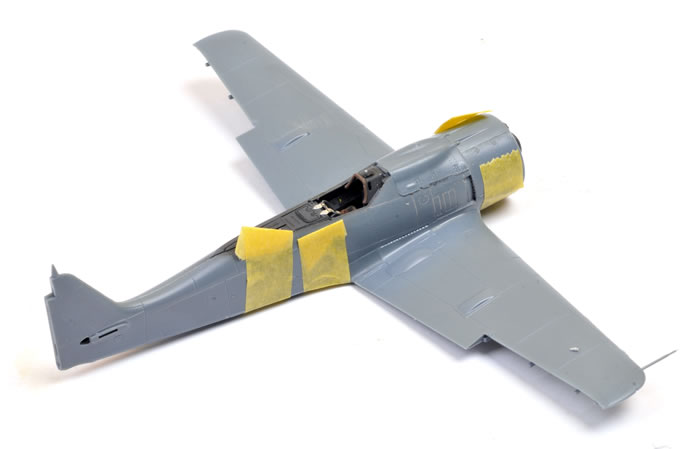
The model almost ready for paint.
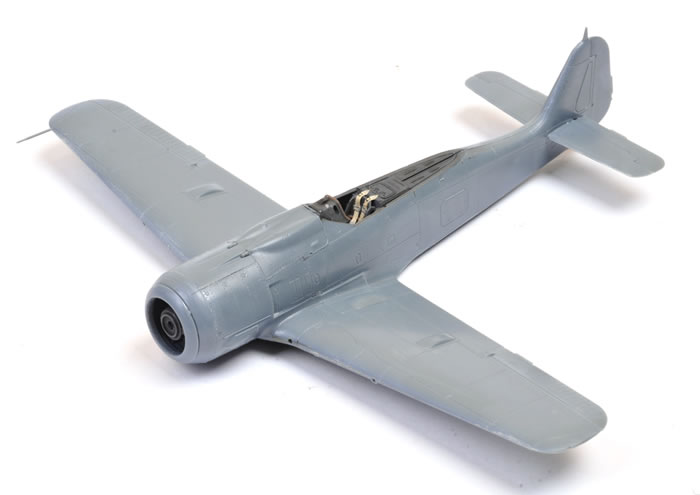
Check the excellent fit at all the main joins. Careful preparation and thorough test-fitting will help deliver this satisfying result.

The landing gear legs are also well detailed, but I found them tricky to position as the main locating hole is quite shallow. Patience and repeated test-fitting is the answer here.
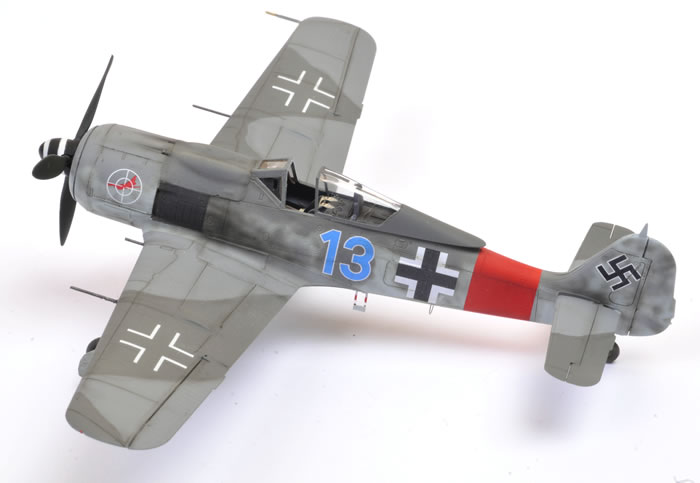
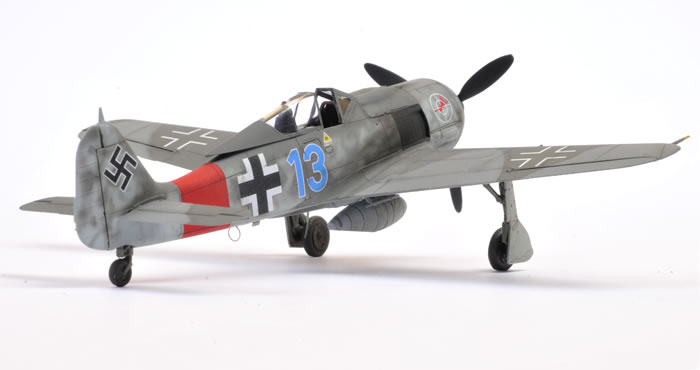
The model painted and sitting on its own legs. Apart from the BRASSIN and harness strap updates, the only additional work was to replace the gun barrels with fine brass rod. I also replaced the pitot tube after I broke off the plastic one (moulded to the wing) shortly before painting was complete.
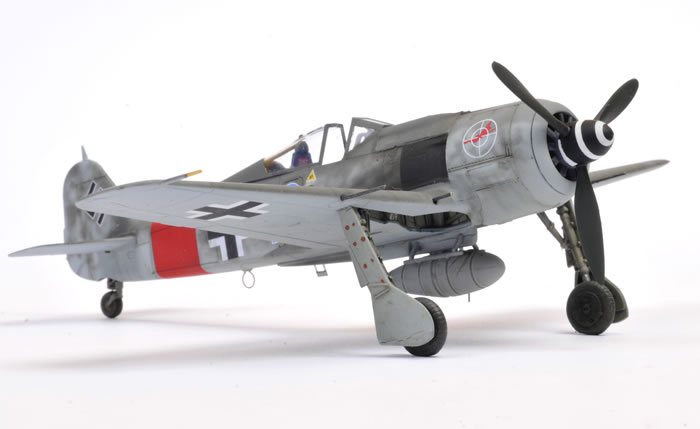
The decals are one of the options from Eduard’s ProfiPACK kit.
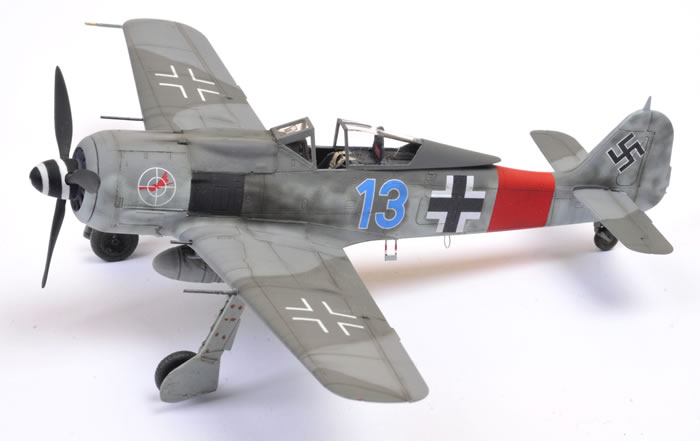
I was delighted with the result, and really enjoyed building Eduard’s 1/72 scale Focke-Wulf Fw 190 A-8.
This is another great kit from Eduard. Alongside their small-scale Bf 110 family, Eduard’s Focke-Wulf Fw 190 A-8 is very well detailed, features excellent surface features, useful options and straightforward engineering.
In my opinion this is the best 1/72 scale Fw 190 A-8 kit despite hot competition from Hasegawa, Revell and Airfix.
Hasegawa’s surface detail rivals the fine recessed panel lines of Eduard, but detail is not even close. The Airfix kit is nice, but its panel detail is wider and softer than Eduard’s, and detail is a bit clunky by comparison, while the Revell kit also falls short of Eduard in the surface detail department.
Eduard's kit won't fall together, but with patience and test-fitting, you should enjoy an excellent result.
I can’t wait to build another one!
Thanks to Eduard for the sample.
Model, Images and Text
Copyright ©
2015 by Brett Green
Page Created 18 December, 2015
Last Updated
18 December, 2015
Back to HyperScale Main Page
|
 Home
| What's New | Features | Gallery | Reviews | Reference | Resource Guides | Forum |
Home
| What's New | Features | Gallery | Reviews | Reference | Resource Guides | Forum |