Tamiya 1/48 scale
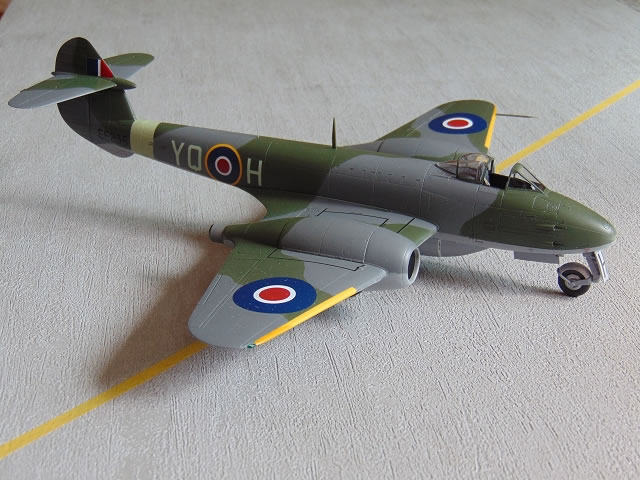
Gloster Meteor F.3
by Roger Hardy
 |
Gloster Meteor F.3 |

Tamiya's 1/48 scale Gloster Meteor F.3 is available online from Squadron
 A little history A little history
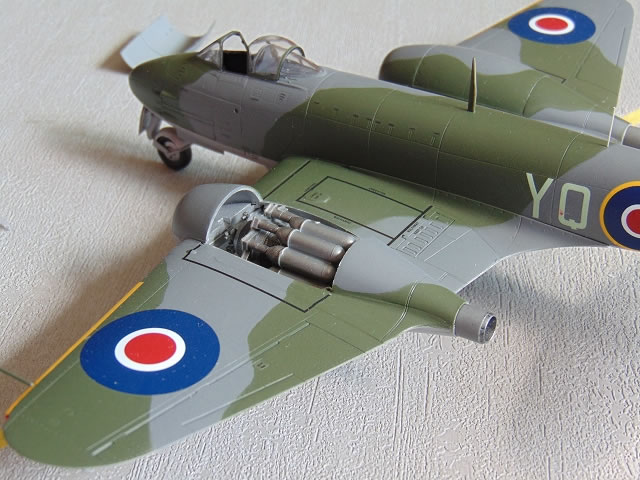
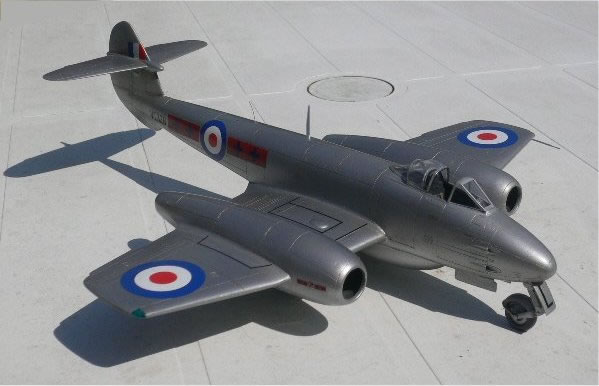
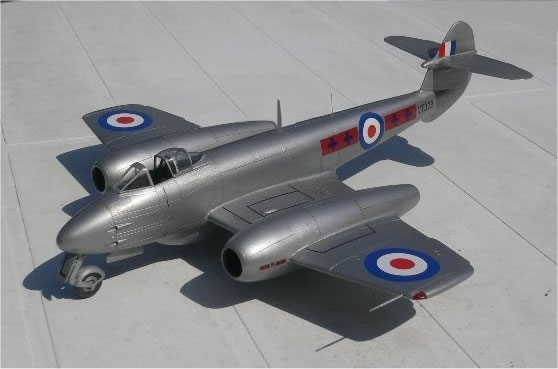
The Meteor was the UK’s first operational jet fighter and it saw service in World War II from July 1944. The prototype flew in March 1943 and the initial F.1variant was soon replaced by the improved F.3, the subject of this model which was in service with 616 sqn in the liberated Belgium. The first 15 F.3s were powered by the Rolls-Royce Welland (Sir Frank Whittle’s W2B) but later production used the more powerful Rolls-Royce Derwent engine, 195 more being produced. The Tamiya kit is one of this initial batch of F.3s and it comes with two models of the pioneering engine that can be displayed under clear panels.
The Kit
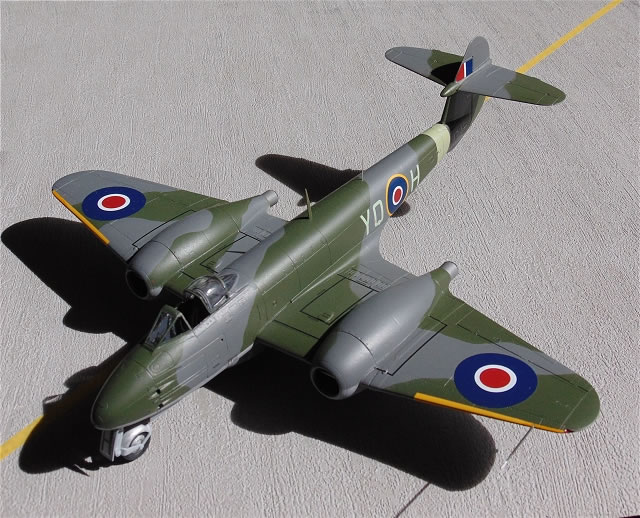
Well, it’s a Tamiya kit so you know what to expect; well-engineered, simple, stress-free assembly, immaculate fit, good decals….the usual stuff. It comes with a nose weight (installed behind the cockpit), which is a nice touch as the Meteor is a determined tail-sitter and the nosewheel bay is very visible. It also comes with the later short jetpipes and little intakes so that Derwent-powered examples can be made. There’s not much more to be said except….why, oh why did Tamiya choose the F.3?
Initially, they produced the even more obscure F.I (different canopy) and that also defied belief. Why not choose the F.4 or F.8? We still don’t have a decent kit of either of these yet these were the ones that were used around the world; the F.3 was not. In addition, there are also only two possible colour schemes, both of which are in this kit. No wonder that this model, issued in 2002, soon disappeared from the catalogues.
Construction
Every now and then it’s a good thing to remind yourself even experienced modellers make stupid mistakes! I made this model before (the F.1) and it was a doddle; I recall I converted it into an F.3. However, this time, overconfidence showed its ugly face. First of all, don’t assume that because it’s Tamiya you don’t have to bother checking the fit of parts; the nacelle fronts are not a perfect fit and if they are not trimmed, the top engine hatches (fitted much later and interchangeable with clear ones so you can see the engines) are not a perfect fit. I realized too late that if I’d really checked the fit of the nacelle fronts with the lower nacelle, there would have been no problem.
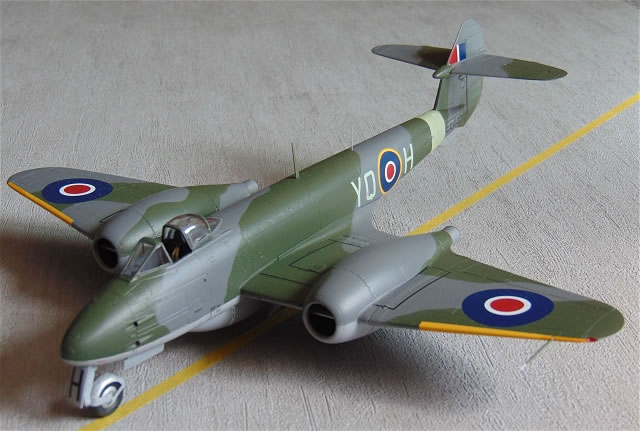
Painting
Tamiya give you a full-size camouflage drawing so that you can cut them out and use them for masking. I secured them with little rolled sausages of what I used to call blu-tak but which is now white. I had already primed the aircraft (Tamiya grey primer, an exact match for medium sea grey, the underside colour) and applied the top base colour, which is meant to be ocean grey. In fact, I used an old tin of Tamiya XK-54 which is actually called dark sea grey but it looked OK to me. However, it is VERY matt.
After I’d sprayed the dark green (I mixed my own) and removed the masking I saw that the sausages of blu-tak had marked the grey as if the surface had absorbed something from the blu-tak. So, I had now destroyed my masks and didn’t want to repeat the exercise so I tried to touch up the damaged areas with a brush. Mistake. It dried a different colour and sheen.
I tried spraying without masks freehand. Mistake. Overspray everywhere. To cut a long story short, I ended up more-or-less repainting the whole aircraft by hand. The moral here is that mid-toned colours of very matt paint can be discoloued by blu-tak (or white-tak??). Next time, I’ll do what I usually do and mix my own satin paint which never has a problem (I also find that satin is good enough for most decals, you don’t need gloss). I’m sure it’s the absorbent surface of matt paint.
I then applied satin varnish overall and decalled it, even managing to get the leading edge yellow to stick properly. The upper wing decals over the undercarriage bays need microset and microsol to settle down (plus a few scalpel cuts) but in the end it all turned out fine.
Paints were applied with my Testor Aztek airbrush.
Conclusion
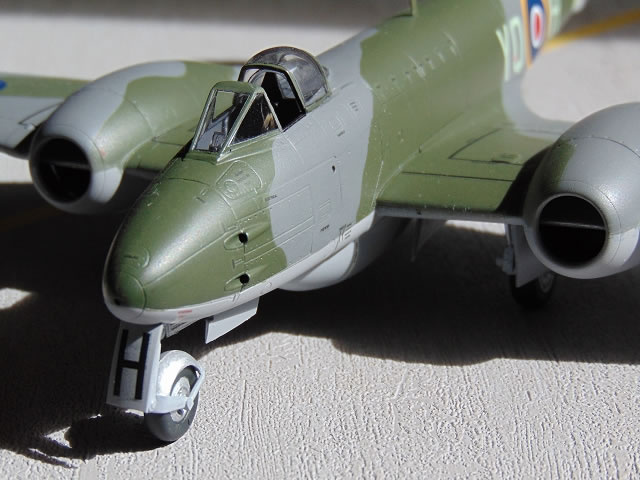
The kit is first class, my work was not but the finished result looks fine. I always think that models have a certain karma and I tend to remember the crises rather than completed model on the table but I’d unconditionally recommend this model to anyone who really wants to build a F.3. It captures the difficult lines of the nose and fin really well and sits like the real thing: nose slightly down.
I think it’s a slightly better than the Classic Airframes F Mk 4 (and much easier to build) and I´ve attached a photo of that one for comparison purposes.
Of course, I wish Tamiya had chosen a F.4 or F.8 in 1/48 but I suppose we need to wait for Airfix, Revell or Trumpeter to come up with the goods.
Model, Images and Text
Copyright ©
2014 by Roger Hardy
Page Created 18 July, 2014
Last Updated
22 July, 2014
Back to HyperScale Main Page
|
 Home
| What's New | Features | Gallery | Reviews | Reference | Resource Guides | Forum |
Home
| What's New | Features | Gallery | Reviews | Reference | Resource Guides | Forum |