Tamiya's 1/32 scale
F4U-1 Corsair
by Ron O'Neal
 |
Chance Vought F4U-1 Corsair |

Tamiya's 1/32 F4U-1 Corsair is available online from Squadron
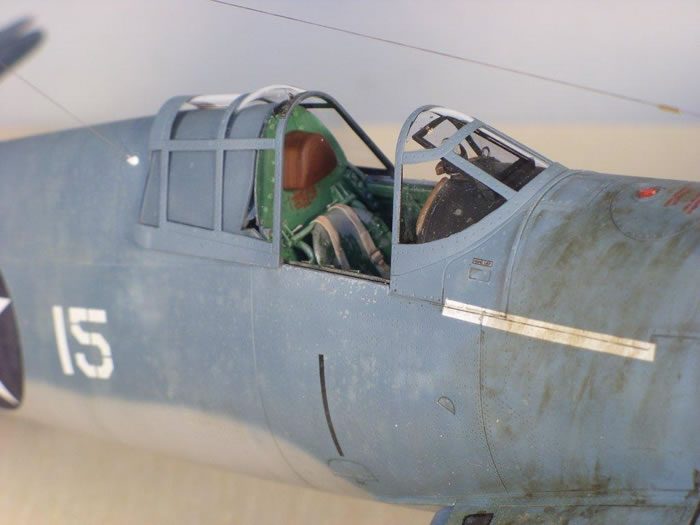
Tamiya’s 1/32 Birdcage Corsair is a superbly engineered kit, and a real joy to build. It is, however, more complicated than their previous 1/32 kits. One will need to read the instructions through a few times to catch some of the assembly nuances. For example, there are different canopy, armor plate, and rear glass parts depending on whether you want the canopy open or closed.
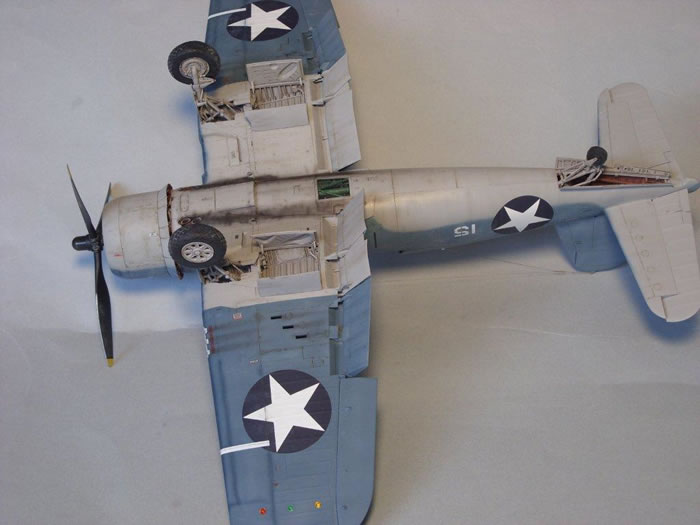
You have 4 choices for the wings, all with different parts and assembly sequences: Wings folded / Wings spread / flaps up / flaps down. The kit is not difficult, just more complicated.
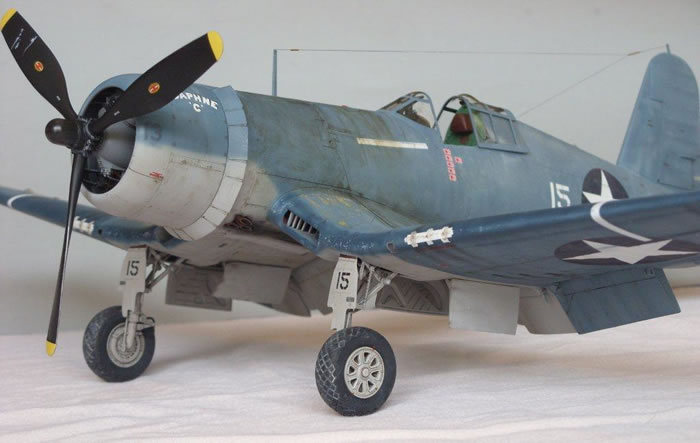
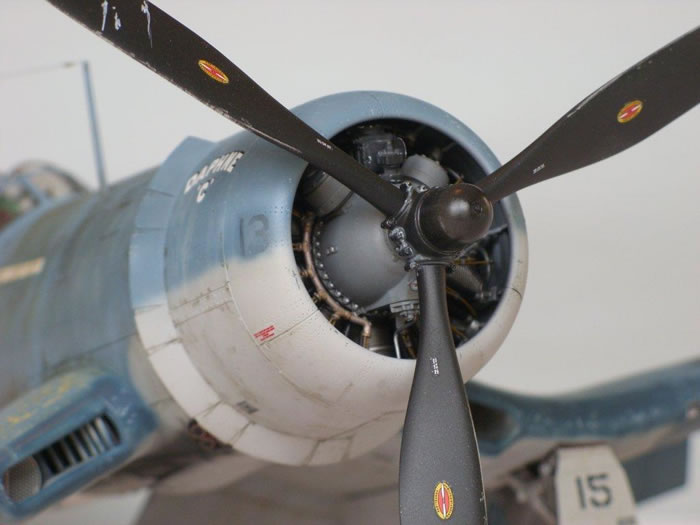
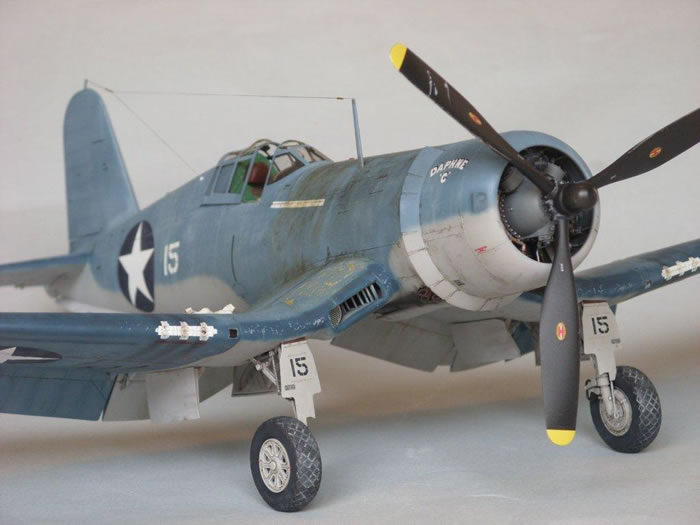
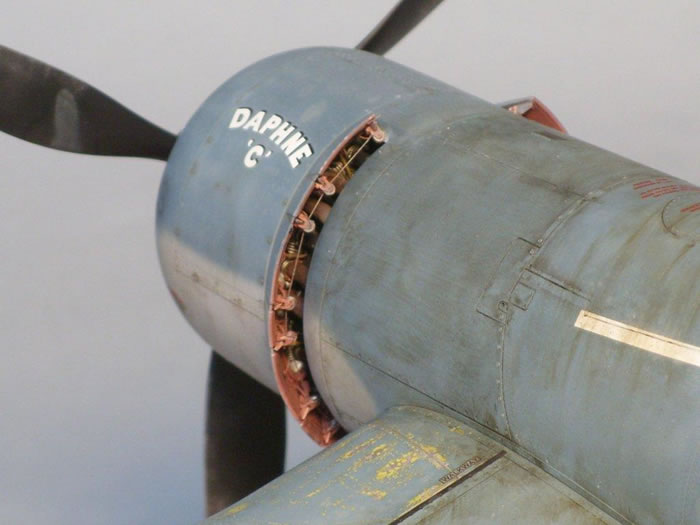
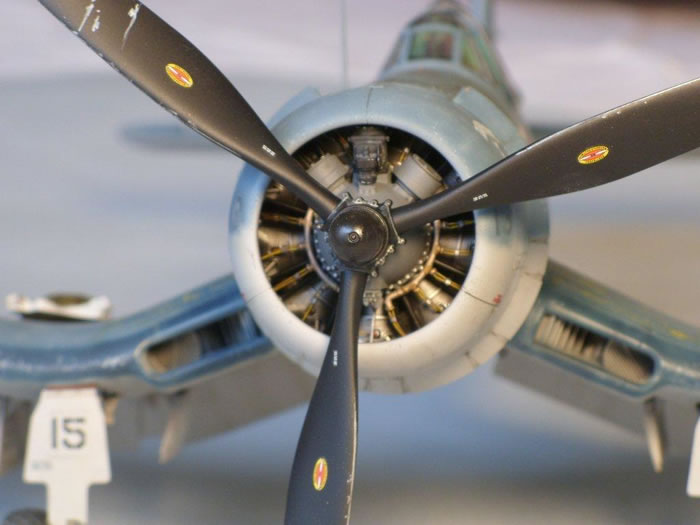
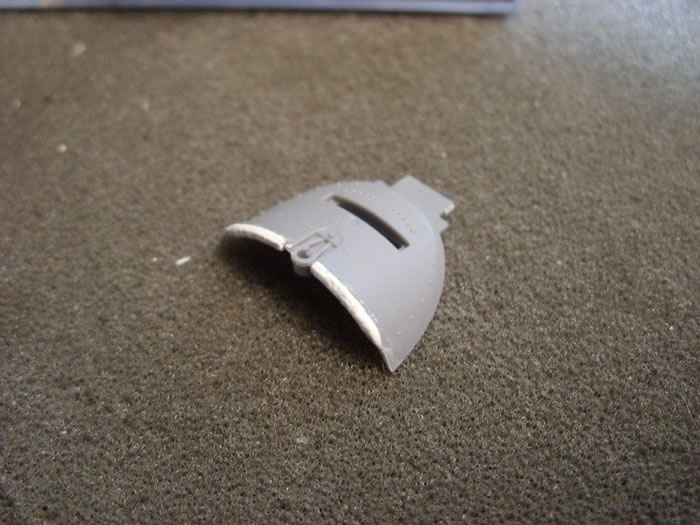
Tamiya toned down the working features on this kit. As a matter of fact, there are none. Not like the Mustang or Spitfire for sure. I like this direction. They’ve also eased off on some detail in certain areas. The inside of the cowl flaps are blank, and this is a visible area on the model that needs to be addressed. I opted for the incredible Eduard photo etch set to dress up the cowl flaps. The engine is nice, but they boo-booed on the magneto configuration, ignition ring, and oil cross over tubes. I scratch built the oil cross over tubes, with Barracuda resin’s superb upgrade set to the rescue for the magnetos and ignition ring.
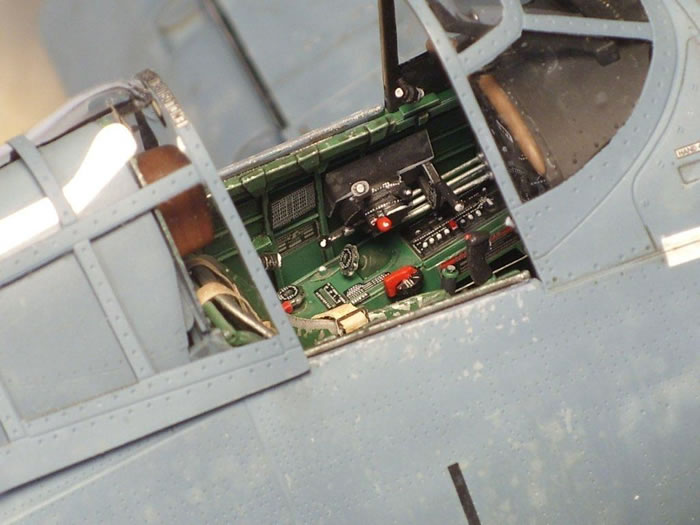
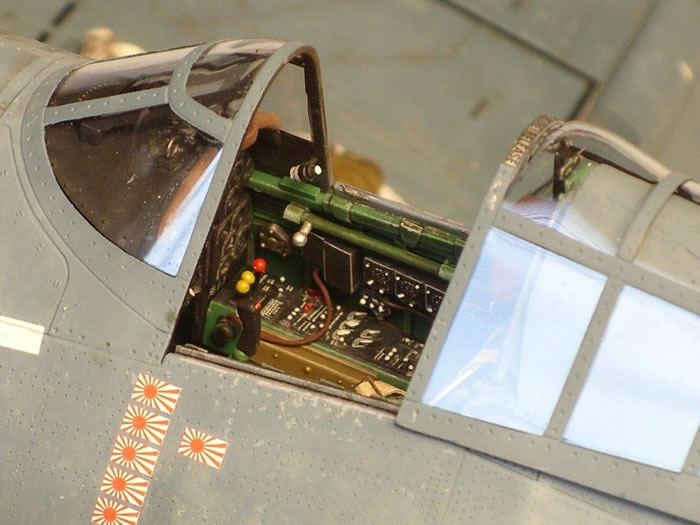
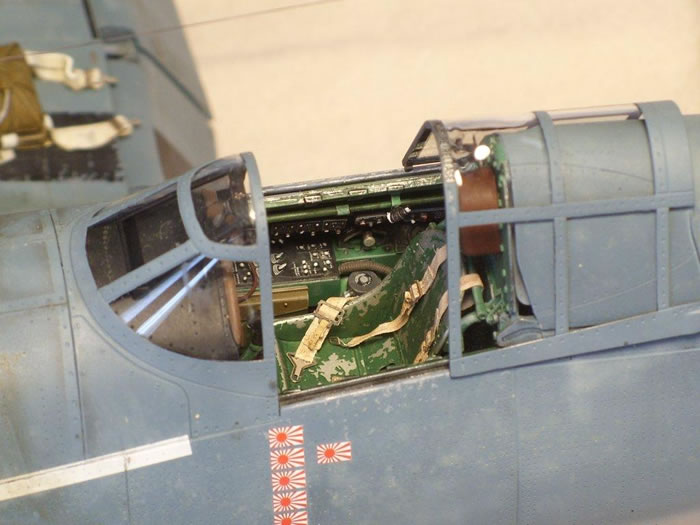
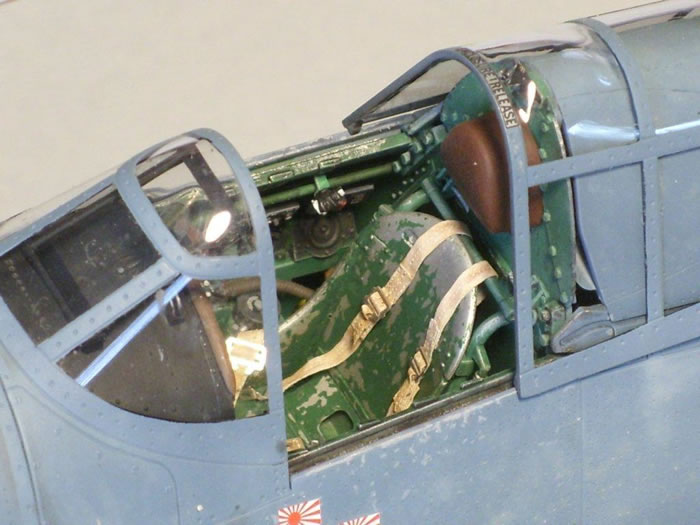
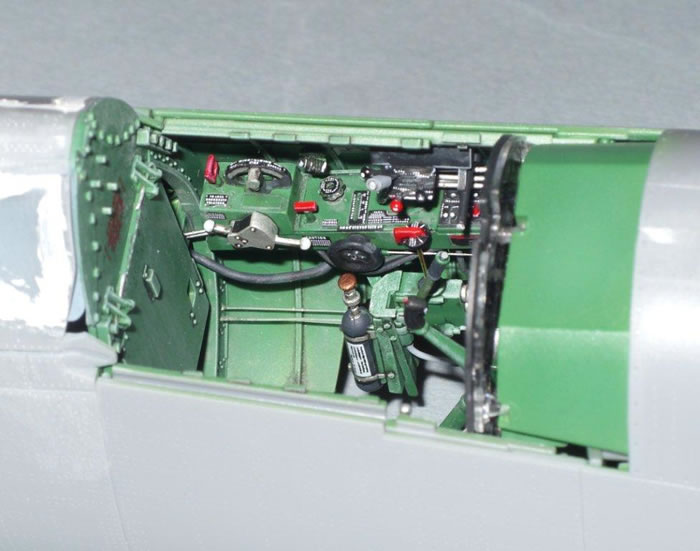
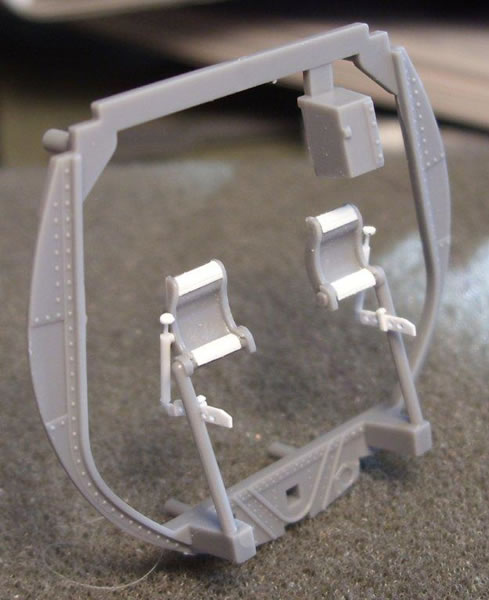
The Birdcage cockpit is confusing, and different from the -1A and -1D. I struggled with references, but it looks like Tamiya has it mostly right. How to Build Tamiya’s 1/32 F4U-1 Corsair by Marcus Nicholls (with Brett Green as a contributor) is an excellent resource for Birdcage cockpit details. Some of the subtleties unique to the Birdcage:
-
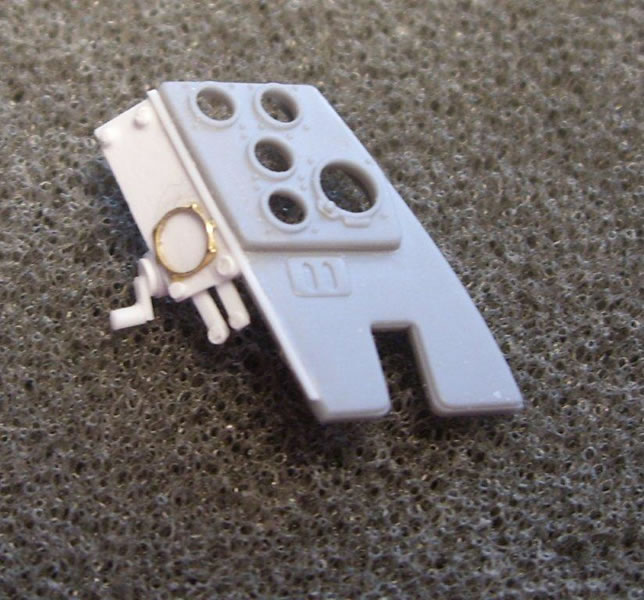
The Birdcage landing gear handle was on the forward lower instrument panel. There was no dive brake handle. Tamiya got it right.
-
The flap handle was forward of the throttle (later versions moved it up near the glare shield). Tamiya got it right.
-
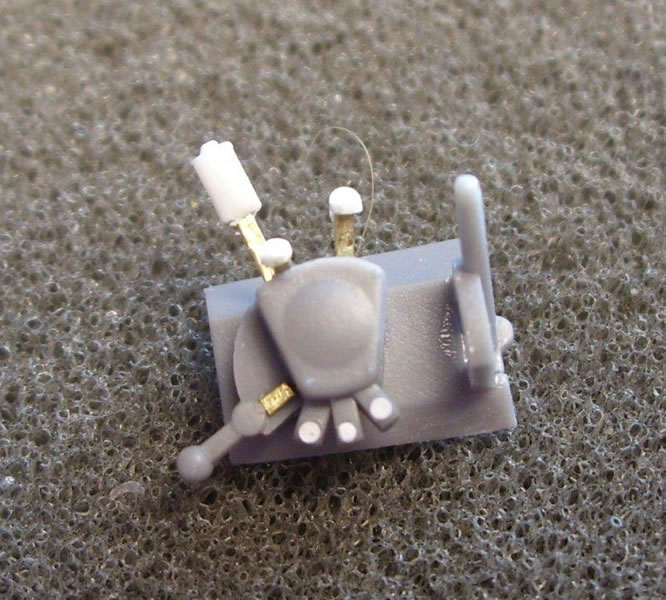
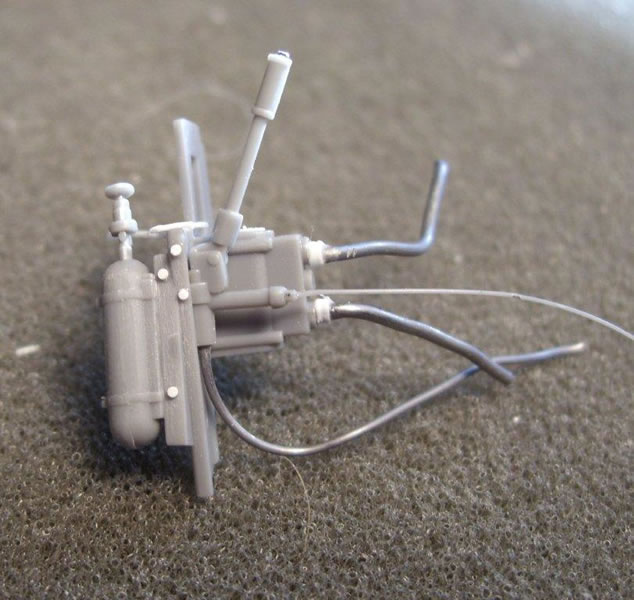
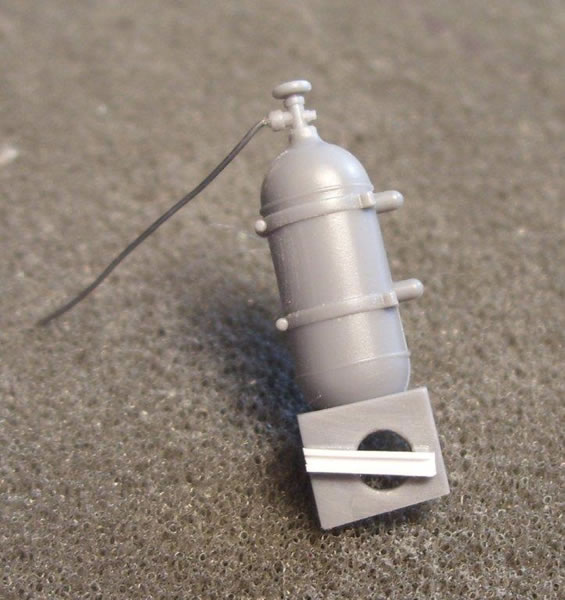
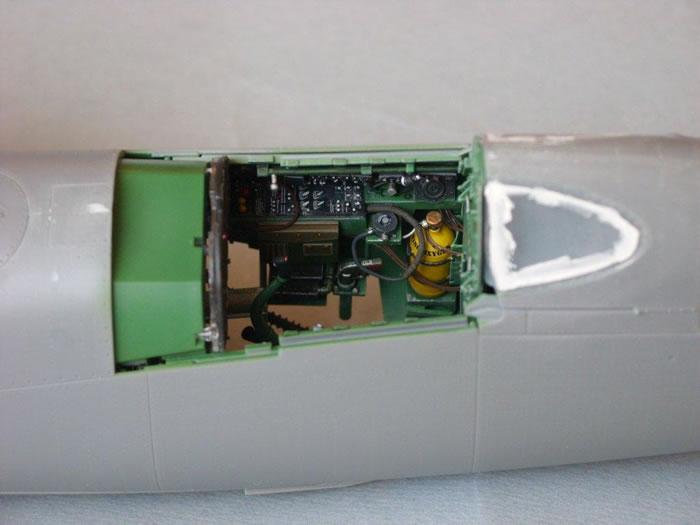
The oxygen valve should be on the right console aft. Tamiya put a radio avionics box of some kind in that position, but photos are unclear. The Birdcage Corsair recently pulled from a lake and undergoing restoration shows the box that Tamiya included. I rolled the dice, scraped off the box, and built an O2 regulator.
-
There are no gun switch boxes on the glare shield. The 1A and 1D had them. Tamiya got it right.
-
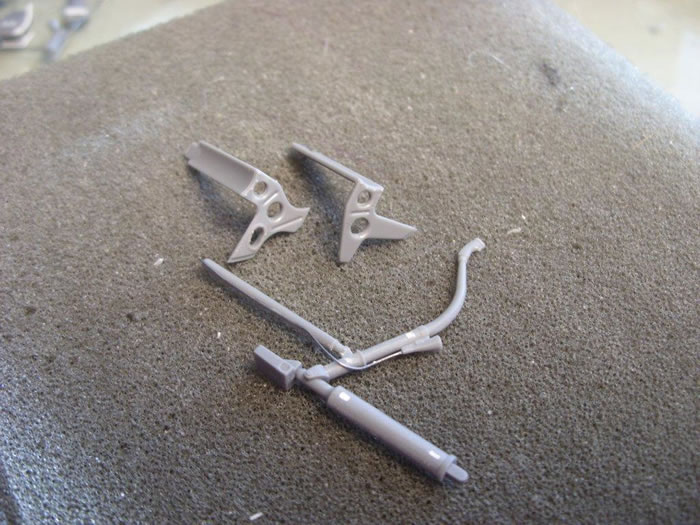
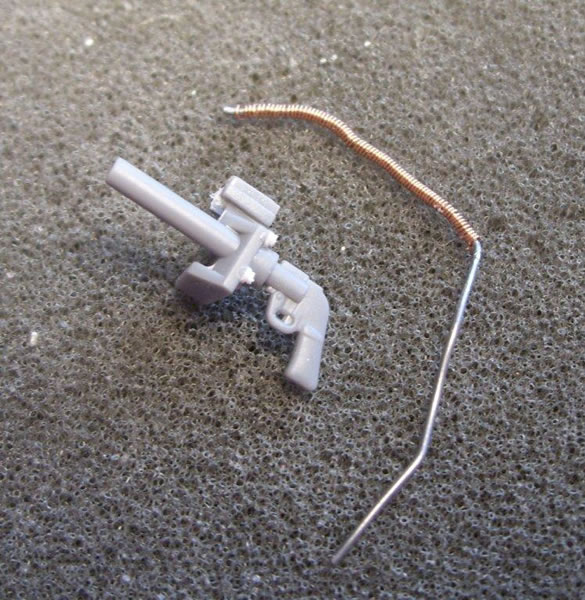
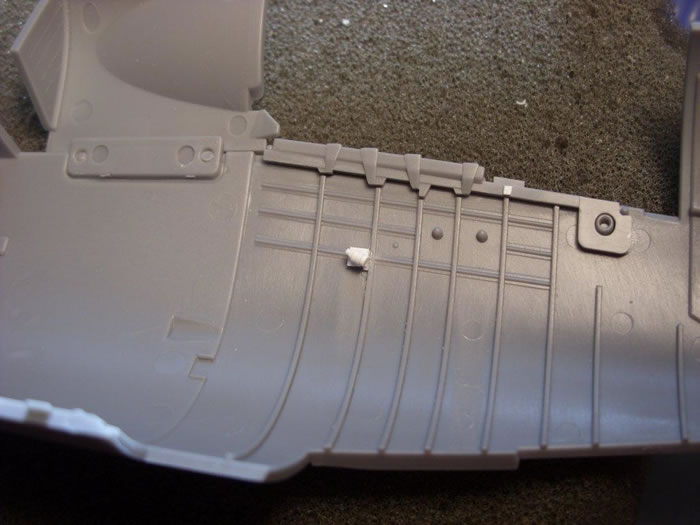
Tamiya missed the prominent heater pipe that runs from the forward bulkhead and under the seat. Easy enough to scratch build if desired.
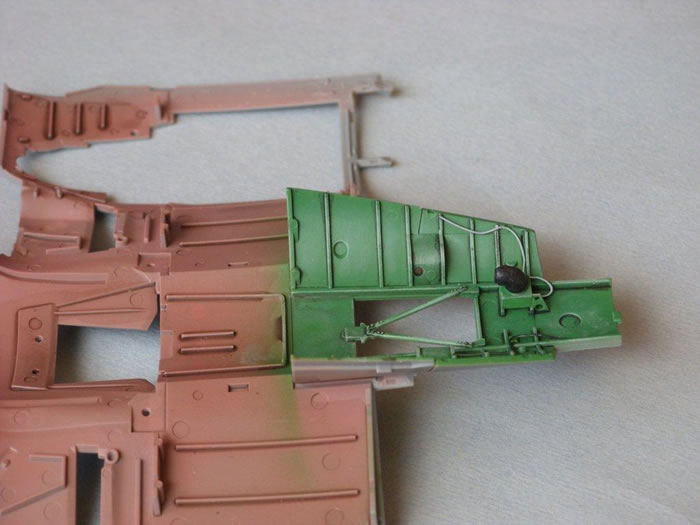
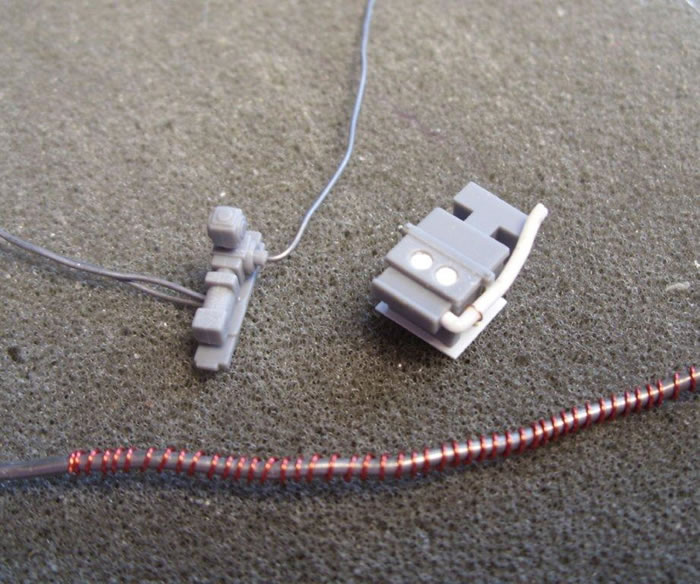
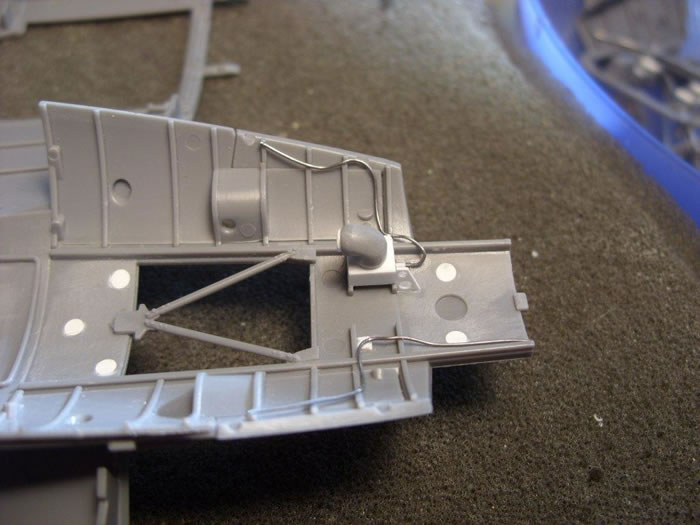
I added the adjustment hardware and non skid pads to the rudder assembly. I also dressed up the battery box, signal pistol, and rudder foot boards.
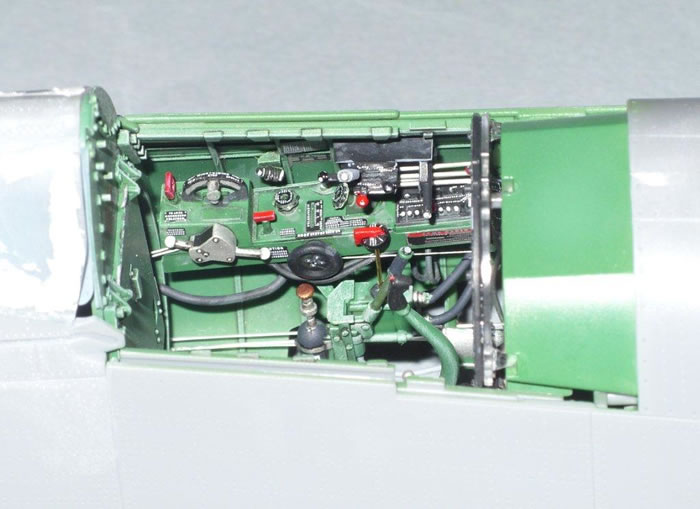
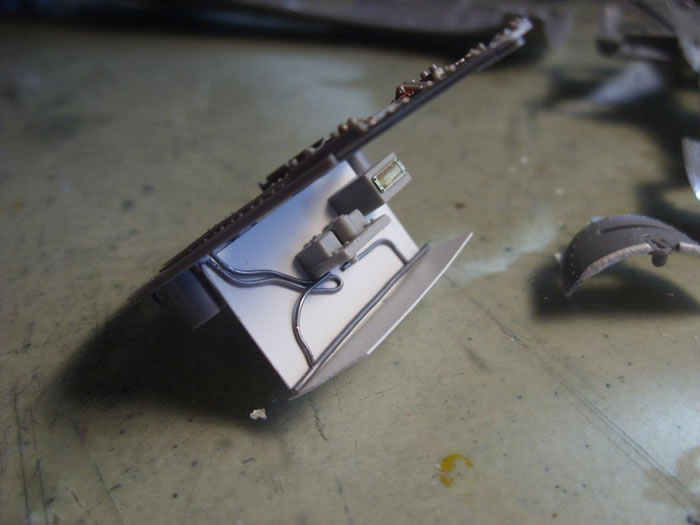
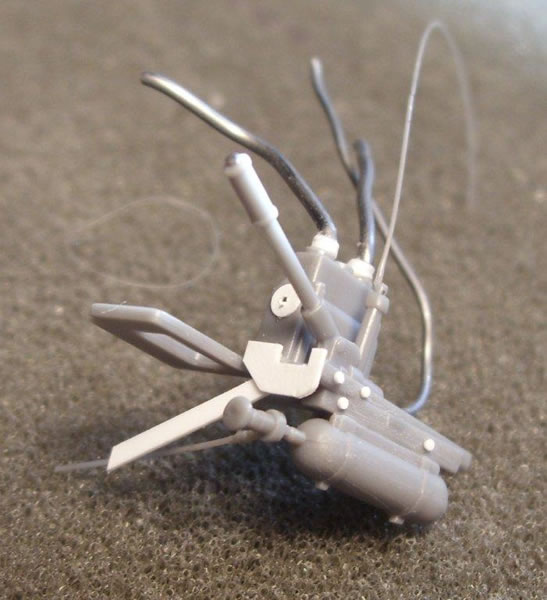
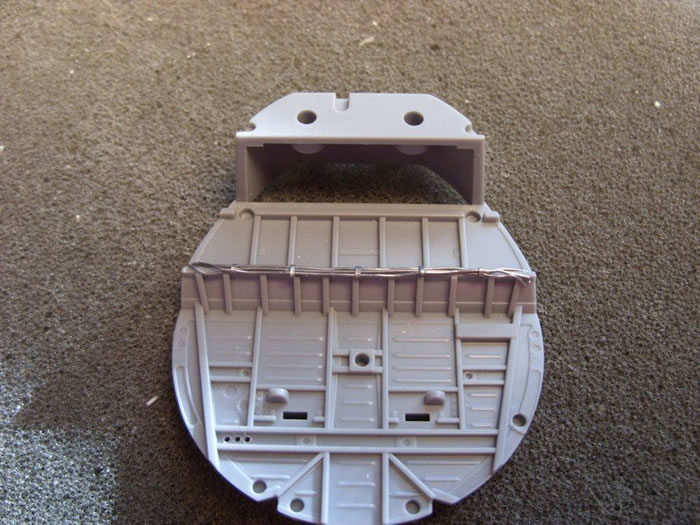
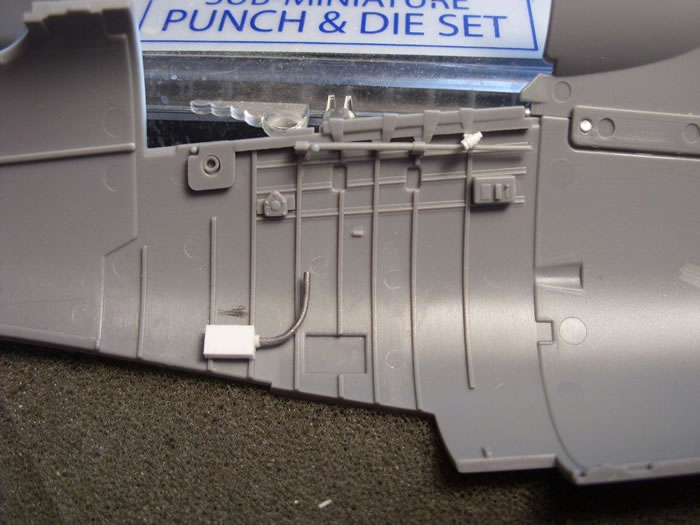
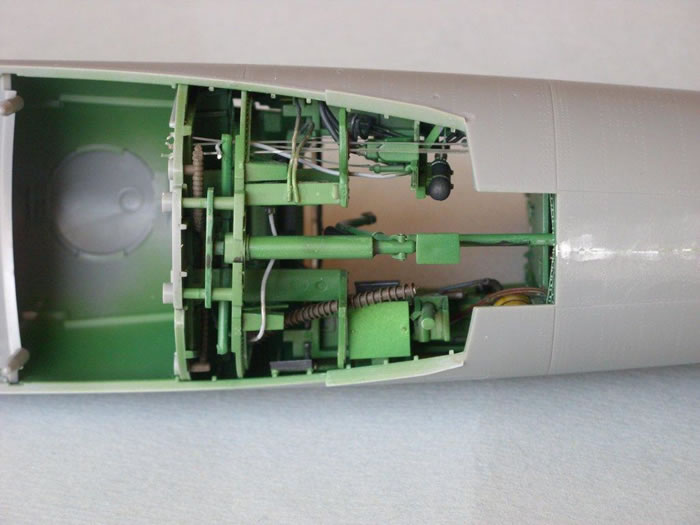
There is open space behind the seat and armor plate on the kit that is visible, but blank. I scratch built a shelf with radio units and wiring. The lower cockpit of the real bird was pretty busy. Tamiya includes nice rib and structural detail, but no heater vent or piping. If fairness, you can’t see much with the seat installed, so the lower floor isn’t a big deal. I added wiring and cabling to busy things up.
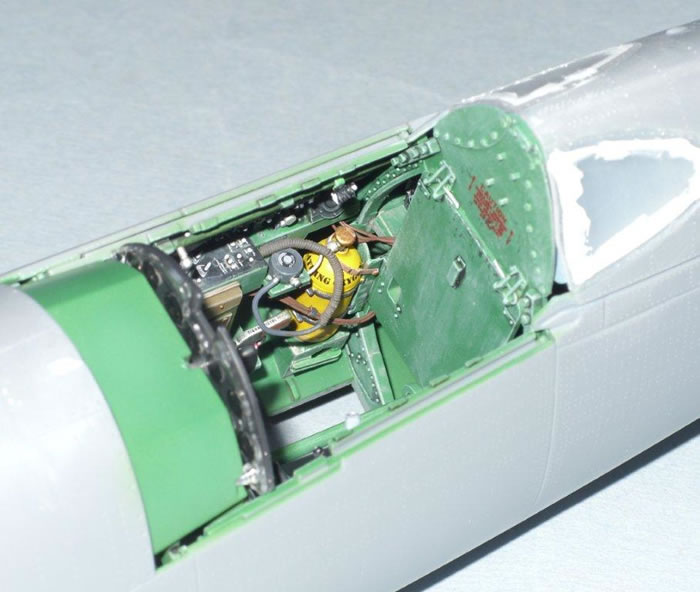
It’s a testament to Tamiya’s engineering that many of the cable ports are molded on the bulkheads, and just need to be drilled out if the builder wants to add control cables and piping.
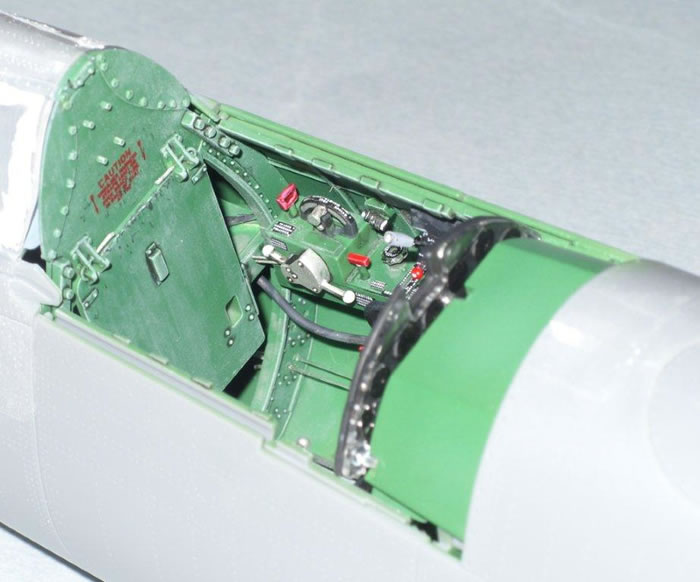
The seat was done using the hairspray technique. Tamiya silver lacquer was the base coat, followed by hairspray, and then the dull dark green. Seat belts are the superb Eduard fiber cloth product. When scrunched into a ball between your fingers, the fabric behaves just like the real material.
To adjust for scale effect, I mixed up a lighter ‘interpretational’ shade of dull dark green for the cockpit color, using the mix from the Nicholls reference above. The lighter shade balances out in the dark recesses in the cockpit. I did away with the dark wash, and instead used a light dusty oil wash. It’s opposite of what’s normally done, but provides an interesting “counter shade” effect. Roy’s superb Barracuda Studios cockpit decals were used throughout, and delivered a heightened sense of realism difficult to achieve with just a brush.
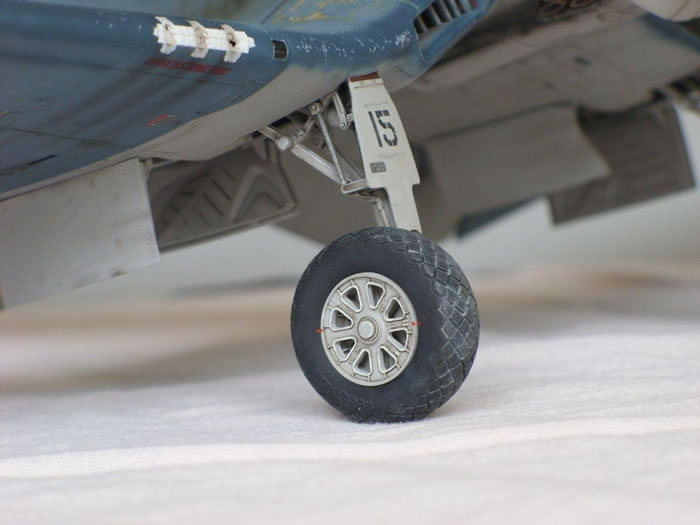
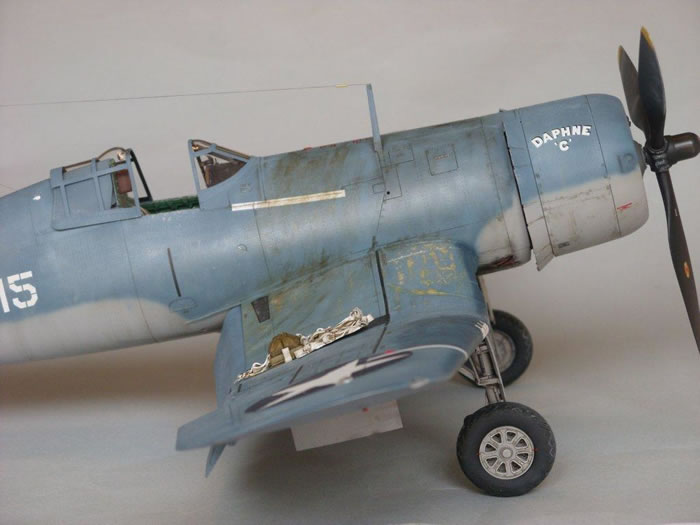
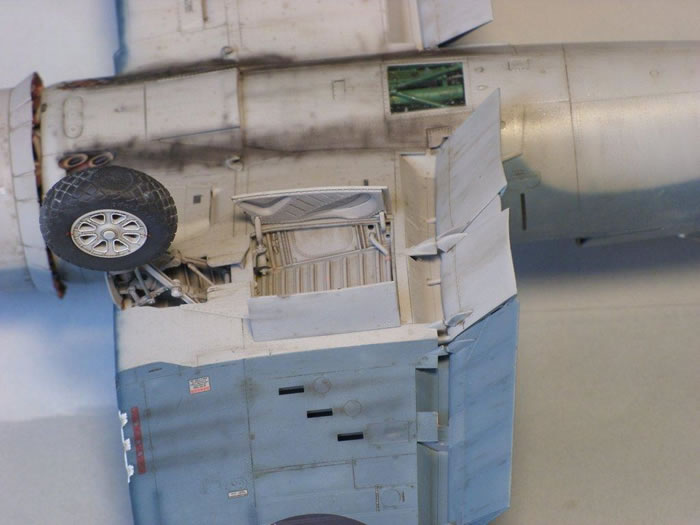
The Barracuda Studios wheels were essential additions. A study of the layered detail in the wheel hubs highlights the incredible quality of Roy’s products.
Painting, Weathering and Finishing Touches |
For the camouflage, I tried a few techniques that I picked up from both armor and aircraft modeling forums. The Barracuda Studios (Roy’s Rants) blog provided interesting insight into weathering characteristics of these land based Corsairs. These particular planes operated in one of the harshest climates an aircraft could be exposed to, offering unique opportunities to experiment with weathering techniques.
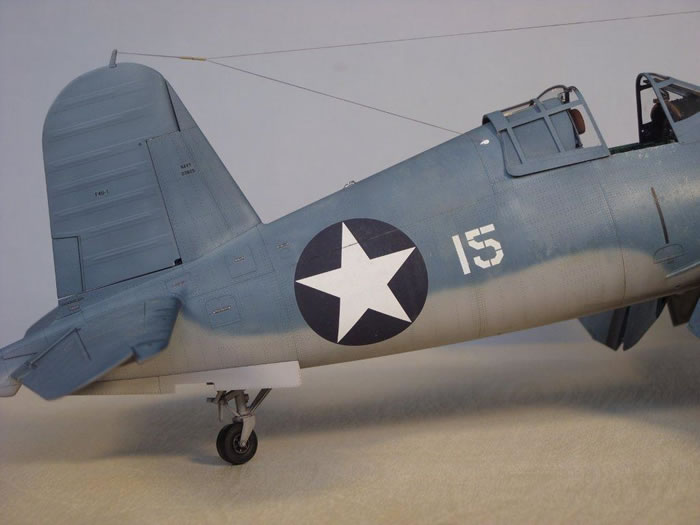
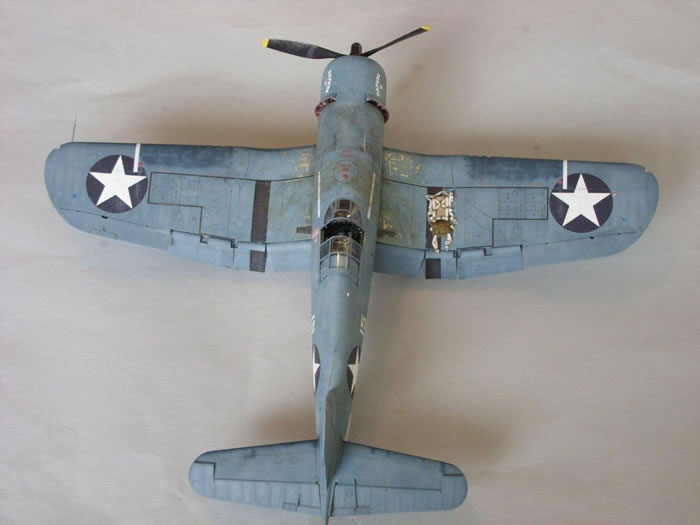
I started with a thin coat of Tamiya lacquer primer as a basecoat, and then applied very thin, almost translucent layers of paint, building color slowly. I used progressively lighter, washed out shades of blue and grey to break up the finish. The lighter shades were squiggled randomly over the surface, and used as accents along panel lines. The colors are mixed from Tamiya acrylics, and thinned with Gunze acrylic thinner. The Gunze acrylic lacquer thinner makes the Tamiya paints perform beautifully. They go on with a “wet” look, and dry tight to the surface. Once the paint was dry, I applied the EagleCal decals right over the paint, without a clear gloss undercoat. When the decals were settled in, I spritzed them with semi flat lacquer. There are no clear coats on the model, except for on top of the decals. The “no clear coat” technique has transformed the way my models look. The finish looks much more “in scale”, allowing subtle weathering effects to show through. I learned this technique from a superb modeler at the 2012 Nationals.
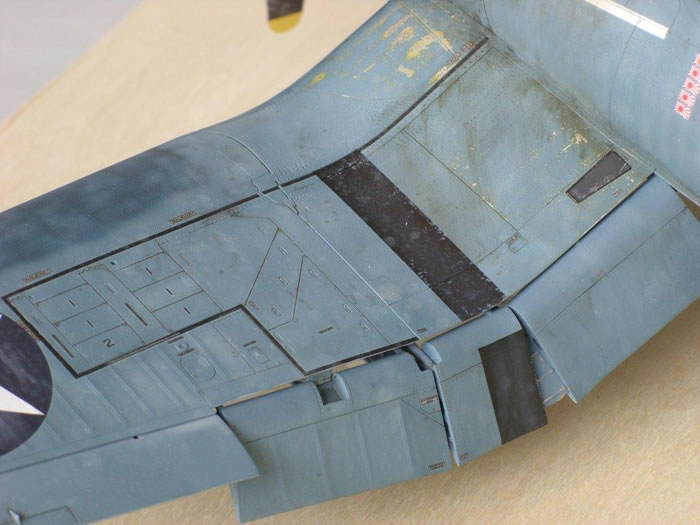
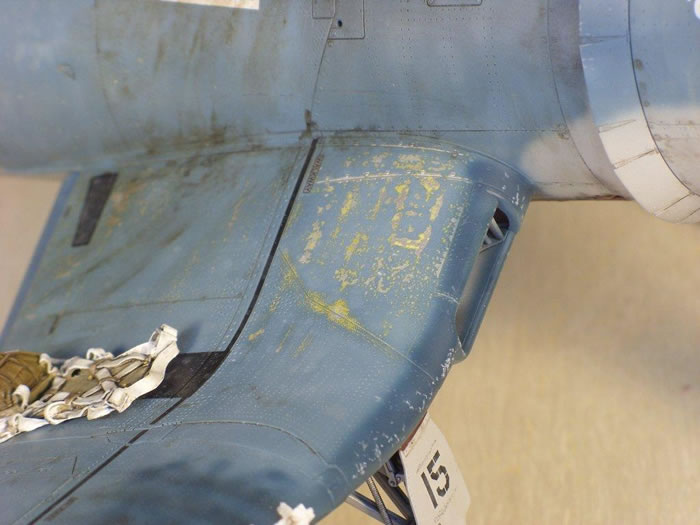
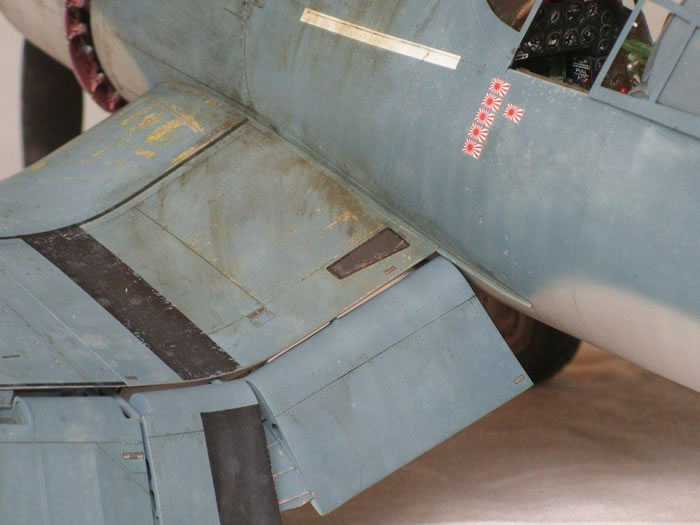
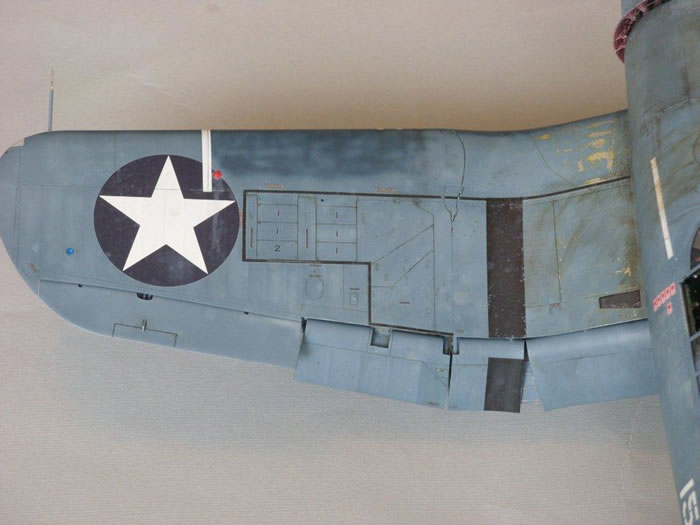
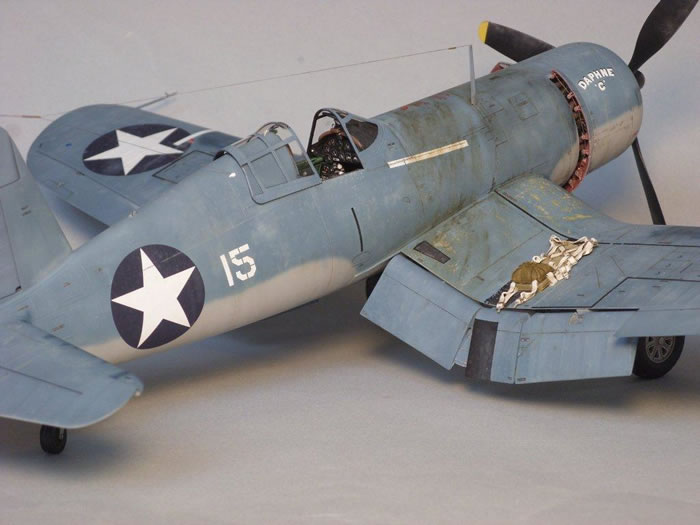
The chipping effect on the wing roots was done with the hairspray technique. I started with Tamiya Silver decanted from the spray can to the airbrush , followed by a coat of hairspray, also decanted to the airbrush. Hairspray is interesting stuff – it sprays just like an acrylic clear, and dries smooth and hard. Tamiya acrylic yellow zinc chromate was next, followed by hairspray. Then came the Tamiya acrylic blue topcoat. You can tape over the surfaces and the paint won’t lift. And – the hairspray has no effect on the look of the surface, so if you decided not to chip, you could leave as is. When it was time to start chipping, I took a fairly stiff, worn brush, wet with water, and gently rubbed the paint. The water softens the hairspray, and the more you scrub, the more paint comes up.
Weathering was done mostly with oils. I spattered various light grey and dust shades, and blended them in. Heavier oil staining was done around the engine, using black oils. Fuel streaking and oily grunge were done with a mix of brown and black oils. Panel washes were done in specific areas, primarily to emphasize access panels. Heavier applications were done on panel lines where oil would collect.
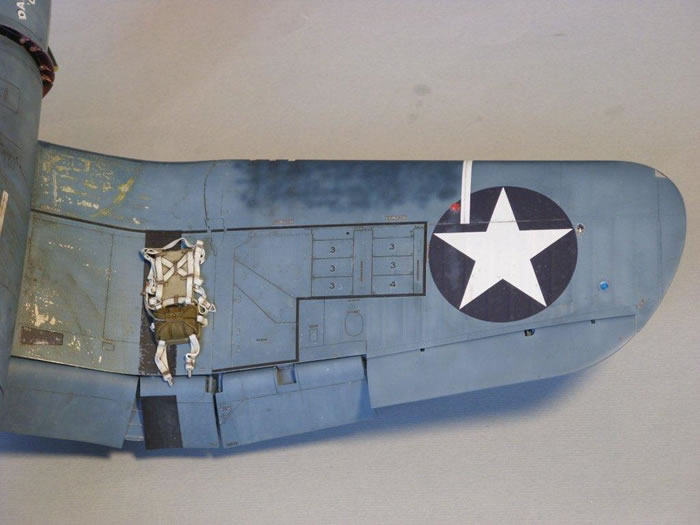
The sea blue on the upper wing surfaces and along the flying surface leading edges was based on reference photos and discussion on the Barracuda Studios blog. To resolve leaking wing fuel tanks, these tanks were removed and repaired in the field, and reinstalled. Ground crews re-sprayed the repaired area with available sea blue, and also touched up the leading edges of the wings and stabs.
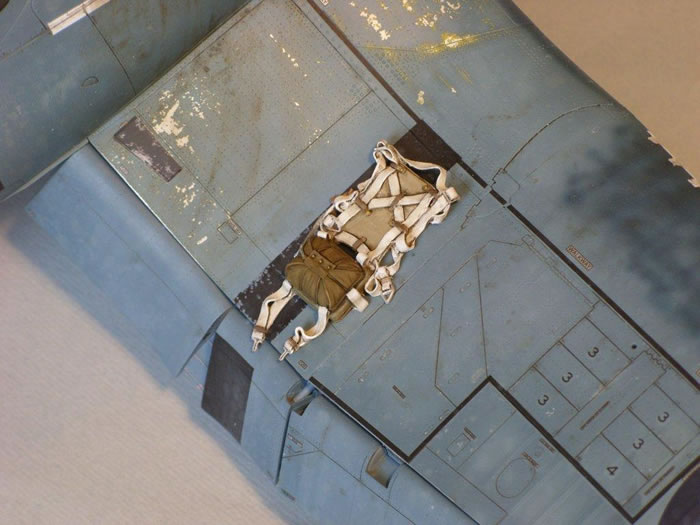
I love the new True Details parachute packs, and had to use one on this model. I painted the chute with oils, with light washes and drybrushing to highlight the details.
And yes, that’s bird poop on the propeller blade.
Model, Images and Text
Copyright ©
2014 by Ron O'Neal
Page Created 20 August, 2014
Last Updated
20 August, 2014
Back to HyperScale Main Page
|
 Home
| What's New | Features | Gallery | Reviews | Reference | Resource Guides | Forum |
Home
| What's New | Features | Gallery | Reviews | Reference | Resource Guides | Forum | 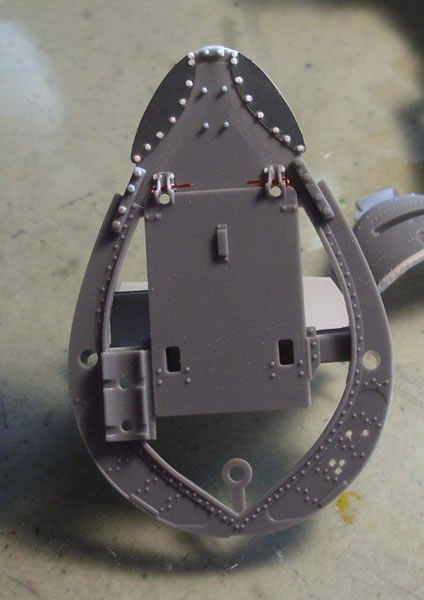
_fs.jpg)
_-_Copy_fs.jpg)