2 x Hobbycraft 1/72 scale
CF-105 Arrows
by Don Weixl
|
|
Avro Canada CF-105 Arrow |

Hobbycraft's 1/72 scale CF-105 Arrow is available online from Squadron.com
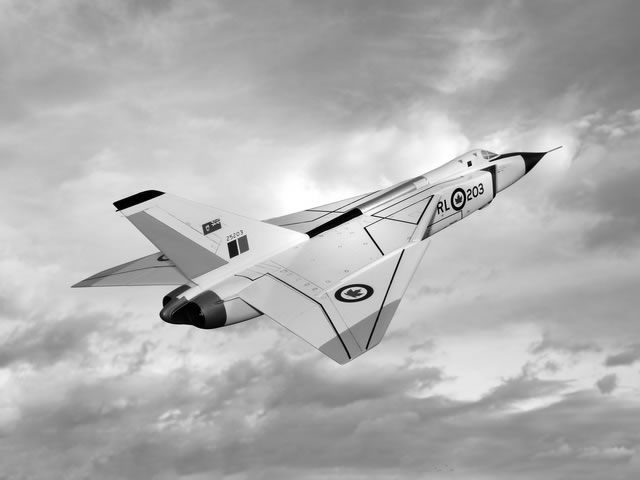
Canadian aviation fans have a fascination with the Avro CF-105 Arrow. The Arrow was a large twin engine interceptor built in Toronto in the 1950's and cancelled after 5 prototypes flew. The Canadian aviation industry took a long time to recover from the cancellation of what some might describe as an overly ambitious project. It included an all new airframe, engine and weapons control system. It is a shame that the 5 operational prototypes were cut up for scrap and that the first Mk2 version, with the very powerful Orenda Iroquois engine, never flew, although it was very close to completion at the time of cancellation.
Hobbycraft Canada released a 1/72 scale (some describe it as closer to 1/78 scale) injection moulded kit in the 1980s. The first version can be identified by having the aileron actuator fairings (blisters) on top of the wing instead of on the bottom. The second version corrected the wing and had better decals, although the decals were still not very accurate . A third version was
released in 2012 and has been upgraded with a more accurate fuselage length and improved intake and canopy profiles. The new kit also has a different version of the afterburner cans that was found on most Arrow prototypes. The 2012 version also has a more accurate front landing gear strut and nose shape.
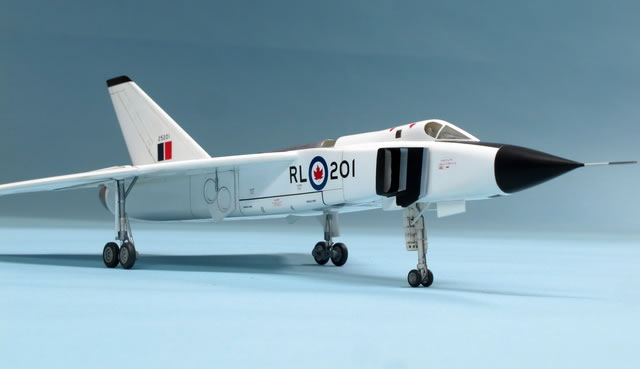
I built versions 1 and 2 of the Hobbycraft kit at the same time. It took me over 10 years of off and on work. It was very easy to lose motivation while working on such sketchy kits. I understand now why you rarely see close up photos of Arrow models...the detail is just not there. I built one Arrow with the wheels up (RL203) and one with wheels down (RL201). I corrected the upside down wing on RL201 by sawing off the ailerons and flipping them over. Because the kit's landing gear and wheels are so crude, you might consider building an "in flight" version to save aggravation. In my opinion, the Arrow is one of those airplanes that looks much better in flight than on the ground.
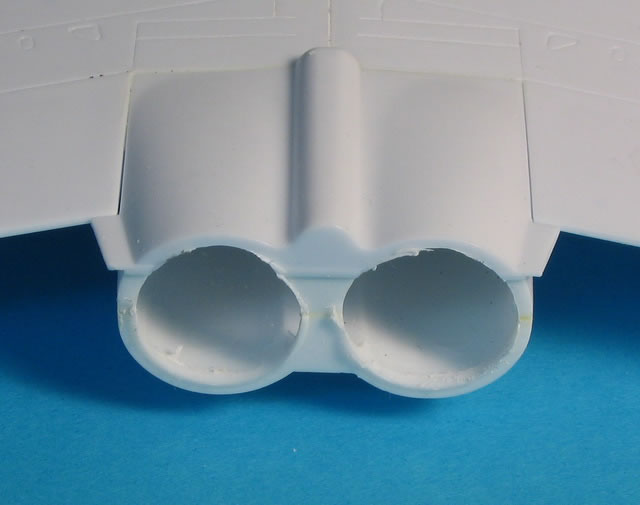
Some construction notes: You will have to deal with a large seam running the full length of the fuselage. I recommend avoiding putty and fill the gap with either ACC super glue or liquid plastic. You can make liquid plastic by dropping small pieces of styrene into a small bottle of liquid cement. This way you will have a chance to re-scribe the panels lines that cross the seam in several places. If you use putty, the chances of getting a nice scribed line is low as it will chunk out when scribed....believe me.. I learned the hard way. The intakes are overly square when looking at them from the front. I was able to round the corners a bit using a file and sandpaper glued to a rod. The back (the side that faces the fuselage) of the intake is hollow. I filled it in with putty on one kit and resin on the other. To give the impression of a longer intake trunk, I cut out the bulkhead behind the intakes and the afterburners to give more depth to the openings. The afterburner that comes with the kit has what appears to be detail from the front of a jet engine, not the back. I cut away the detail to create a hole that I backed up with the ends of 2 ballpoint pens on RL201. The canopy that comes with the first 2 versions of the kit is also a "fail". It fails to capture the very angular front part of the Arrow's windscreen. I attempted to improve the shape by filing the canopy to more of a wedge shape. I should have been more aggressive with the file, as it is still too rounded. I polished out the file marks using progressively finer grits of sand paper and nail emery boards, followed by a toothpaste polish and Future floor acrylic dip. The shape of the unique canopy side windows in tricky to capture. I photocopied plans from the Boston Mills Arrow book to 1/72 size and used them to cut out a mask from Tamiya masking tape.
I replaced the kits wheels on RL201 with spares from 2 Phantom kits. They are a little thick compared to the thin Arrow wheels, but are much better than the kit wheels that are very toy like. I tried to make the landing gear a bit more realistic by slimming down the components and adding extra struts where applicable. The Boston Mills Arrow book has good photos of the very complex landing gear .I used Baremetal foil to replicate the shiny shock areas of the struts.
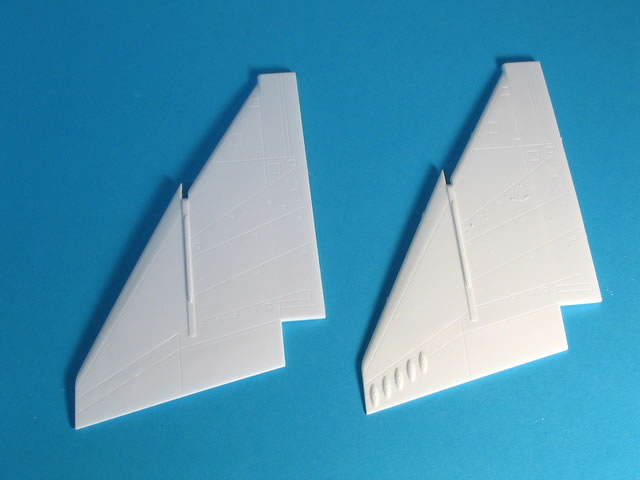
Wing on right with incorrect blisters from the original release compared to 2nd edition wing on left.
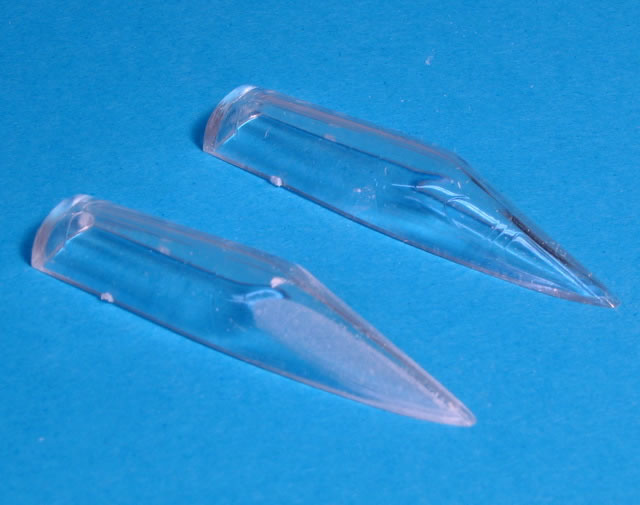
Sanding canopy to try and get a more angular profile compared to the stock canopy.
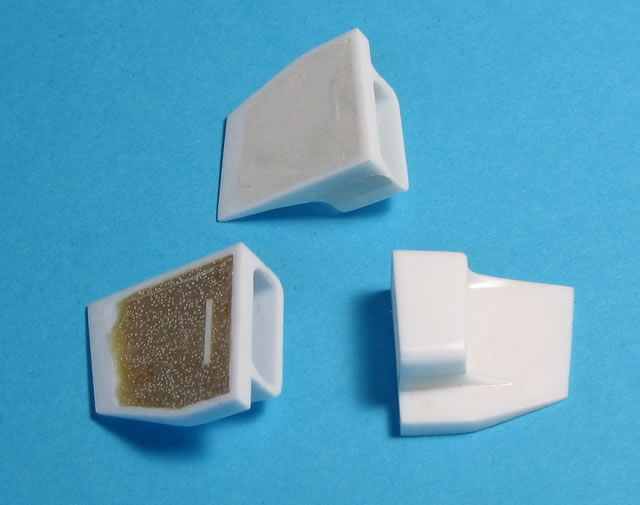
Filling in the back of the intakes with resin or putty.
Cutting out bulkhead to give intake trunking more depth.
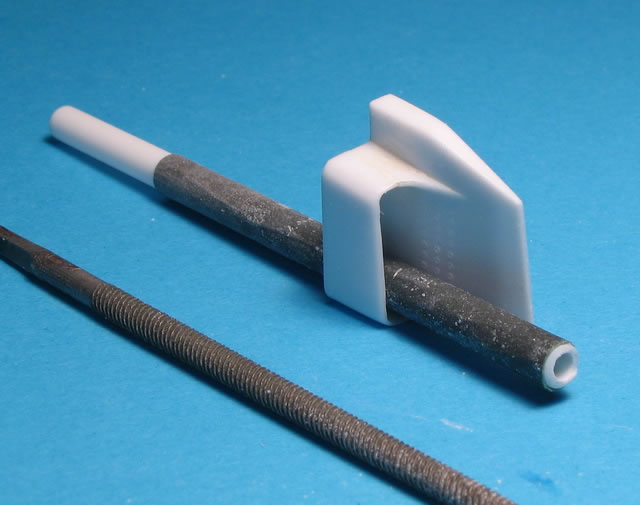
Rounding the inside of the intakes to be closer to the real aircraft.
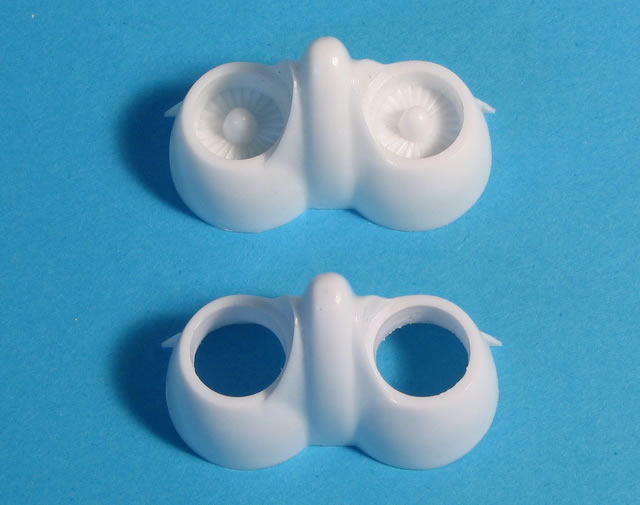
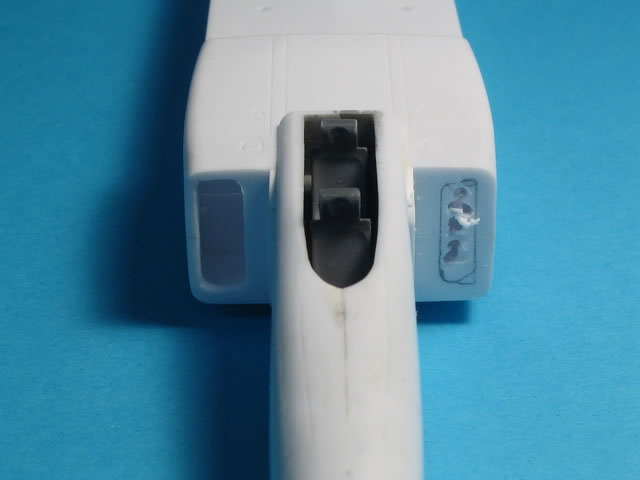
Removing the strange fan blades in the afterburner section.
Cutting out the rear bulkhead to give more depth to the afterburner section.
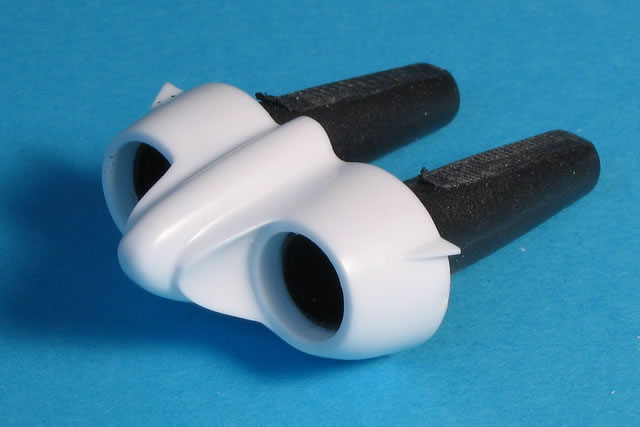
Ball point pen caps used to make the end of the engines for RL-201
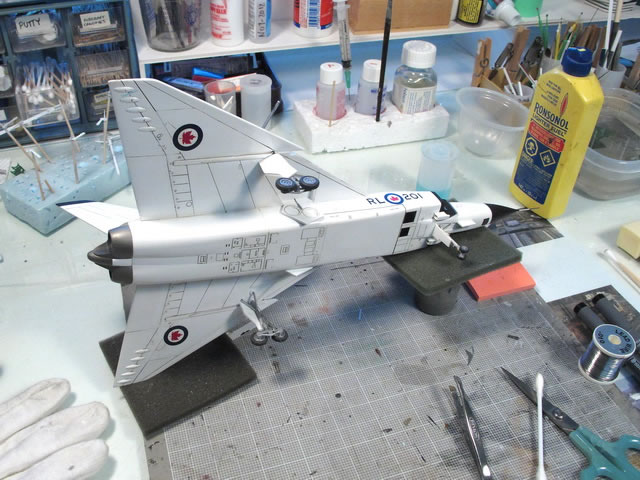
RL-201 on the bench getting final touches
Painting gloss white is tricky . After several attempts, I was finally able to get a decent bright gloss white finish using Rust-Oleum Painters Touch white primer decanted and shot through my Paasche H airbrush.
The finish coat was airbrushed Tamiya gloss white thinned with rubbing alcohol. I was concerned about yellowing of a white finish, so I did not use any clear coats. The decals are a combination of decals from my collection including old Sabre decals, Leading Edge and others. I was too cheap to buy the new Arrow decal sheet from WinterValley which looks pretty nice. I made the unique black walkway striping from carefully cutting Microscale black trim decal stock. The fluorescent orange on RL203 is Humbrol 205. It came out a little too intense for my taste. Next time I will airbrush a little less fluorescent orange to reduce the saturation. I learned that airbrushing fluorescent matt is much easier than airbrushing fluorescent gloss. The gloss does not want to adhere to edges or any sharp detail. I used a sludge wash to accentuate the panel lines on RL-203 and artist's oil paint thinned with lighter fluid on RL201. After comparing the two different methods of panel washes, the winner is the sludge wash!
The stand for RL203 was made from a 5x7 wood plaque bought from a dollar store. The bent metal piece is K and S brass strip stock attached to the fuselage with 2 2-56 self tapping screws. I made a box from sheet styrene to cover where the brass strip attaches to the plaque. I sprayed the entire stand with primer and then semi-gloss black. I made a logo for Avro on the computer and had a print made of it. I attached the print to the base using spray glue.
I have been tempted to buy the 3rd version of the Hobbycraft Arrow...but I think I will take a break and build a state of the art Tamiya kit out of the box!
Images and Text Copyright ©
2013 by Don Weixl
Page Created 13 August, 2013
Last Updated
13 August, 2013
Back to
HyperScale Main Page

|
 Home
| What's New |
Features |
Gallery |
Reviews |
Reference |
Forum |
Search
Home
| What's New |
Features |
Gallery |
Reviews |
Reference |
Forum |
Search