Revell's 1/72 scale
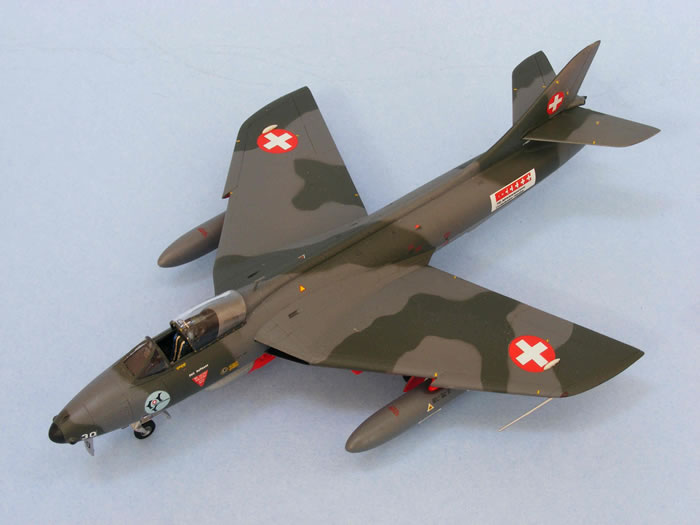
Hawker Hunter F.Mk. 58
by Thomas Muggli
|
|
Hawker Hunter F.Mk 58 |

Hobby Boss' 1/48 scale F-111C is available online from Squadron.com
Normally, if I want to add a model to my 1/72 scale Swiss Air Force collection, I have to resort to resin , limited run kits, or even scratch-building. Because unfortunately, many of the types of aircraft operated by the Swiss Air Force during its almost 100 year history are not considered significant enough by major kit manufacturers to be produced.
The Revell Germany Hunter is a welcome exception, so building it was a treat for me. It offers the Swiss Air Force fan, like myself, the rare pleasure of building a classic Swiss Air Force jet straight from the box. My only criticism of the kit would be that the panel lines are a bit overdone.
The kit gives you the option of building one of two different Swiss Hunters. Both models include the modifications the Swiss Air Force’s Hunter fleet received during an upgrade program in the 1980s.
I started the construction with the cockpit. The kit provides adequate cockpit detail, but I decided to add the Eduard pre-painted photo-etched detail set. I also added a throttle, bomb aiming computer and sight, as well as a radar-warning screen to the cockpit. All these details were made from styrene bits and stretched sprue. Once the cockpit was assembled and painted, I installed it in the fuselage. After adding the tail pipe, I joined the fuselage halves. The fit was excellent. Next, I assembled the wings. I had some trouble with the fit of the wing tips, but this may have been a result of my carelessness. I corrected the problem by filling gaps with superglue and using sanding sticks to smooth the seams.
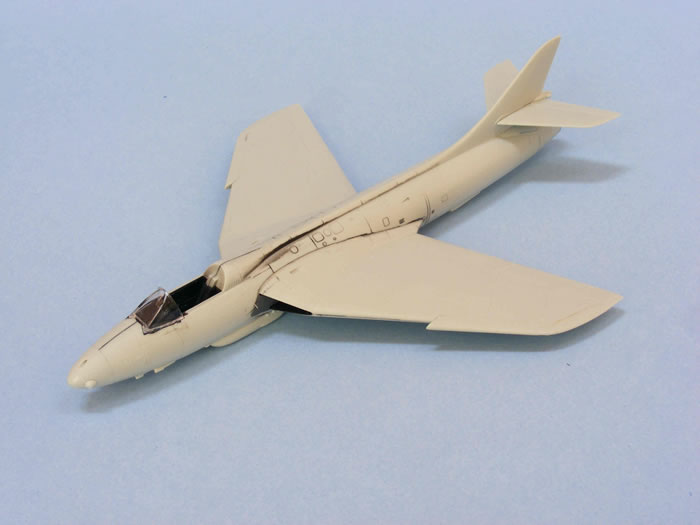
After adding brake lines made from copper wire, I painted the landing gear and the wheels. They were later installed during final assembly.
The 250 gallon wing tanks needed to be modified slightly to match the type used on Swiss Hunters. First, I glued the fins intended for the smaller wing tanks, to the rear of the tanks. Then I added four small strakes made from 0.25 mm sheet styrene to the bottom of each tank. The strut included in the kit should not be used, as it is not installed on Swiss Hunters. I also drilled holes in the bottom of the outer wings and added pegs to represent the attachment points for the 8 cm Oerlikon rocket launchers.
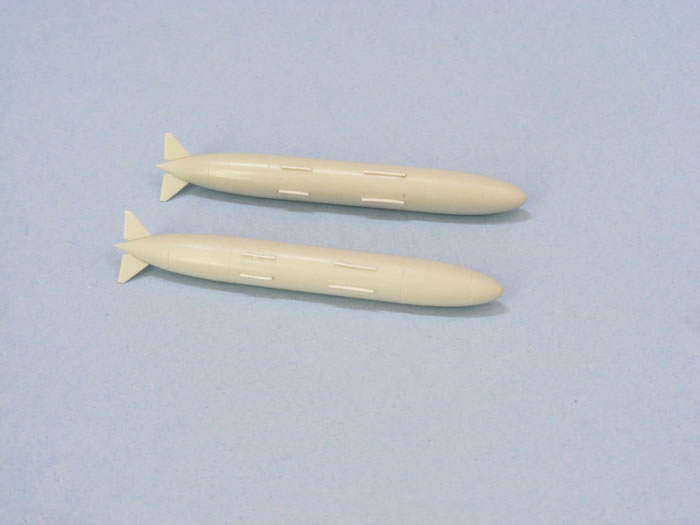
Unfortunately, neither the rockets, nor the launchers are present in the kit.
The rest of the assembly went problem free. I only used a small amount of putty to fill small gaps at the wing roots. The kit instructions have to be followed carefully to ensure that the correct optional parts for the Swiss version are used to build the model.
 I painted my model with Model Master and Tamiya acrylics. I decided to finish my Hunter in the colors of the Patroullie Suisse, the Swiss Air Force’s aerobatic team. I painted my model with Model Master and Tamiya acrylics. I decided to finish my Hunter in the colors of the Patroullie Suisse, the Swiss Air Force’s aerobatic team.
If you follow the painting and decaling instructions included in the kit, the result will be a perfectly accurate Patrouille Suisse Hunter. However, I wanted to go a step further.
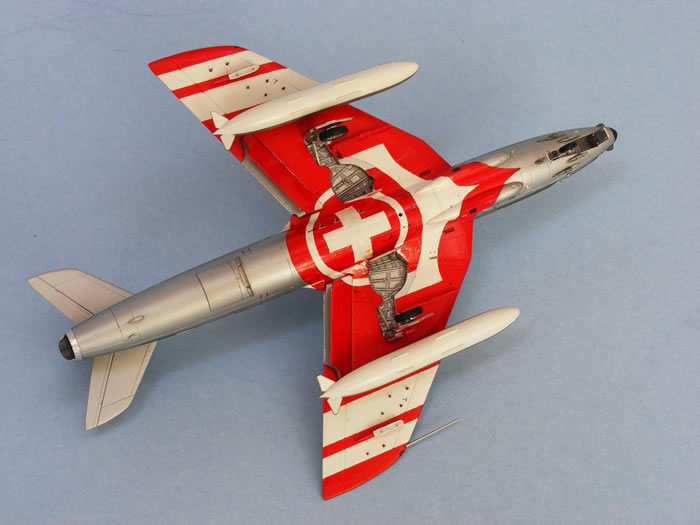
In 1991, not only did the PS-Hunters carry the emblem of Switzerland’s 600 year anniversary on the fuselage sides, they also receive a red and white decoration scheme on their fuselage undersides later that year. I wanted my Hunter to sport this scheme.
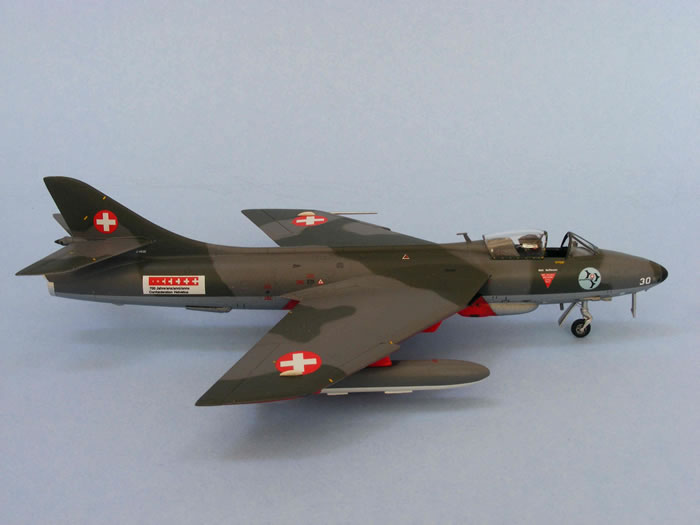
I started by airbrushing several coats of white to the fuselage undersides. Then I masked the white areas of the scheme according to reference photos. Next, I airbrushed Model Master “Guards Red”. After masking off the undersides of the wings and fuselage, I continued to paint the model according to the instructions.
The decals are excellent and settled nicely with a little setting solution.
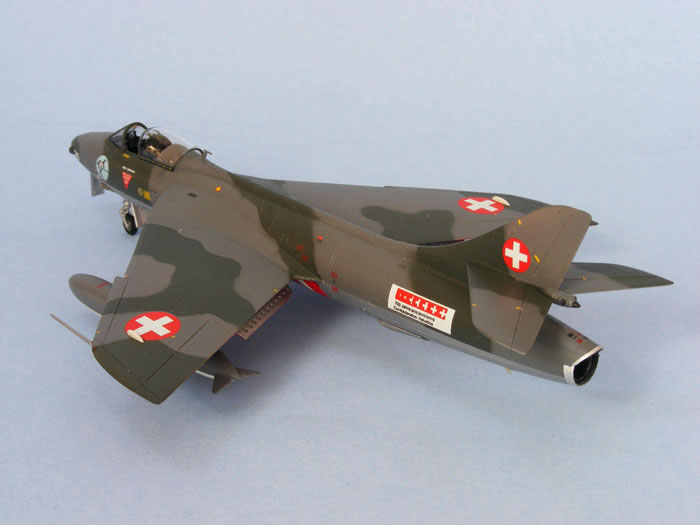
After installing the landing gear, wing tanks, pitot tube and canopy, this enjoyable project came to a conclusion, a lot sooner and with less headaches than I am used to.
Model and Text Copyright ©
2011 by Thomas Muggli
Page Created 22 July, 2011
Last Updated
22 July, 2011
Back to
HyperScale Main Page

|
Home
| What's New |
Features |
Gallery |
Reviews |
Reference |
Forum |
Search