|
Trumpeter's 1/48 scale
F-100F Super Sabre
by Jerry Creager
|
|
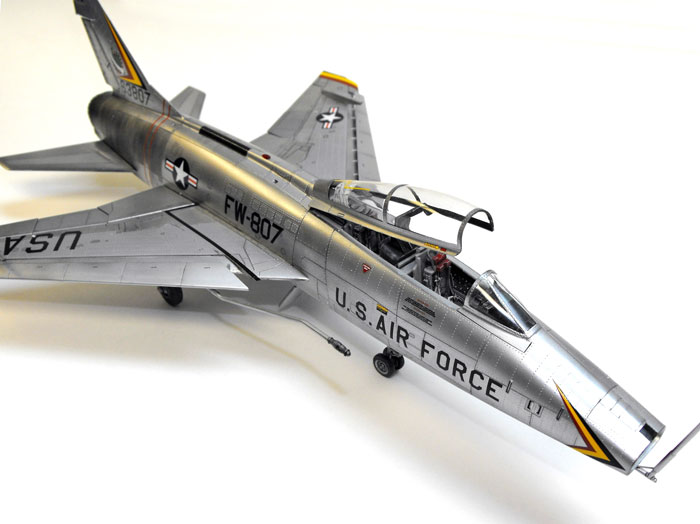
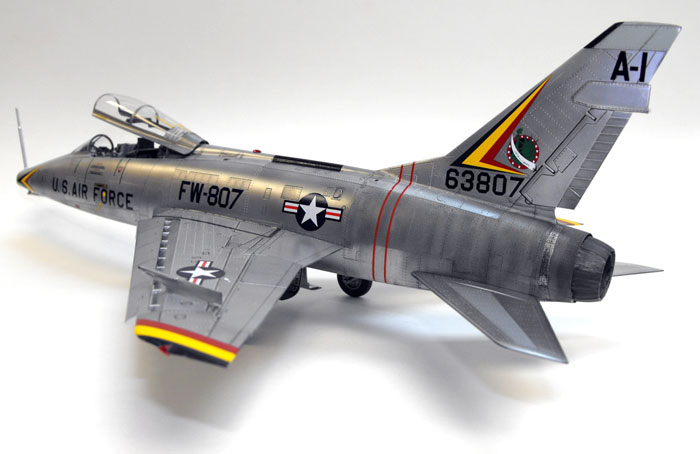
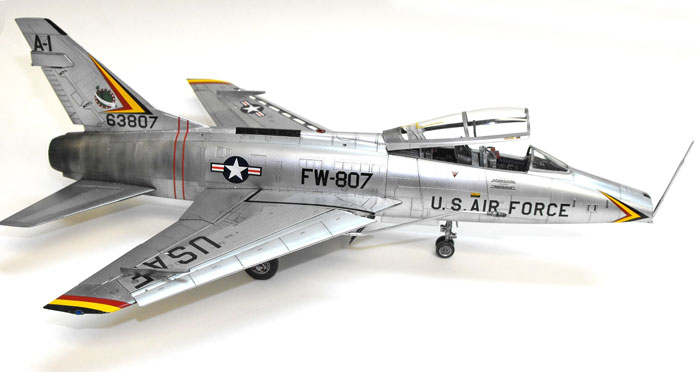
North American F-100F Super Sabre |

Trumpeter's 1/48 scale F-100F Super Sabre is available online from Squadron
One of my favorite jets has always been the F-100. I had the good fortune to become friends with a pilot who flew F100’s and 105’s in Vietnam which gave me a ready resource for technical questions. Especially concerning what aspects of various kits the manufacturers got wrong.
For many years Monogram was the only game in town for a decent F-100. Now that Trumpeter has introduced there line of 1/48 F-100C, F-100D and F-100F kits the “Hun” fans have a wide range of screams to choose from.
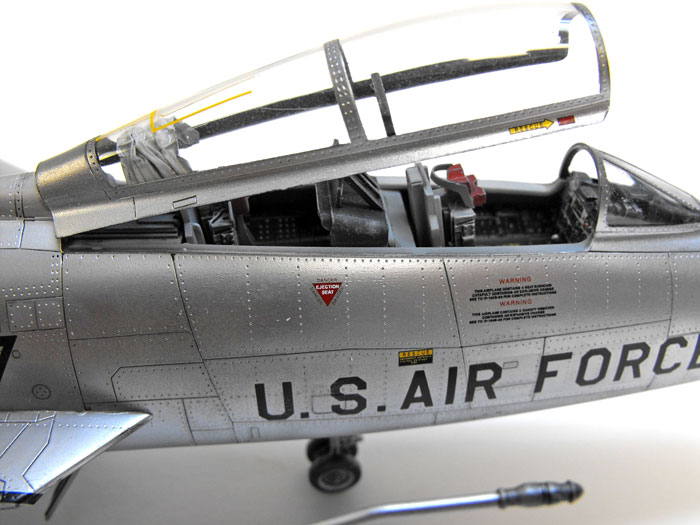
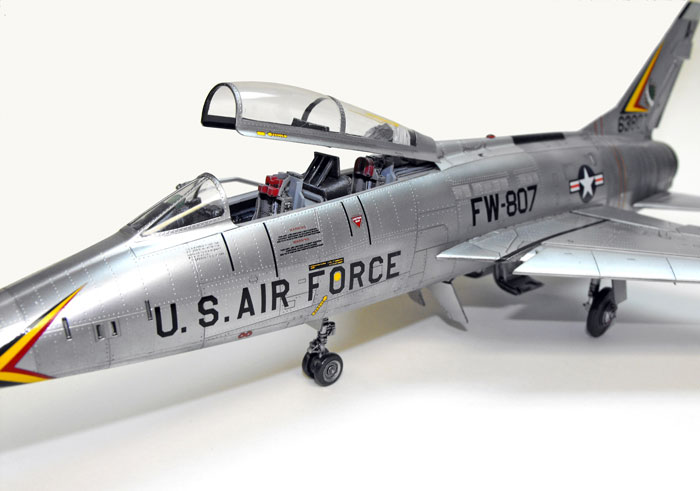
Trumpeter has done a good job for the most part and the short comings are few. The kit seats were the most objectionable part and are completely wrong. The kit arm rests are in the jettison position which makes them unsuitable to those who are sticklers for correctness. I used the old Black Box seats as a replacement and the fit was perfect. I was also reminded that the front seat headrest in the “F” was split and folded back when the air craft was on the ground. In the canopy there is a cross brace between the rear and front seat. The kit does not provide this and one had to be made from scratch. Since this two seater was used for instrument instruction, among other things, I added the canopy hood curtain over the rear seat. Many of the photos of the F-100Fs show the curtain in its folded position.
The kit goes together quite well but there are several things to look for that the instructions are not too clear about. I did not install the air break housing (G14) until after I had glued the two fuselage halves together. Major surgery was required to install it so be sure and install G14 before gluing the fuselage together. The other main issue is to follow the instructions when gluing the flaps and ailerons to the wing. If you glue the main wing sections to the fuselage before installing the flaps they will not fit without some trimming because of the angle that the tabs on the flaps fit into the slots in the wing.
Other that these items the kit goes together quite well and was a fun build.
 I did some experimentation with the natural metal finish and it worked out pretty well. I did some experimentation with the natural metal finish and it worked out pretty well.
I have used Alclad in the past and found that it works great but is bit pricey, particularly if you use as many shades as I did for the different panels. I did come up with an alternate to the Alclad that worked just great.
First, I over coated the entire model with a mixture of 30% Tamiya gloss black and 70% Metalizer Thinner. I let it dry and cure overnight.

Next I used a variation of the Floquil Bright Silver, Old Silver and Platinum Mist and later Model Master Metalizer finishes but with a twist. I made a base mixture of 50% Metalizer Thinner and 50% Metalizer Sealer. Then I made a 30% Metalizer or Floquil (various shades) and a 70% mixture of the thinner and sealer mix. It airbrushes like Alclad, dries fast and is pretty durable. Not as durable as Alclad but can be masked over and handled without pulling up or marring the surface. I applied the decals directly on the Metalizer finish without a gloss coat or Future top coat. The decals set well on the metal finish but be sure to wipe off any excess Mirco Set or Micro Sol after the decals are stable and will not slide around. I found too much of the Micro Sol if, allowed to puddle, will affect the Metalizer finish.
The panel lines were another experiment. On past models I used my usual black oil paint and Mineral Sprits mixture applied to the panel lines. On a T-33 that I recently finished in the same way described above, except I over coated the entire model with Future. The metal finish started coming off when I started removing the excess oil paint mix. It turned out to be a disaster. This time I made a water base mixture that would not affect the Metalizer finish and would be more permanent that than water colors which I experimented with in the past. I found that a mixture of watered down India Ink and dish washing liquid did the job. I experimented around with the portions until I got a combination that would wipe off without any staining of the surfaces around the panel lines.
Once dry, the panel lines were not be affected by the decals being applied over them.
I enjoyed this build and I am currently in the process of building the F-100C using the same techniques described above.
Model, Images and Text Copyright ©
2011 by Jerry Creager
Page Created 28 February, 2011
Last Updated
1 March, 2011
Back to
HyperScale Main Page

|
 Home
| What's New |
Features |
Gallery |
Reviews |
Reference |
Forum |
Search
Home
| What's New |
Features |
Gallery |
Reviews |
Reference |
Forum |
Search