|
Kinetic Models' 1/48 scale
EA-6B Prowler
by Mick Evans
|
|
EA-6B Prowler |

HyperScale is proudly supported by Squadron.com
Kinetic's 1/48 scale EA-6B is available online from Lucky Model for USD$49.99
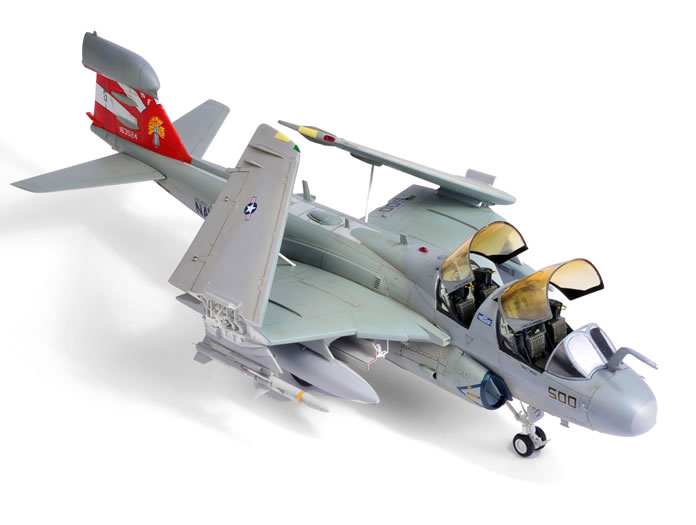
Kinetic's 1/48 scale EA-6B comes in quite a large box and has approximately 219 parts. The in box review was conducted by Brett Green on Hyperscale a few months ago. The big question on everyone’s mind is how does it build?
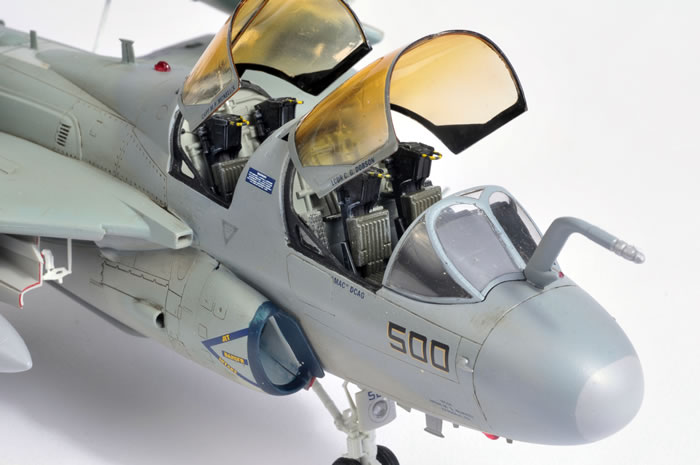
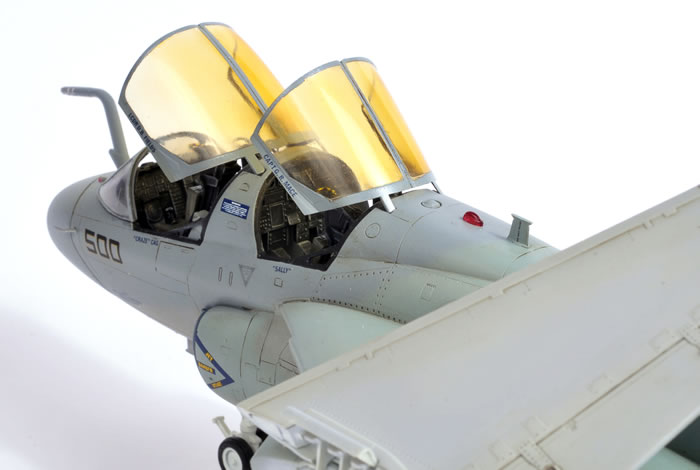
The build starts with the cockpit and nose wheel well assembly. The cockpit is sufficiently detailed without the use of any aftermarket detail sets. The ejection seats build up nicely but lack seat harness and webbing and these can easily be fitted by the individual modeller. Maybe Kinetic will team with Eduard again and release an aftermarket colour photo etched detail set like they did for the F-16 Kits. I opted for a set of Verlinden Prowler seats which unfortunately did not arrive in time prior to the photographs being taken for the review, so the kit seats were temporarily fitted to be remove and replaced later when the resin seats arrive.
The kit fuselage is broken down into two halves with a centreline insert. This breakdown allows the concave underside section to be captured beautifully and accurately, and allows all seam lines to be easily cleaned up. I had some trouble with lining up the fuselage halves and getting them to sit nicely prior to fixing with liquid glue. Careful progressive alignment and clamping with clamps and tape and then fixing with capillary action liquid cement allowed for an almost perfect fit with the seam lines requiring very little sanding and filling work. The lower fuselage insert was an exceptional fit that required very little alignment and clamping and most of all almost no sanding or filling work. The tail hook insert, intakes and exhausts required very little work to install and although the intakes to the engine compressor face is not to scale length they are sufficiently deep enough to suffice for most modellers. The compressor face should be just behind the crew steps, but moulding limitations have the compressor face just in front of the steps. Once completed it is difficult to tell that the compressor face is forward by approx 5mm.
The next challenge is to install the inner main wings. These require a bit of clamping at the front to make them sit down onto the intake correctly. I glued the rear surface exhaust nozzle fairing to the fuselage first and allowed it to set gradually working along the wing to fuselage join until the leading edge sat down onto the intake, and presto no filler required. At this point I completed the fit out of the kit including the outer wings which were not fitted until last. All seams were filled and finished prior to painting. The over sized formation lights were sanded down until they were more to scale and less prominent. The front cockpit steps stand proud when installed closed and required a some sanding to achieve a flush fit, I also fitted the intake staps in the closed position, these were a good fit and required very little sanding.
The outer left wing is missing the outer wing fence. This is easily fixed by making one from plastic card. What I missed until I had completed the kit was the undersized inner wing fences. These are position a little too far outboard and do not stand tall enough. This is once again an easy fix to remove the moulded wing fences and replace with plastic card scratch built versions. These will also be to scale thickness as moulding limitations have forced the kit fences to be too thick. Kinetic have advised that the under size is a moulding limitation and full height fences would have made the parts lock up in the mould. Most modellers will probably opt to leave them as is, and it is a matter of individual preference and in the long run does not detract from the look of the finished kit.
I like the 3 part wheels supplied in the kit. This allows you to paint the parts individually assemble and touch up the wheel seam with black or rubber colour and no masking is required, neat clean and simple. The wheel wells have a good level of detail and can be detailed further with fine wire to add hydraulic line details if the modeller wishes.
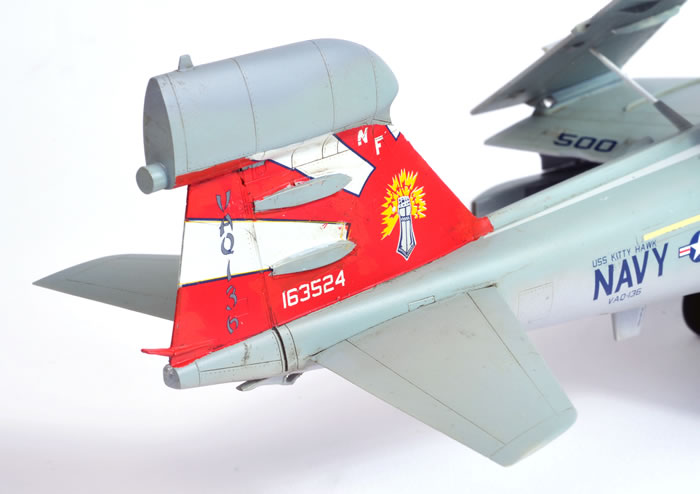
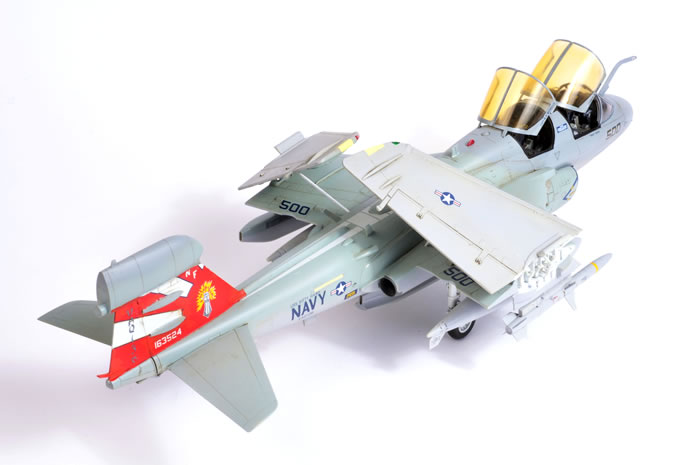
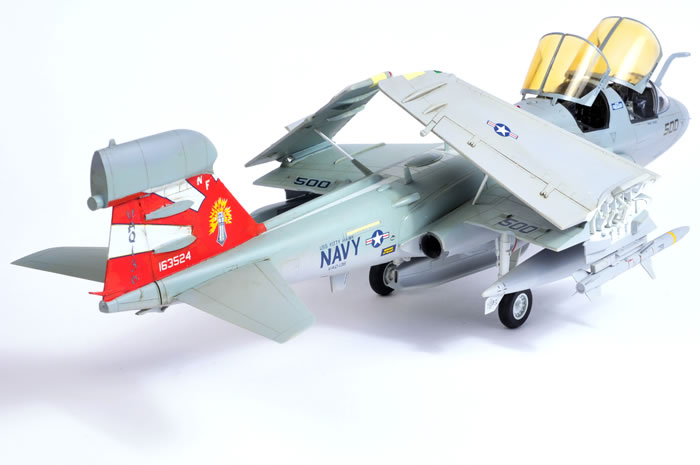
The kit was finished in Xtra Colour paints FS 36375 under surface and FS 36320 upper surface and FS 35237 around the cockpit area. I did not like the scheme supplied in the kit forVAQ-146 “Patriots” squadron but sought out a Super Scale sheet 48-1166 for VAQ-136 “Gauntlets” based on the USS Kitty Hawk in 2007. This CAG aircraft has a bright red tail and looks very striking, not saying that the scheme supplied in the kit for the Patriots is not striking, it just did not appeal to me.
A coat of matt finish was applied to complete the paint job.
Next, the undercarriage was installed.
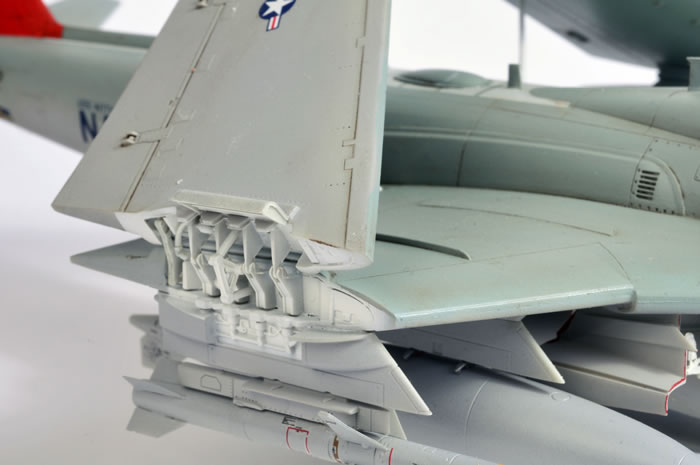
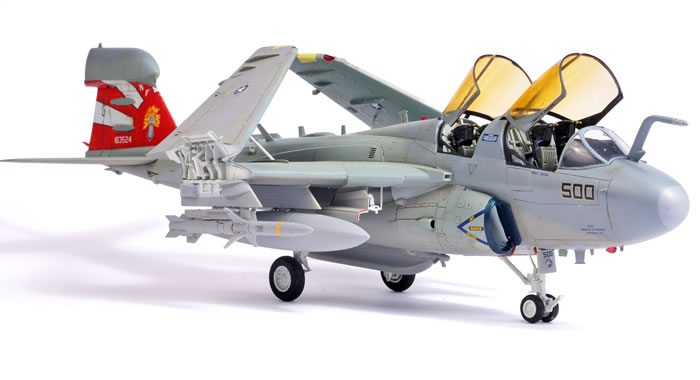
The stores were then fitted to the pylons and all the final fit out of antennas and lights were applied. At this stage I decided to fit the folded wings which I had left to almost last as I was worried about fragility, but I need not have been concerned. I super glued the main fold attachment to the lower wings and allowed these to set. To this attachment I then super glued the outer wing in the folded position engaging the hinge fingers and using the steady brace for alignment. Once the wing was tenuously in position I applied capillary action liquid glue to the wing fold hinge fingers and allowed this to set. I noticed at this point the folded wing join was a solid construction even before fitting the rear spar fold brace.
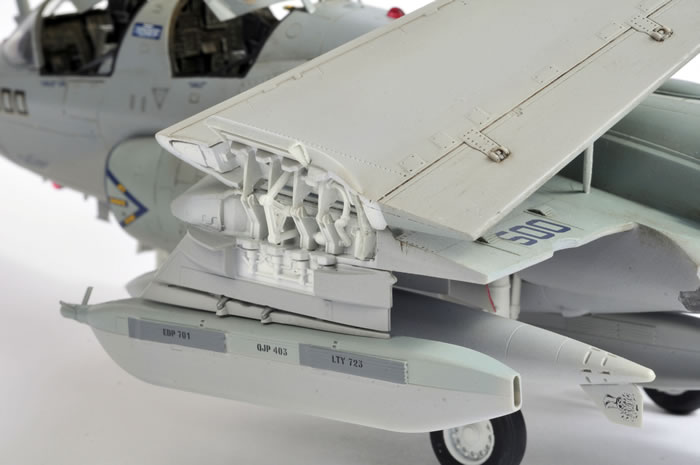
Once both wings were fully installed and set I glued the inner wing fold cover panel and wing steady braces into position and I found this construction to be solid with absolutely no movement. The ejection seats were temporarily fitted prior to the arrival of the after market seats. The detail on the kit seats is excellent but just lacks harness detail.
The final fit out was the windscreen and canopies. The windscreen was eased into place and glued. The canopy halves were fitted and fixed with Tamiya tape to hold in place at the front and back of the centre line join. Liquid capillary action liquid cement was then applied along the centre join at the centre of the canopy, once set the Tamiya tape was removed and the ends glued with capillary action liquid cement. The canopies were moulded this way to capture the bulged canopy effectively.
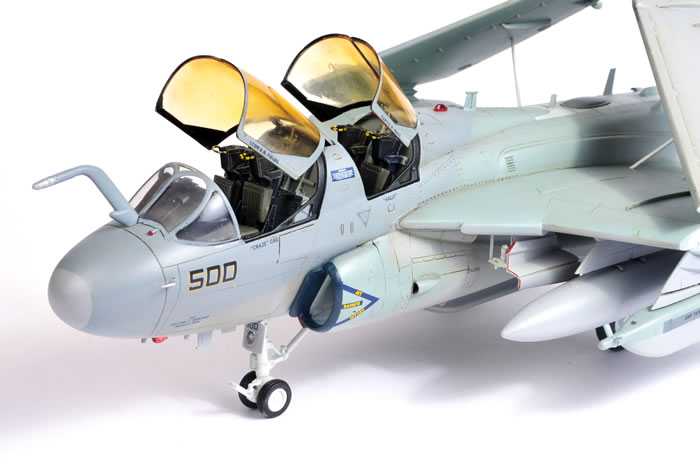
The canopies were then sprayed with Alclad clear yellow and dipped in Future, while losing the crystal clear appearance this process captured the gold impregnated look nicely. The only addition required here if you open the canopies is the prominent canopy centre beam which will need to be scratch built.
In summary, At the end of the day the kit is a fairly accurate and detailed Prowler, it looks like a Prowler and has an exceptional wing fold.
Overall the kit is an exceptional build and the finished model looks great.
Thanks to Lucky Model for the review sample
Model and Text Copyright ©
2010 by Mick Evans
Images Copyright ©
2010 by Brett Green
Page Created 4 October, 2010
Last Updated
4 March, 2011
Back to
HyperScale Main Page

|
 Home
| What's New |
Features |
Gallery |
Reviews |
Reference |
Forum |
Search
Home
| What's New |
Features |
Gallery |
Reviews |
Reference |
Forum |
Search