|
Hasegawa's 1/48 scale
A6M8 Zero Type 54/64
by Kevin Martin
|
Mitsubishi A6M8 Zero Type 54/64 |

HyperScale is proudly supported by Squadron
Every now and then Hasegawa releases a special Limited Edition kit. Here is one I had never seen before until it was sent to me by somebody in Scotland.
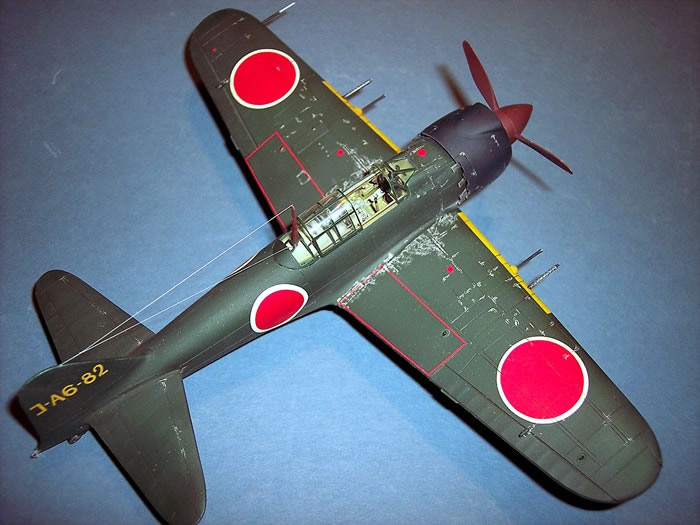
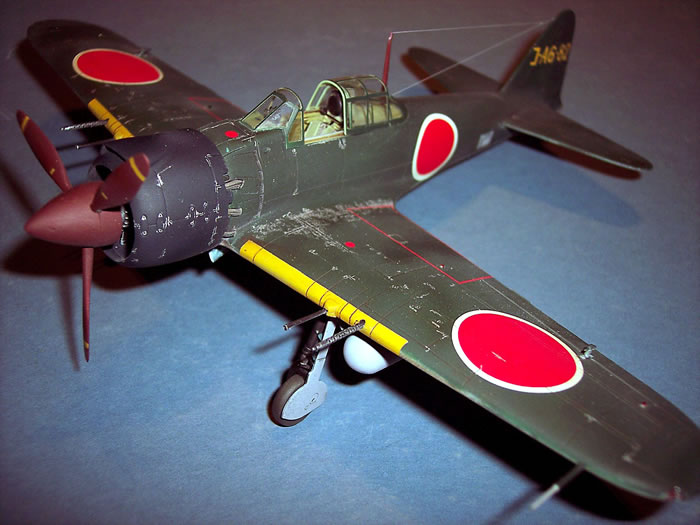
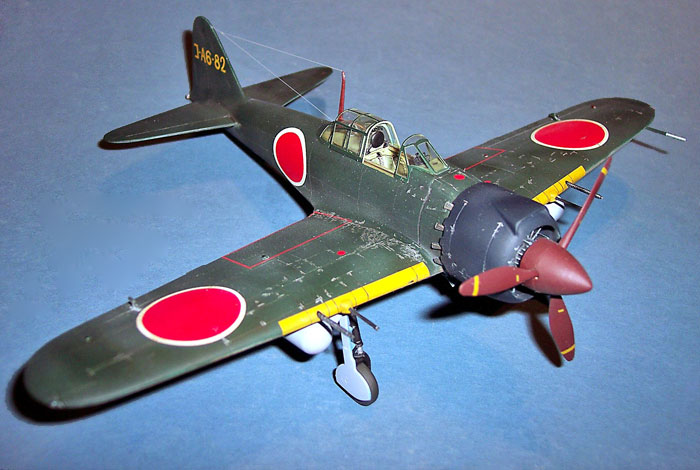
This is kit number SP247 and it is of the Mitsubishi A6M8 Zero Fighter Type 54/64.
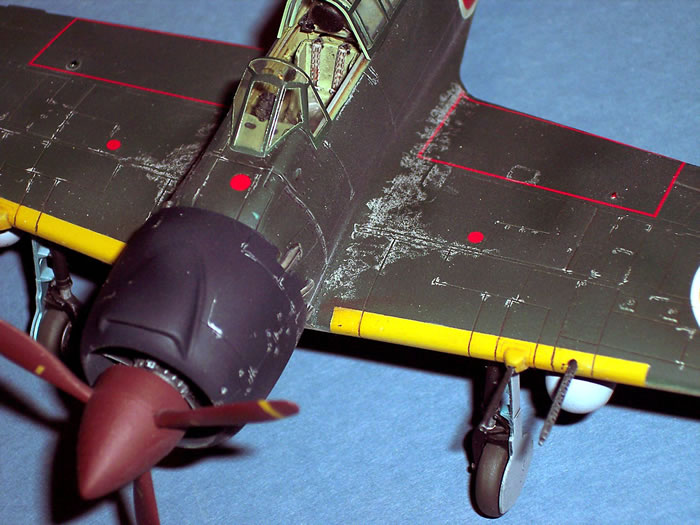
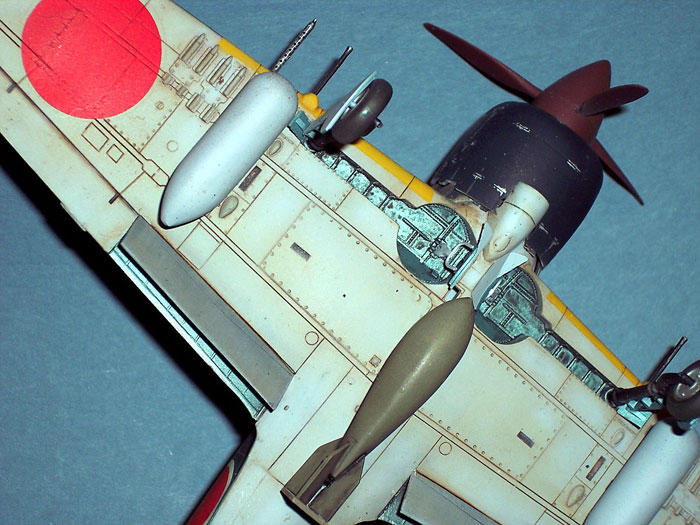
What makes this model unique is following the need to refresh the aging Zero, engineers replaced the standard Sakae 21 engine found in the model 52 with a more powerful Mitsubishi Kinsei 62 engine.
The size of the new engine required an enlarged cowl with a huge ducted carburator intake on top as well as the larger spinner found on the Yokosuka D4Y Suisei.
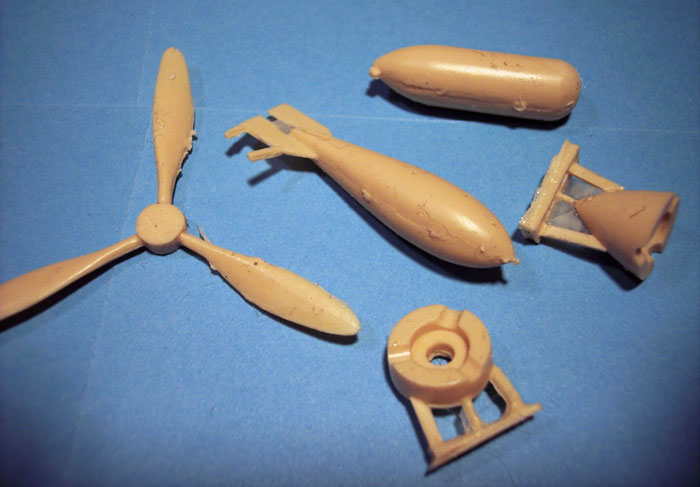
Hasegawa starts out with the basic Zero type 52 model and gives the modeler resin parts consisting of a new cowl, under cowl intake scoop, larger propeller assembly, two piece spinner, two 150 liter drop tanks, and a 500kg bomb.
The resin parts were uncomfortably crude for inclusion in a kit by such a mainstream manufacturer. I had to spend a considerable amount of time cleaning the parts up to make them acceptable. This in addition to having to perform surgery with a grinder and files to achieve the proper fit and "sit" of the cowl on the fuselage. I think this may have been one area where the folks at Hasegawa should have farmed out this resin work to the guys in Czech Republic.
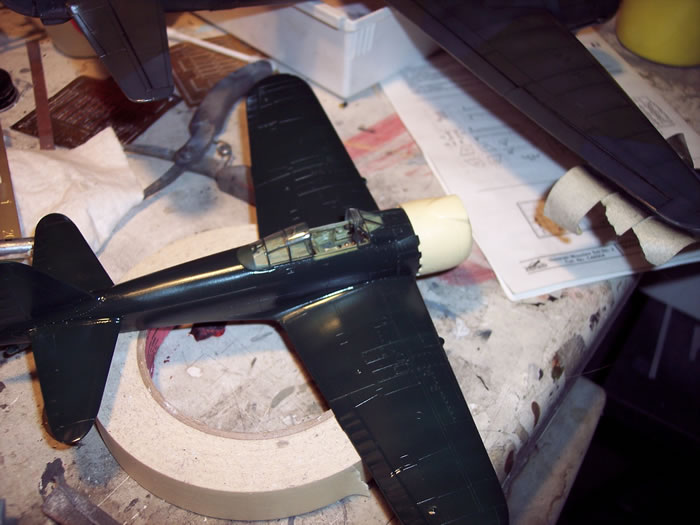
Other then that, the kit assembles pretty much straight forward with the careful following of the instructions for filling in and removing this and that, drilling here and there.
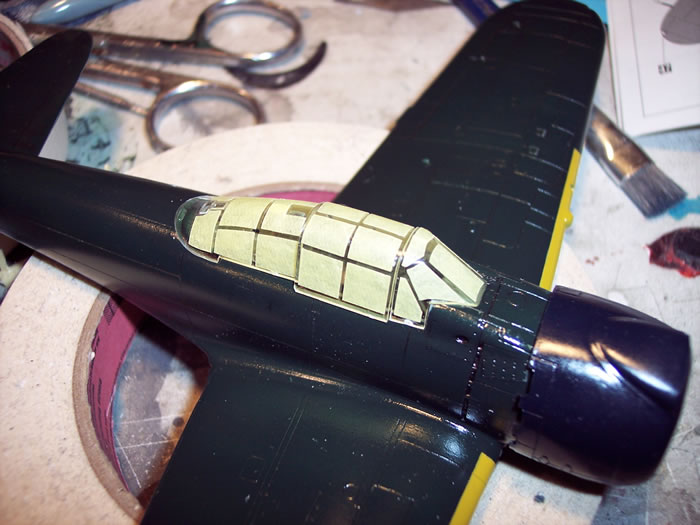
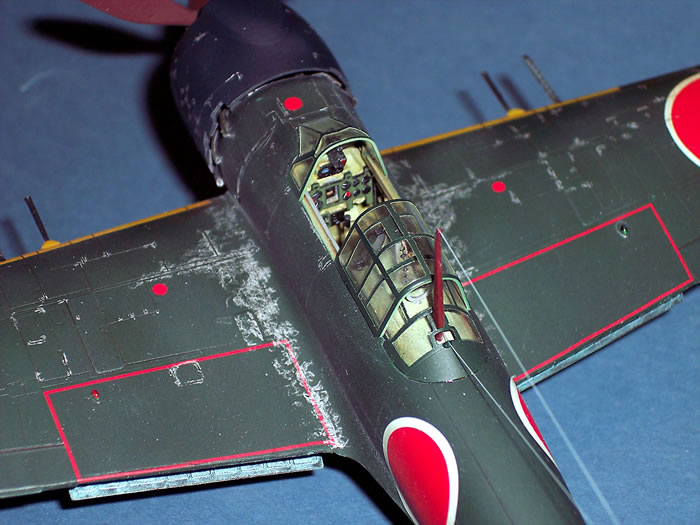
I also added an Engine and Things Kinsei 62 resin engine to dress things up a bit. This required the inside of the resin cowl to be milled with my grinder to get a good fit. But the effort pays of with a better looking, busy engine compartment.
Decals options are for the only two examples made - one with white meatball surrounds, and the other with black surrounds.
Decals were a bit on the thick side and the problem compounded with the addition of the white base decals being added first before the red.
This project took about a week to complete.
Model and
Text and Images Copyright © 2008 by Kevin Martin
Page Created 1 April, 2008
Last Updated
1 April, 2008
Back to HyperScale
Main Page |
 Home
| What's New |
Features |
Gallery |
Reviews |
Reference |
Forum |
Search
Home
| What's New |
Features |
Gallery |
Reviews |
Reference |
Forum |
Search