|
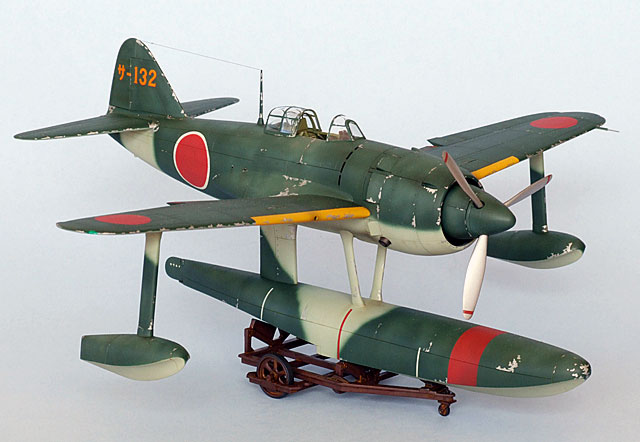
Tamiya's 1/48 scale
Kawanishi N1K1 Kyofu
by
Bruce Salmon
|
 |
|
Kawanishi N1K1 Kyofu (Rex) |

Hasegawa's 1/48 scale A6M2a Zero Type 21 is available online from
Squadron
Aftermarket Products Used:
Eduard PE set (48 269) N1K1 Kyofu
Engines ‘n’ Things (48133) Mitsubishi Kasei MK-4
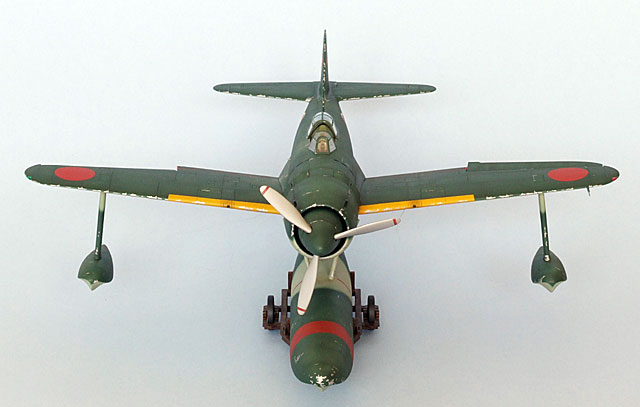
Wings
The wings fitted together perfectly and I also cut out and
repositioned the ailerons to add a bit of life to the model. A new pitot
tube was fashioned from brass and the nav lights glued on and sanded to
shape.
The PE bomb racks were also added but I knocked them off so many
times and eventually lost them all.
Engine and Cowling
The Eduard PE set includes cowl flaps which when displayed open leave
a hole into the empty interior. This was detailed by using ½ of an
Engines ‘n’ Things Kasei MK-4 engine which filled the gap nicely. This
and the kit engine are barely visible once everything goes together.
Cockpit and Fuselage
In the cockpit I added the PE and a few wires to spruce it up. I also
scratchbuilt extra ribbing and a fuel tank behind the seat position as I
thought you’d be able to see into the massive empty space. This all but
disappears when the fuselage halves are glued together so I needn’t have
wasted my time.
All the parts fit well and assembly is super fast – Yay no wheels to
worry about! The centre float attachments needed some putty but were no
big issue. You may want to epoxy the float weight in place so that it
doesn’t rattle around inside.
Trolley
The beaching trolley was fully built before painting it red-brown. I
added rust to it with burnt sienna oils – quite thick in places.
When you apply a final matt coat the thick oil paint absorbs the matt
and remains shiny giving it that wet rust look.
Painting
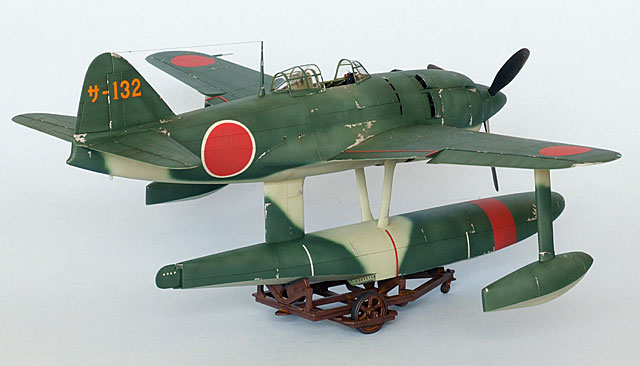
I painted my model to represent an aircraft in fairly good condition
from Sasebo Kokutai as found at the end of the war. The only decals used
were the tail code and “NO STEP” on the flaps and on the float rudder.
Hinomarus were masked and painted as were the leading edge stripes (the
“yellow” kit decals were way too orange).
The paintwork was faded using the post-shading method by lightening
panels as well as darkening other areas all the while trying to avoid
making the paint job look like a quilt. Paints used are as follows:
-
Interior: 7 parts Tamiya XF71
Japanese Interior Green / 1 part Humbrol 226 Interior Green / 1 part
Tamiya XF62 Olive Drab
-
Upper Surface: Tamiya XF70 Dark Green
2 (IJN) straight (This colour is bluer than the XF11 JN Green – it
looks OK on some aircraft but not on others).
-
Lower Surface: 9 – Tamiya XF12 JN
Grey / 1 – Tamiya XF2 White
-
Hinomarus: 7 – Humbrol 153 Insignia
Red / 1 – Humbrol 113 Rust
-
Leading edge stripes: 9 – Tamiya XF3
Yellow / 1 – Humbrol 82 Orange Lining
Weathering
After a coat of satin varnish the model was given an overall wash
with raw umber oil with some panel lines darkened with further washes. A
few oil stains were drybrushed on and some restrained chipping with
Tamiya XF16 Flat Aluminium applied with a fine brush.
Exhaust and gun staining was with Tamiya X19 Smoke. A matt-ish
varnish was then sprayed to finish the job.
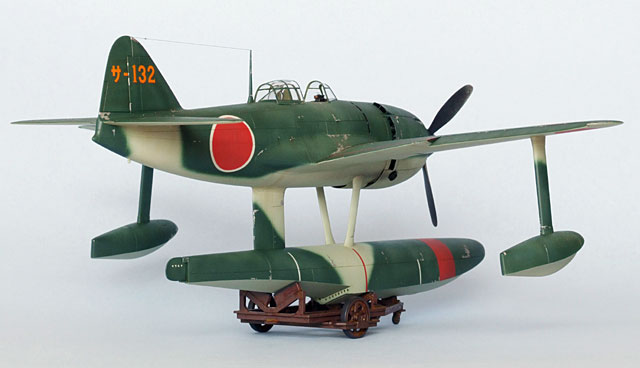
Final Assembly
Not much to it really - canopy was glued on with white glue, aerial
and stretched sprue wire added, propeller bunged on then the piece de
resistance, dropping the plane onto its trolley.
This was one of the easiest and fastest models I have ever built. A
very zippy looking floatplane fighter!
Model, Images and Text Copyright © 2007
by Bruce Salmon
Page Created 04 December, 2007
Last Updated
24 December, 2007
Back to
HyperScale Main Page
|
 Home
| What's New |
Features |
Gallery |
Reviews |
Reference |
Forum |
Home
| What's New |
Features |
Gallery |
Reviews |
Reference |
Forum |