|
Eduard's
1/48 scale
Focke-Wulf Fw 190 A-8
by Andreas
Beck
|
 |
|
Focke-Wulf Fw 190
A-8 |

Eduard's 1/48 scale
Fw 190 A-8 is available online from Squadron.com
Eduard’s Fw 190 A-8 - a verdict.
Impressed by the sheer mass of parts, the superb
surface details, the colored instructions, photo etch parts, masks and
first comments from fellow modelers the decision was taken, DO IT.

During the dry fit of parts (which is an essential MUST with this kit
and please, take your time) I recognized the amount of time taken by the
Eduard team to design and to construct this kit. Be assured, everything
goes together rather well. Only an absolute minimum of putty was needed.
The approach that was taken on this kit somewhat
reminded me to the early phase of Accurate Miniatures. A complete kit
was to be produced avoiding the need of (expensive) aftermarket stuff.
However, this compromised in a tendency of over engineering , as with
early AccMin kits. If you belong to that kind of modelers who prefer to
present their models in clean condition with all or most hatches , doors
and other devices closed you will have to some superfluous work like
doing the complete not uncomplicated engine construction. A more simple
solution like on the DML/Dragon kit would have done because engine
details are virtually not visible behind the cooling fan .
There are also other features where a simplified design and parts break
down would have been satisfying (Main gear well, inner canon bays) .
Eduard should have put all these parts for “extra” detailing on a
separate sprue and then offer an “super detail kit”.

Nearly reaching Hasemiya standards, I found that the fit of core (inside
moulds) and cavity (outside moulds) were not 100% and some cleaning up
was needed . This problem found its peak with the propeller which does
not have the correct profile but with the help of sandpaper an
acceptable result can be reached. Others might use the Dragon/DML
blades.
I personally hate gluing photo etch on outer panels, in this case the
piano hinges of the canon covers attached to the upper edge of the wing
filets. Why aren’t they moulded on (in the result one of the weak points
of the model)?
Priming and finish with paint was done in two steps
so please, Wladimir, next time two sets of masks in your kits (even if
the kit costs 50 Cents more).
The decals work very well. The carrier film is of
first class quality and in my example nearly perfect in register which
necessitated some minimal trimming with the national markings. What I
didn’t like were the colors used. They are simply too strong, the blue
for the JG 5 machine has by far too much red.
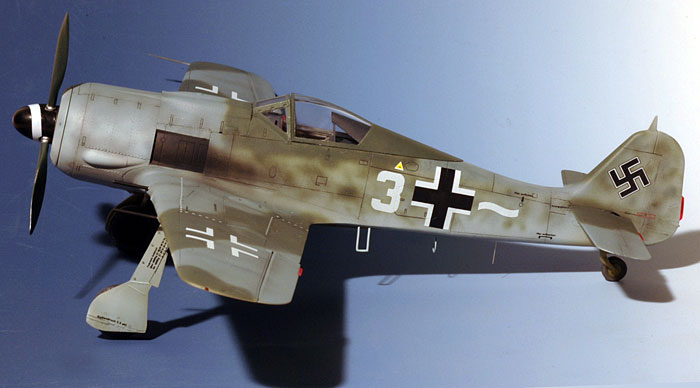
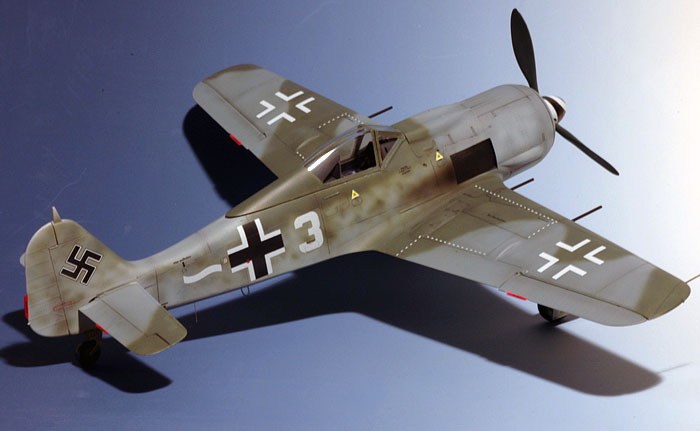
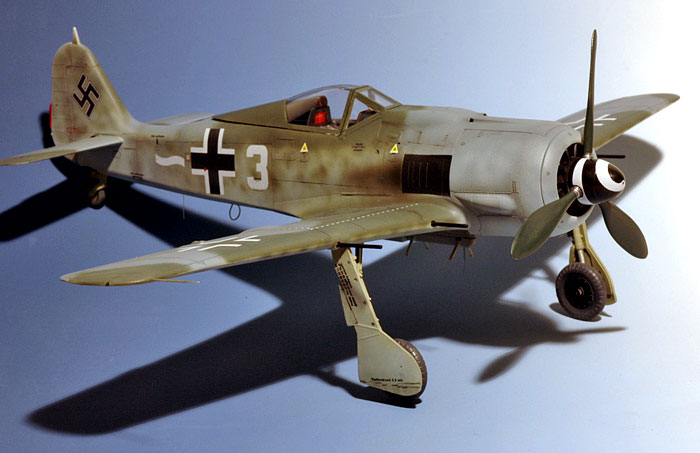
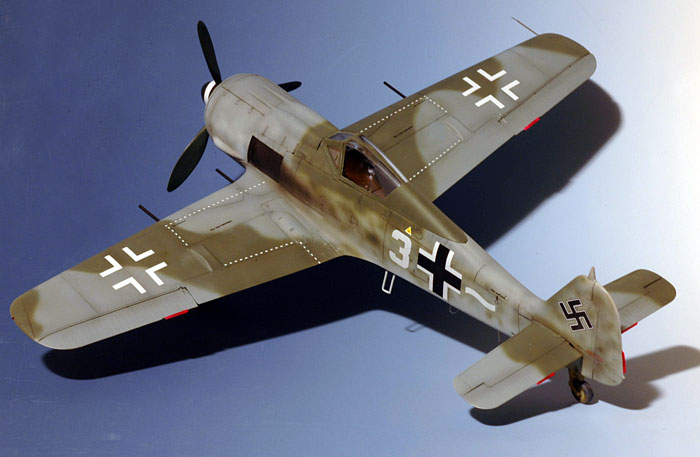
I just wanted to represent a typical 190 and this was accomplished . The
paint job in brief words : automotive primer micromeshed, airbrushing
with Schmincke (artist) colors, Future/Kleer, again micromesh, decaling
and a final coat with a water based flat varnish.

“External” parts : cannon barrels with 1.00mm brass, position lights
from stretched clear sprue (which works wonderful with styrene used by
Ed) and the pitot tube from an injection needle and a synthetic hair
from a tooth brush.
In summary, this is a kit worth every Cent, Penny,
Kopeck or other currency.
My personal wish is that Eduard will maintain the heritage of the real,
the good, the old Accurate Miniatures and those people who gave this
brand a soul.
Model, Images and Text Copyright © 2007
by Andreas Beck
Page Created 03 April, 2007
Last Updated
24 December, 2007
Back to
HyperScale Main Page
|
Home
| What's New |
Features |
Gallery |
Reviews |
Reference |
Forum |